Descale Kettle And Coffee Maker Safely: Citric Vs Vinegar Steps

Mineral buildup (limescale) is one of the most common reasons an electric kettle boils slower, a coffee maker tastes “off,” or your machine starts making extra noise. If you’re in Cagayan de Oro and you’re using tap water often, you’ll see scale sooner or later—especially in appliances that heat water every day. ☕️
This guide shows how to descale an electric kettle and coffee maker safely (citric acid vs vinegar, step-by-step), with clear ratios, rinse steps, and what not to do.
Why limescale builds up (and why it matters)
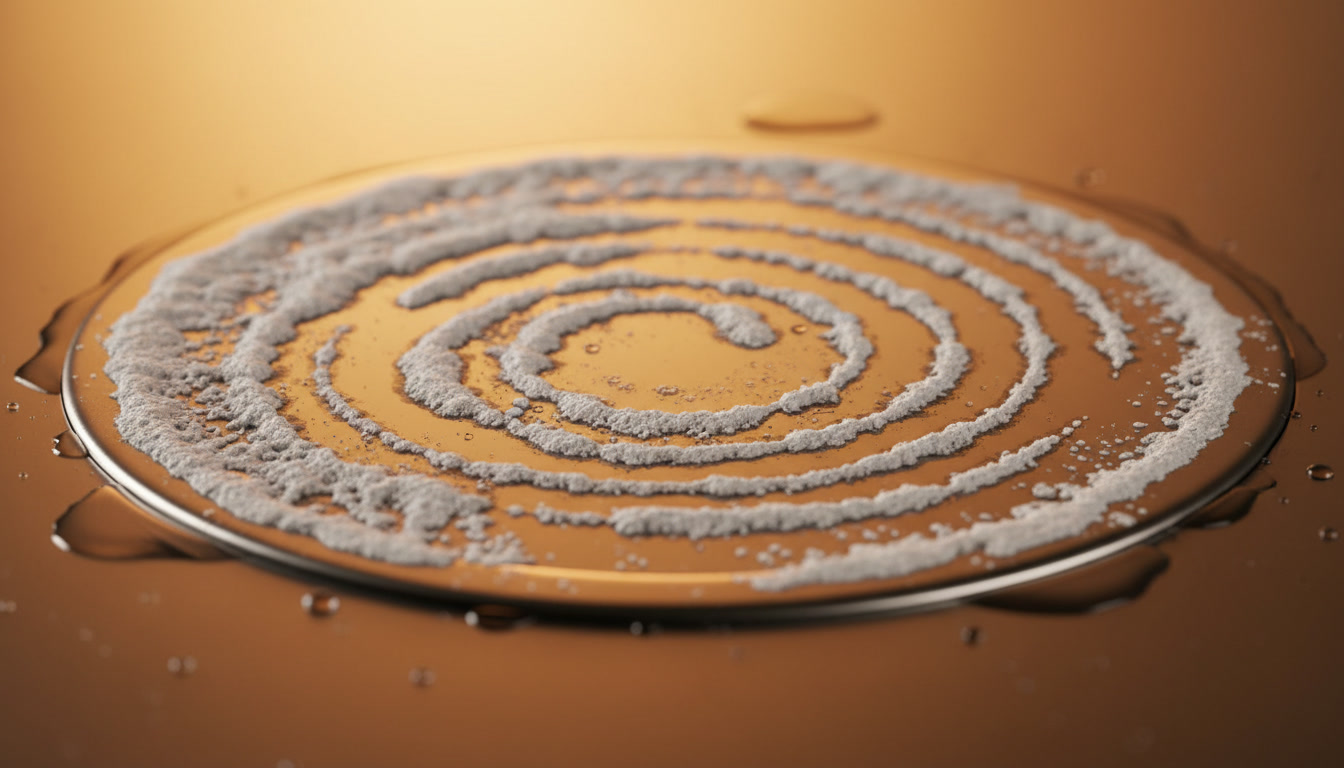
Limescale is mostly calcium and magnesium deposits left behind when water is heated and evaporates. You’ll usually notice:
- White, chalky spots inside the kettle or coffee maker reservoir
- Slower boiling or brewing
- Hotter-than-usual operation (the heater works harder)
- Bitter/flat taste in coffee or tea
If you ignore it, scale can shorten the life of heating elements and gaskets. A regular, gentle descale keeps performance steady without harsh chemicals.
Citric acid vs vinegar: what’s safer, what works better
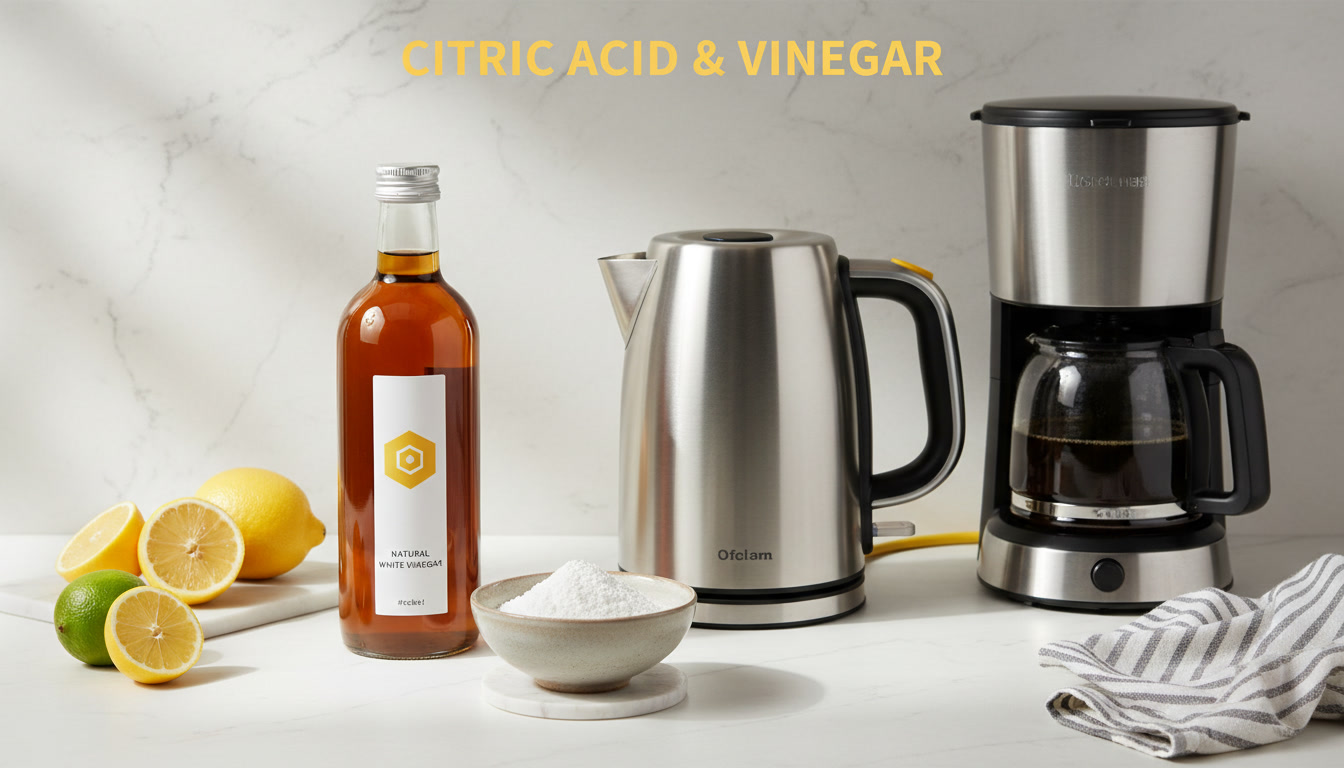
Both work, but they behave differently. Citric acid is usually the easiest to rinse and leaves less odor. Vinegar is cheap and accessible, but the smell can linger.
| Factor | Citric acid (food-grade powder) | White vinegar (5% acidity) |
|---|---|---|
| Descaling strength (typical household use) | Strong and consistent when measured | Moderate; depends on dilution and brand |
| Smell | Mild | Strong; can linger in plastics and silicone |
| Rinsing effort | Usually fewer rinse cycles | Often needs more rinse cycles |
| Appliance-friendly | Generally gentle on stainless & common plastics | Can be tough on some rubber parts over time if used too strong/too often |
| Availability in PH | Baking/canning supply, online, some groceries | Widely available in groceries/sari-sari stores |
| Best for | Kettles, drip coffee makers, general maintenance | Occasional descaling if citric acid isn’t available |
A simple decision rule ✅
- If you want less smell and easier rinsing, pick citric acid.
- If you’re descaling right now with what you have, vinegar is fine—just rinse thoroughly.
Before you start: safety checklist (please don’t skip)
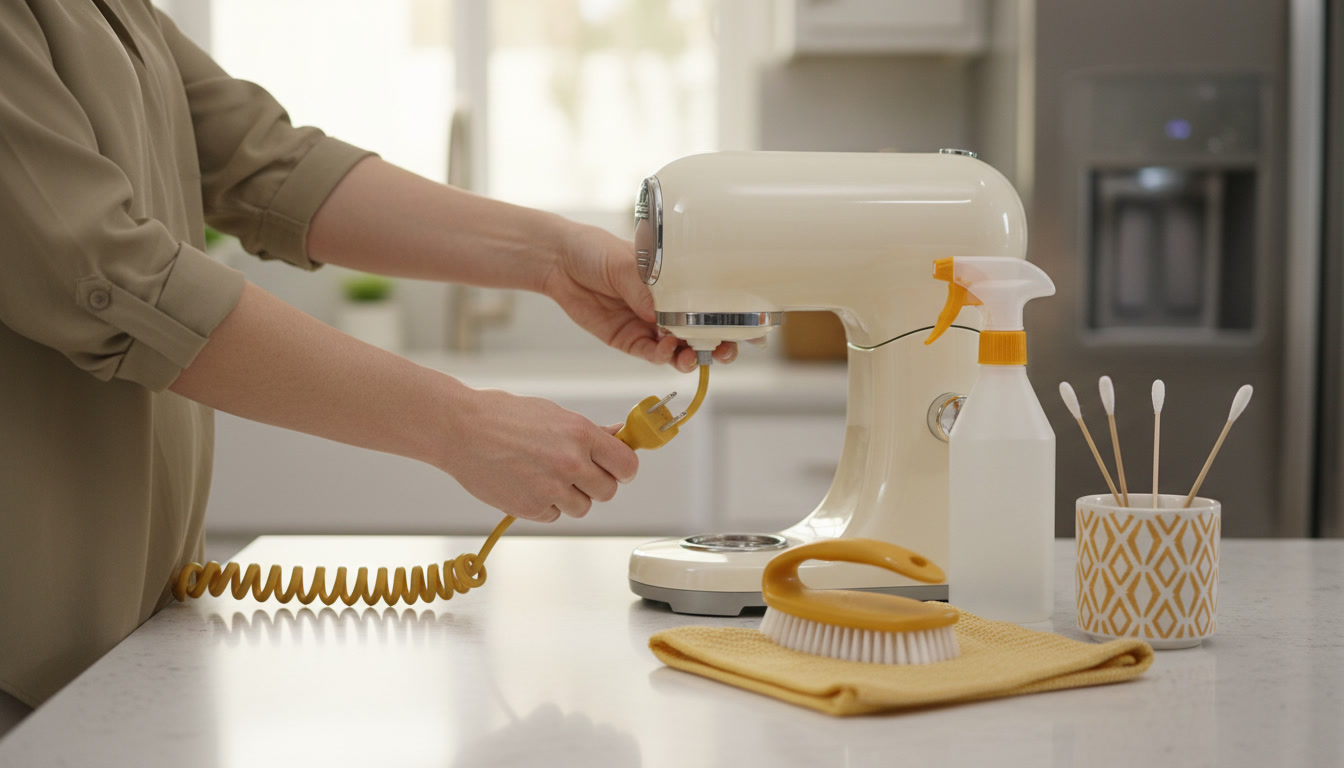
Descaling is safe when you treat it like food-area cleaning.
- Check your manual first. Some machines (especially espresso and pod units) have specific instructions.
- Unplug and cool down before you empty or rinse anything.
- Never mix acids with bleach or any “whitening” cleaners. That combination can create harmful fumes. ⚠️
- Work in a well-ventilated area, especially if using vinegar.
- Don’t scrub heating plates with metal scouring pads (they can scratch and trap more scale).
What you’ll need (quick list)

- Food-grade citric acid powder or white vinegar
- Clean water
- Measuring spoon/cup
- Soft sponge or microfiber cloth
- Soft bottle brush (helpful for kettle spouts and reservoirs)
Step-by-step: descale an electric kettle safely
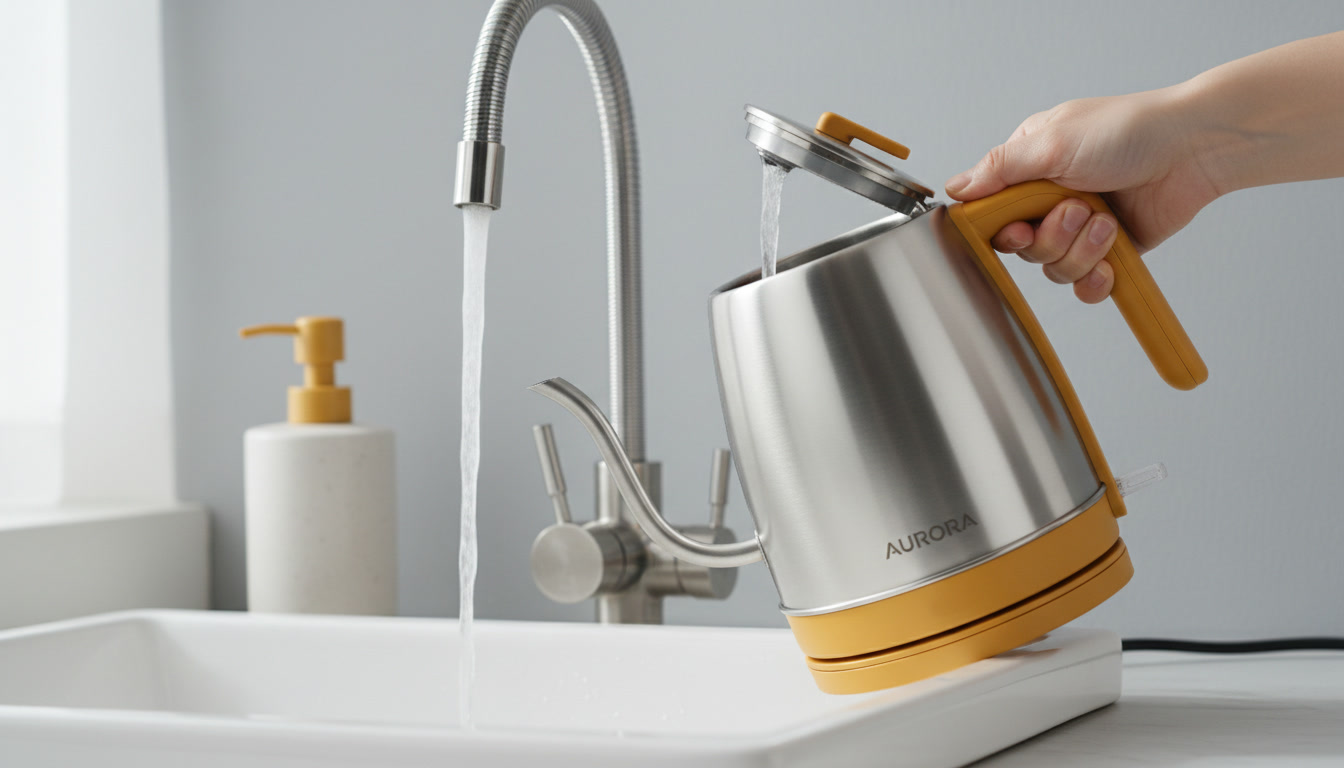
Step 1: Identify the kettle interior material
Most kettles are stainless steel with a concealed heating plate, which handles citric acid and vinegar well. If your kettle is aluminum inside (less common), stick to milder citric acid and shorter soak times.
Step 2: Mix your descaling solution
Choose one option:
Option A — Citric acid (recommended)
- Mix 1–2 tablespoons (15–30 ml by volume) of citric acid powder per 1 liter of water.
- For heavy scale, use the higher end.
Option B — Vinegar
- Mix equal parts white vinegar and water (1:1).
- If your kettle is small or you’re sensitive to smell, you can go 1 part vinegar to 2 parts water, but it may need a second round.
Step 3: Heat, then soak
- Fill the kettle so the solution covers the scaled area.
- Bring it just to a boil, then turn it off.
- Let it soak 15–30 minutes.
If scale is thick and flaky, you may see it loosen and float. That’s normal.
Step 4: Empty and gently wipe
- Pour out the solution.
- Wipe inside with a soft sponge or microfiber.
- For stubborn spots, repeat a shorter second soak rather than scraping.
Step 5: Rinse until there’s no odor
- Rinse 2–3 times with clean water.
- Then fill with clean water and boil once.
- Smell the steam briefly (don’t inhale deeply). If you still catch vinegar, boil and rinse one more time.
Step 6: Don’t forget the outside
Scale often splashes around the lid and rim.
- Wipe the rim and lid with a damp cloth.
- Dry thoroughly to avoid water spots.
Step-by-step: descale a drip coffee maker (hot plate or thermal carafe)
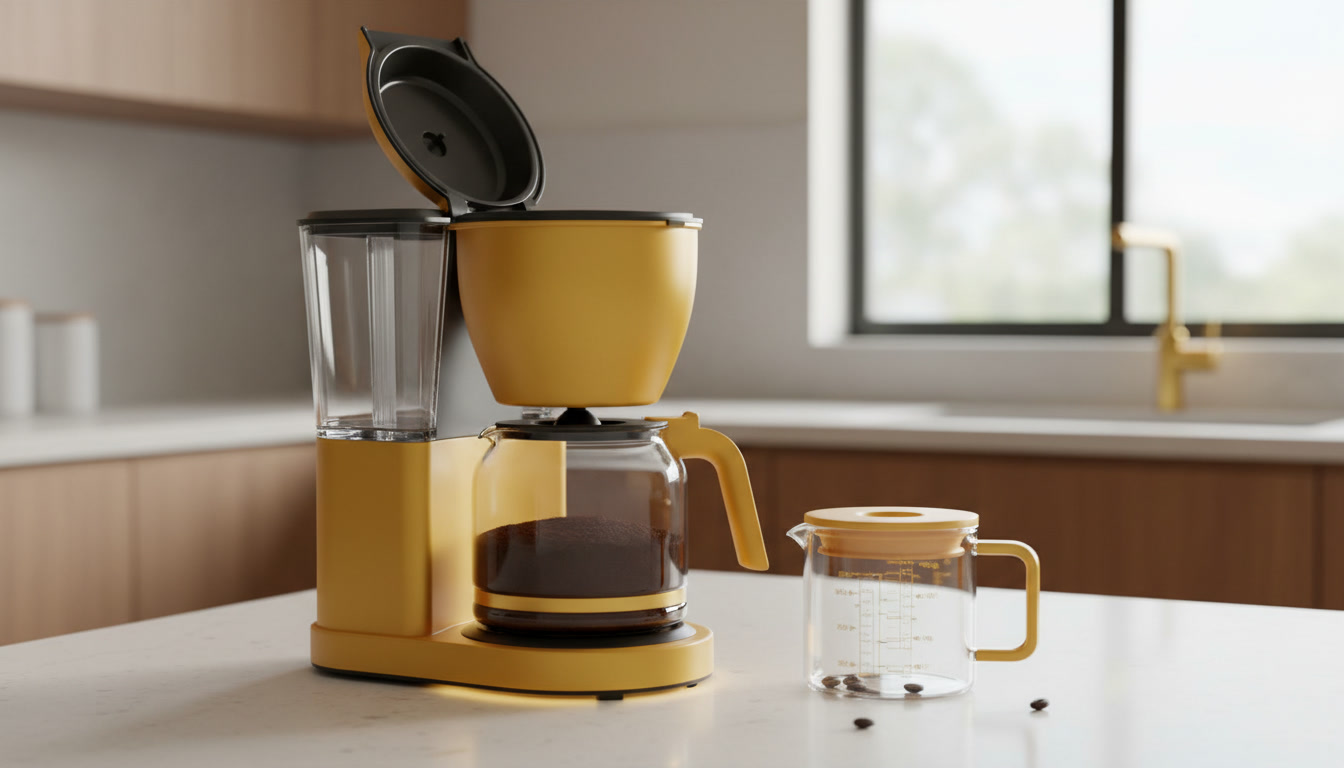
Drip machines build scale in the water reservoir, tubing, and heating chamber—so you want the solution to run through a brew cycle.
Step 1: Remove and wash the easy parts first 🧽
- Throw away the paper filter (if any).
- Wash the carafe and filter basket with dish soap and rinse well.
This prevents old oils from mixing with your descaling run.
Step 2: Fill the reservoir with descaling solution
Use one:
Option A — Citric acid (recommended)
- Mix 1 tablespoon per 1 liter of water (start here).
- If your machine is heavily scaled, go up to 2 tablespoons per 1 liter.
Option B — Vinegar
- Use a 1:1 vinegar-water mix.
Step 3: Brew half, pause to soak, then finish
- Start a brew cycle.
- After about half the reservoir has run through, pause/turn off the machine.
- Let it sit 15–20 minutes (this soak is what dissolves internal scale).
- Turn it back on and finish the cycle.
Step 4: Rinse cycles (this is where people rush)
- Empty the carafe.
- Fill the reservoir with plain water.
- Run 2 full brew cycles with clean water.
If you used vinegar or you still smell anything acidic, run a third rinse cycle. Your coffee should not taste like cleaner—ever.
Step 5: Final clean for taste
Coffee oils can make the machine smell “stale” even after descaling.
- Wash the carafe and basket again.
- Wipe the warming plate and exterior.
Single-serve, espresso, and pod machines: extra caution

These machines often have valves, sensors, and tighter tubing, so follow the manufacturer’s descaling instructions if you have them.
General guidance (safe approach):
- Prefer citric acid for less odor and easier rinsing.
- Use the milder end of the mix first.
- Run solution through in small batches, then multiple water-only cycles.
Avoid these common mistakes:
- Don’t use bleach or “toilet bowl” style descalers.
- Don’t leave vinegar sitting in the machine for hours; it can stress seals.
- Don’t force needles, pins, or wires into nozzles unless your manual says so.
If your espresso machine has a dedicated descale program, use it exactly as designed.
After descaling: how to remove lingering vinegar smell (and taste)
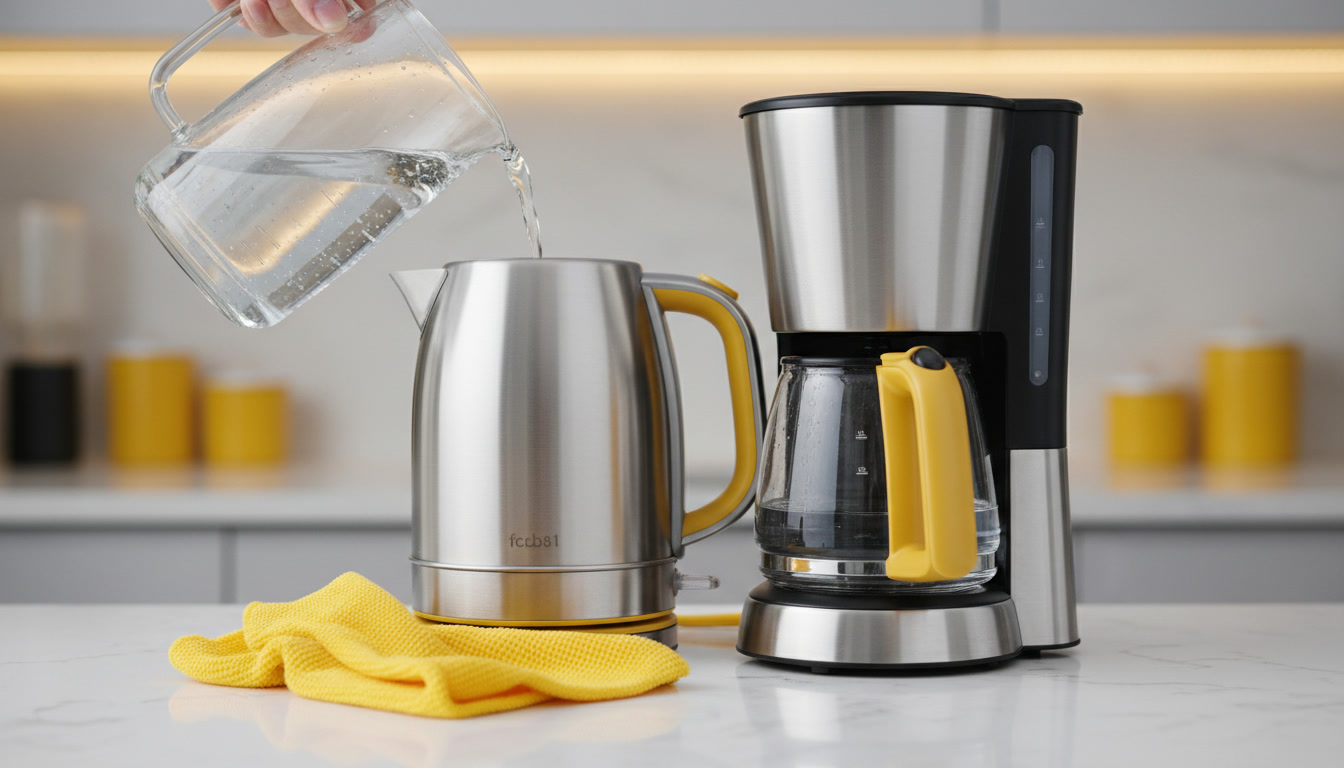
If you used vinegar and it’s still hanging around:
- Do one more full rinse cycle (or one more kettle boil-and-dump).
- Leave the reservoir/lid open to air dry (smell dissipates faster).
- Wash removable parts with dish soap and rinse well.
Don’t mask odors with baking soda inside the machine. In enclosed tubing, residue can collect and affect taste.
How often should you descale in Cagayan de Oro?
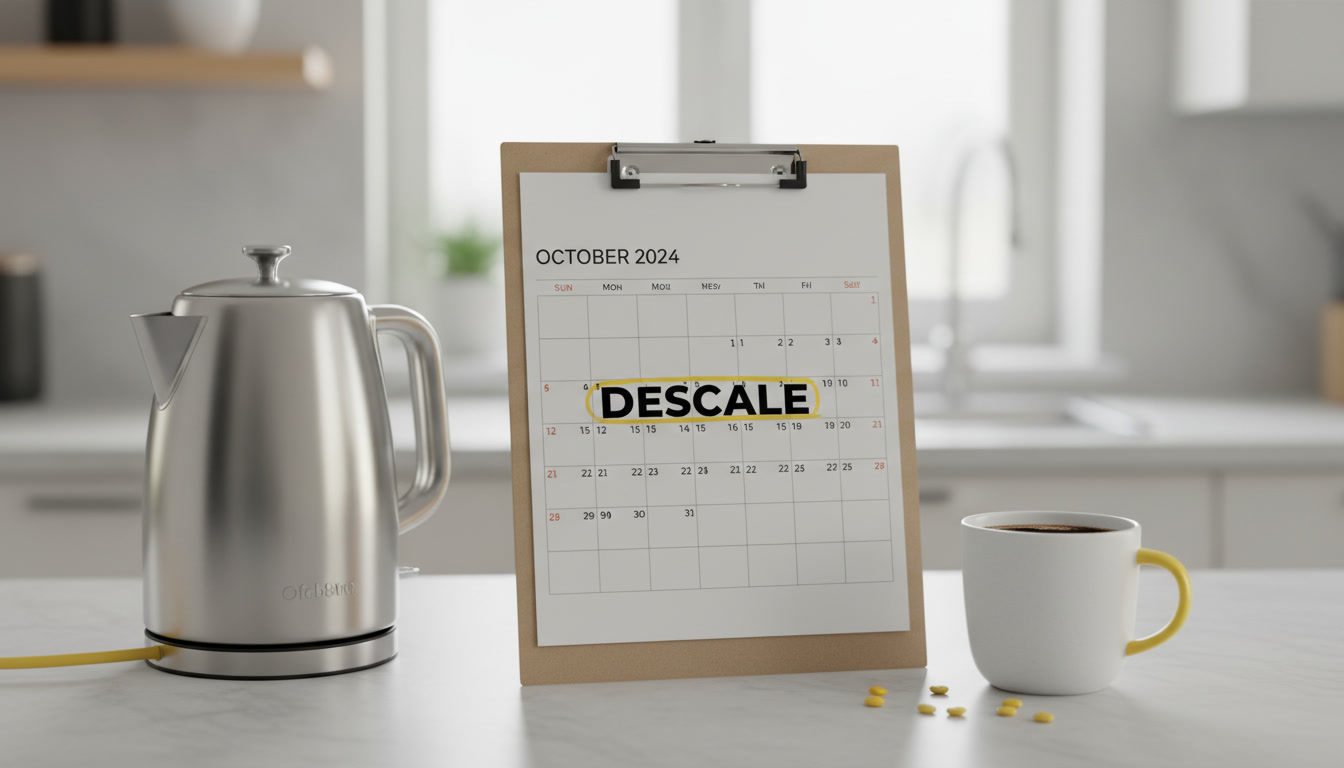
It depends on your water source and how often you brew/boil.
| Usage | What you’ll notice | Practical descaling schedule |
|---|---|---|
| Daily kettle use (tea/coffee, multiple boils) | Scale shows up quickly on the bottom | Every 3–6 weeks, or as soon as you see film |
| Drip coffee daily | Slower brew, hotter plate time, taste changes | Every 1–2 months |
| Occasional use (weekends only) | Minimal scale | Every 2–3 months, or when you see deposits |
If you see flakes or a rough chalky layer, descale now rather than waiting for a schedule.
What not to do (to avoid damage) ⚠️
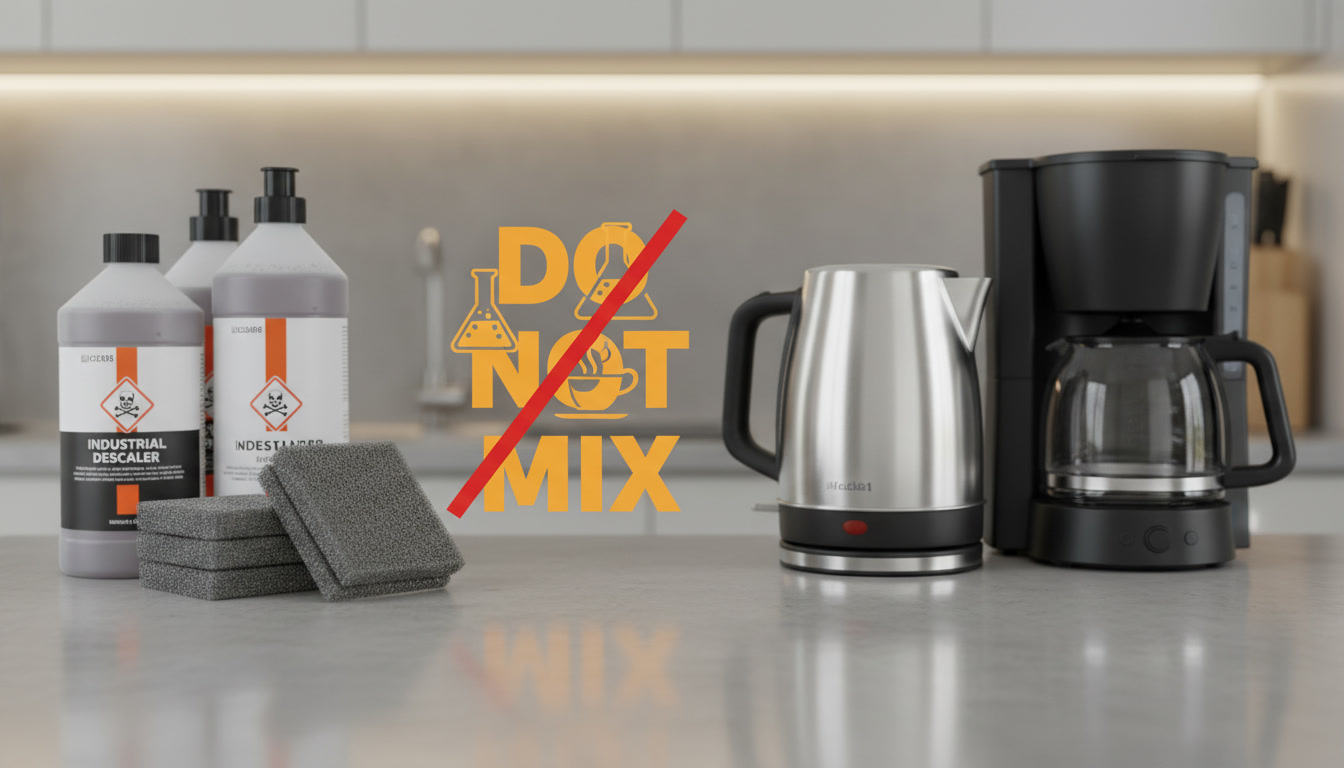
- Don’t scrape the kettle with knives or metal scrubbers.
- Don’t run descaling solution through a machine with a paper filter full of coffee grounds.
- Don’t use strong acids meant for bathroom scale (different materials, different risk).
- Don’t descale and then immediately brew coffee “to test” without rinse cycles.
If you’re unsure about a material (especially coated interiors), test your solution on a small spot and keep soak times short.
If scale keeps coming back fast: simple prevention
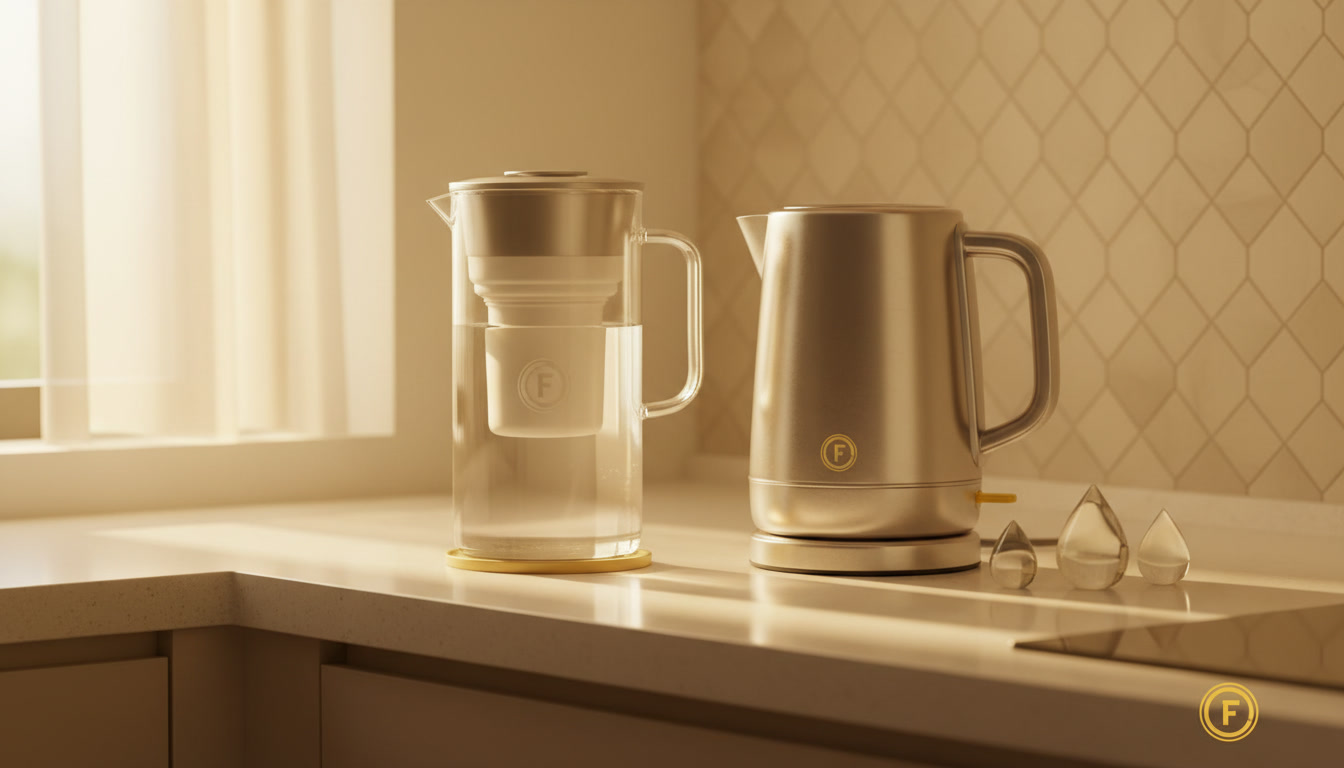
- Use filtered water if you have it.
- Empty the kettle after use instead of leaving water sitting overnight.
- Leave lids slightly open to dry (reduces mineral spots and stale smells).
- Wipe spills around the kettle base so minerals don’t bake on.
If you’re also dealing with pantry moisture, crumbs, or pests that love hidden food residue, pair appliance care with a proper cabinet reset—this checklist helps: Pantry cleaning & pest-prevention checklist (no harsh residue).
When it’s better to call for help (or replace parts)
Descaling won’t fix everything. Consider service or replacement if:
- Your coffee maker still brews extremely slow after descaling and rinsing
- There’s leaking under the machine (possible gasket or crack)
- The kettle has a persistent burnt smell even with clean water
- You see rust inside a kettle (that’s not limescale)
If you want a deeper kitchen reset as part of your home cleaning routine—countertops, sink area, small-appliance exteriors, and the usual “missed spots”—you can check what we cover here: View PrimeShineCDO Cleaning Services options.
For Cagayan de Oro homes and offices that need a hands-on cleanup schedule (especially after heavy use, renovations, or tenant turnover), message us and we’ll recommend a practical plan: Contact PrimeShineCDO Cleaning Services.