How To Clean And Disinfect A Kitchen Safely (Cutting Boards)

Keeping your kitchen “looks clean” is easy. Keeping it actually clean and disinfected—without gassing yourself with chemicals or spreading bacteria from one spot to another—is the real job. 😅
This guide shows you how to clean and disinfect a kitchen safely (cutting boards, sponges, sink drains, and countertops) using clear steps you can follow at home in the Philippines—especially in warm, humid conditions where germs and odors build up fast.
Cleaning vs disinfecting (don’t skip this) ✅
Let’s be honest: most kitchen “disinfecting” fails because people disinfect dirty surfaces.
- Cleaning = removes grease, crumbs, and dirt (physical removal).
- Disinfecting = kills germs on a surface after it’s clean.
If you disinfect first, the disinfectant can’t reach the germs properly—grease and food residue block it.
The safe order (always)
- Clear clutter (plates, food, utensils).
- Wash/clean with soap/detergent + water.
- Rinse (when needed).
- Disinfect (correct product + correct contact time).
- Air-dry when possible.
Your kitchen safety setup (what to prep first) 🧤
Before you start, set yourself up to avoid chemical accidents and cross-contamination.
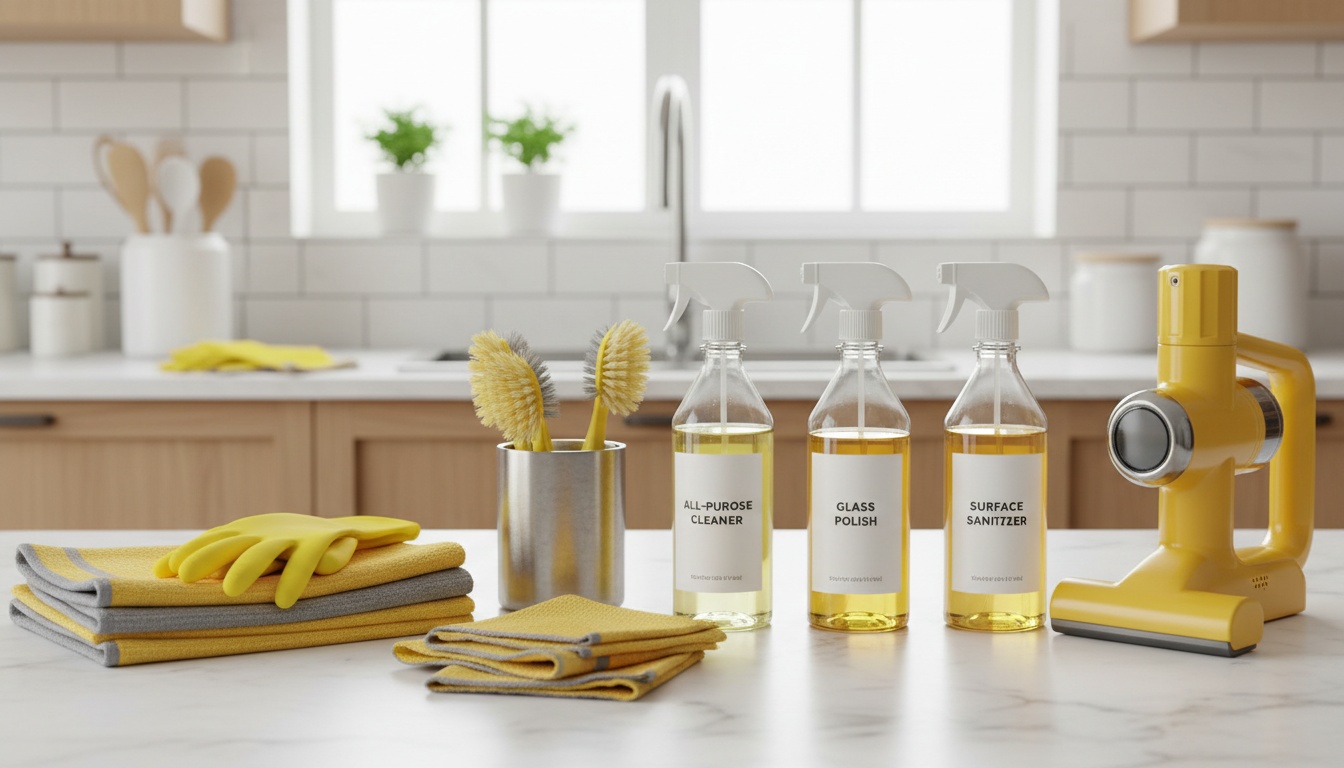
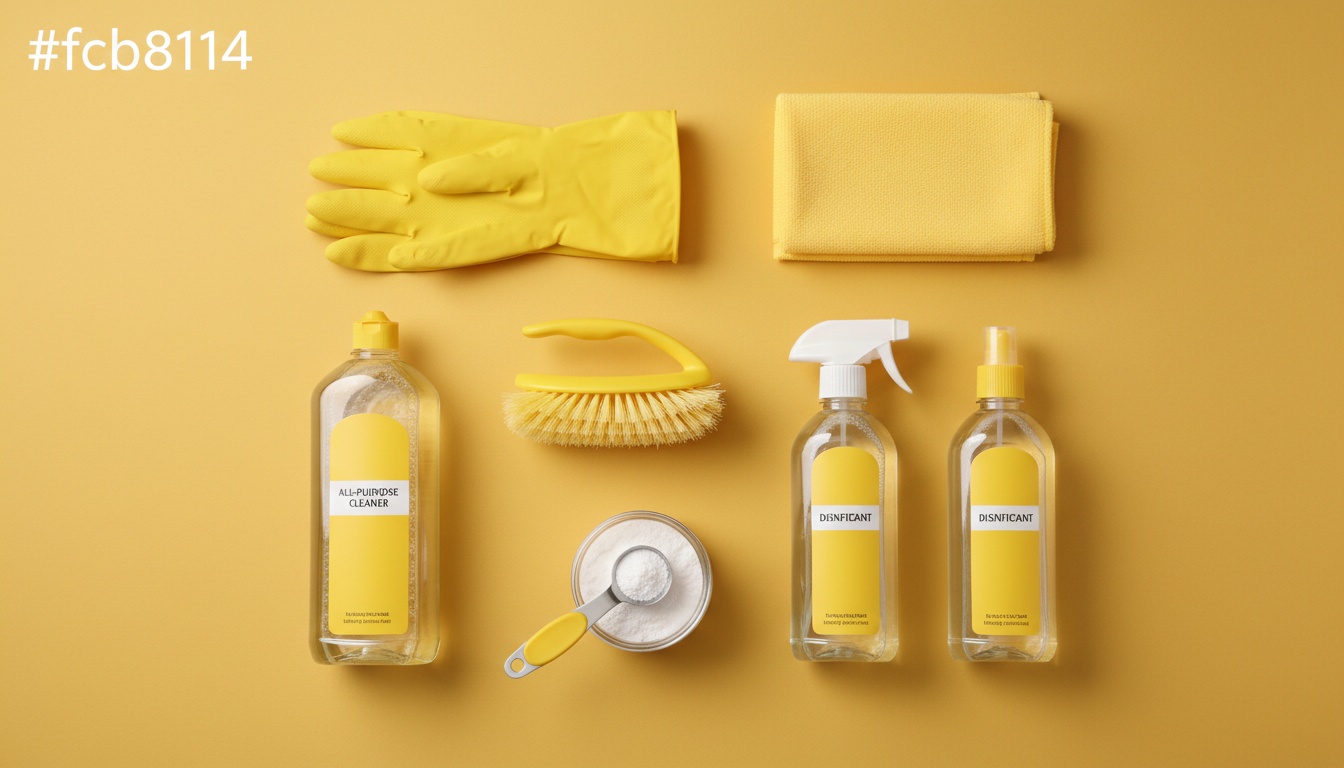
Essentials
- Dishwashing liquid (degreaser)
- Microfiber cloths (at least 4; color-code if you can)
- Non-scratch scrub pad
- Old toothbrush or small detail brush
- Gloves
- Measuring spoon/cup (for dilution accuracy)
If you want your cloth routine to be more systematic, learn the basics here: Microfiber cloth types, GSM, and color-coding
The 3 biggest safety rules (don’t negotiate)
- Never mix bleach with vinegar, ammonia, or toilet cleaners. (Toxic gas risk.)
- Ventilate. Open windows; turn on exhaust.
- Label your bottles if you pre-mix solutions.
The takeaway is clear: Use one disinfectant at a time, and measure it properly.
Disinfectant options you can use (and when) 🧪
Different kitchen materials react differently. Use the right disinfectant for the right surface.
| Area | Best safer choice | Works well for | Avoid |
|---|---|---|---|
| Food-contact surfaces (countertops, boards after washing) | Diluted bleach solution (freshly made) or a food-safe disinfectant | Broad germ kill | Strong acids (vinegar) as “disinfectant” for high-risk tasks |
| Stainless sink & drain area | Bleach solution (carefully) | Odor + bacteria control | Mixing with other cleaners in the drain |
| Sponges (high risk) | Heat + replacement | Fast, reliable | “Just rinsing” (does almost nothing) |
| Stone counters (granite/marble) | Mild soap + stone-safe disinfectant | Protects sealant | Bleach or acidic cleaners (can dull/etch) |
Contact time matters. Many disinfectants need the surface to stay wet for a set time to work. If you spray and wipe instantly, you’re basically doing nothing. 😬
Step-by-step: countertops (safe daily + weekly routine) 🧼
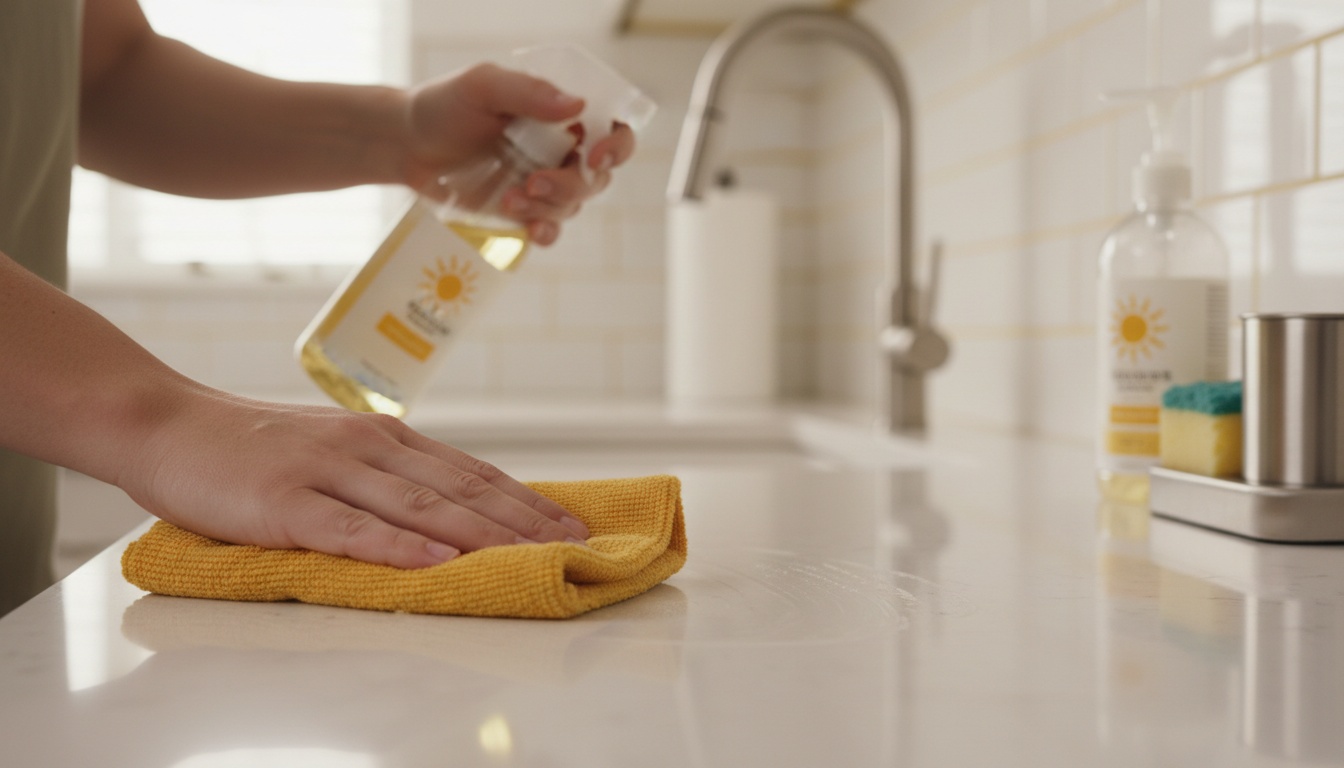
Countertops are the “landing strip” for everything—raw meat packaging, grocery bags, lunchboxes, and dirty phones.
A. Daily clean + disinfect (5–10 minutes)
- Remove items (appliances, chopping boards, condiments).
- Dry wipe crumbs into the trash (use paper towel or a dedicated cloth).
- Wash with warm water + a few drops of dishwashing liquid.
- Rinse with a clean damp cloth (especially if you used lots of soap).
- Disinfect:Spray your chosen disinfectant evenly.Keep it visibly wet for the required contact time (check label).
- Air-dry or wipe with a clean cloth after contact time.
B. Weekly deep detail (edges + backsplash)
- Spray warm soapy water along seams and backsplash.
- Use a soft brush/toothbrush to lift grime from corners.
- Wipe clean, then disinfect.
Blunt truth: if you use the same “kitchen rag” all day, you’re repainting germs across your counters.
Step-by-step: cutting boards (plastic vs wood) 🔪

Cutting boards are high-risk because they touch raw meat, seafood, and produce.
Step 1: Decide if the board is still worth saving
Replace the board if:
- Deep grooves you can feel with a fingernail
- Warping or cracks (especially wood)
- Persistent odor even after cleaning
Step 2: Wash immediately after use (don’t “later” it)
- Scrape off bits into the trash.
- Wash both sides with hot water + dish soap.
- Scrub grooves thoroughly (use a brush, not a soft cloth).
- Rinse well.
Step 3: Disinfect correctly (choose based on material)
For plastic boards
- After washing, apply disinfectant.
- Keep wet for the proper contact time.
- Rinse if required by the product label (especially for food-contact surfaces).
- Air-dry upright (don’t stack wet).
For wood boards (extra care)
Wood is porous. It can be safe, but only if you maintain it.
- Wash quickly—don’t soak.
- Disinfect using a wood-safe method recommended by your board maker, or a food-safe disinfectant appropriate for porous surfaces.
- Dry immediately and stand it upright for airflow.
- Oil occasionally (food-grade mineral oil) to reduce cracking and absorption.
Step 4: Prevent cross-contamination (simple system)
Use separate boards:
- Red: raw meat/seafood
- Green: vegetables/fruits
- White: cooked food/bread
If you want a more “checklist” way to run your home like a pro, you’ll like this: Deep cleaning vs regular cleaning—what’s included and when to do each
Step-by-step: sponges (the germ hotel) 🧽
Sponges stay wet, trap food, and get warm—perfect conditions for bacteria. This is the big one.
The safest approach: switch to a brush + routine replacement
- Use a dish brush for most washing (dries faster).
- Keep sponges for light tasks only, if you must.
If you still use sponges, do this daily
- Rinse thoroughly to remove food.
- Squeeze out water completely.
- Store upright in an open holder (not flat in the sink).
Disinfecting sponges (choose one method)
- Boiling water soak (5 minutes): helps reduce microbes; let cool and dry completely.
- Diluted bleach soak: follow label-safe dilution; soak briefly; rinse thoroughly; air-dry.
Replace schedule (be strict)
| Sponge usage | Replace every |
|---|---|
| Heavy daily cooking | 3–7 days |
| Light use | 1–2 weeks |
| After raw meat spills | Immediately |
If your sponge smells even after disinfecting, it’s done. Don’t debate it. 🙅♂️
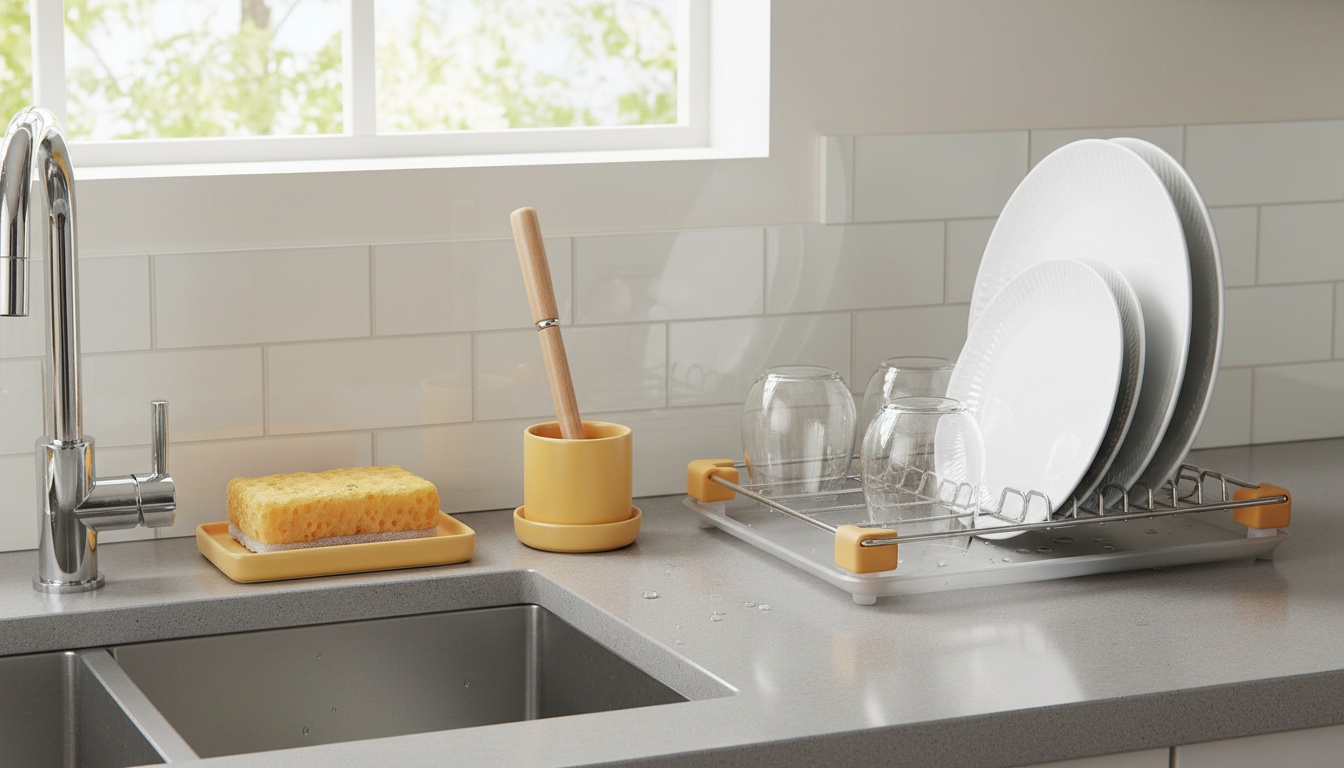
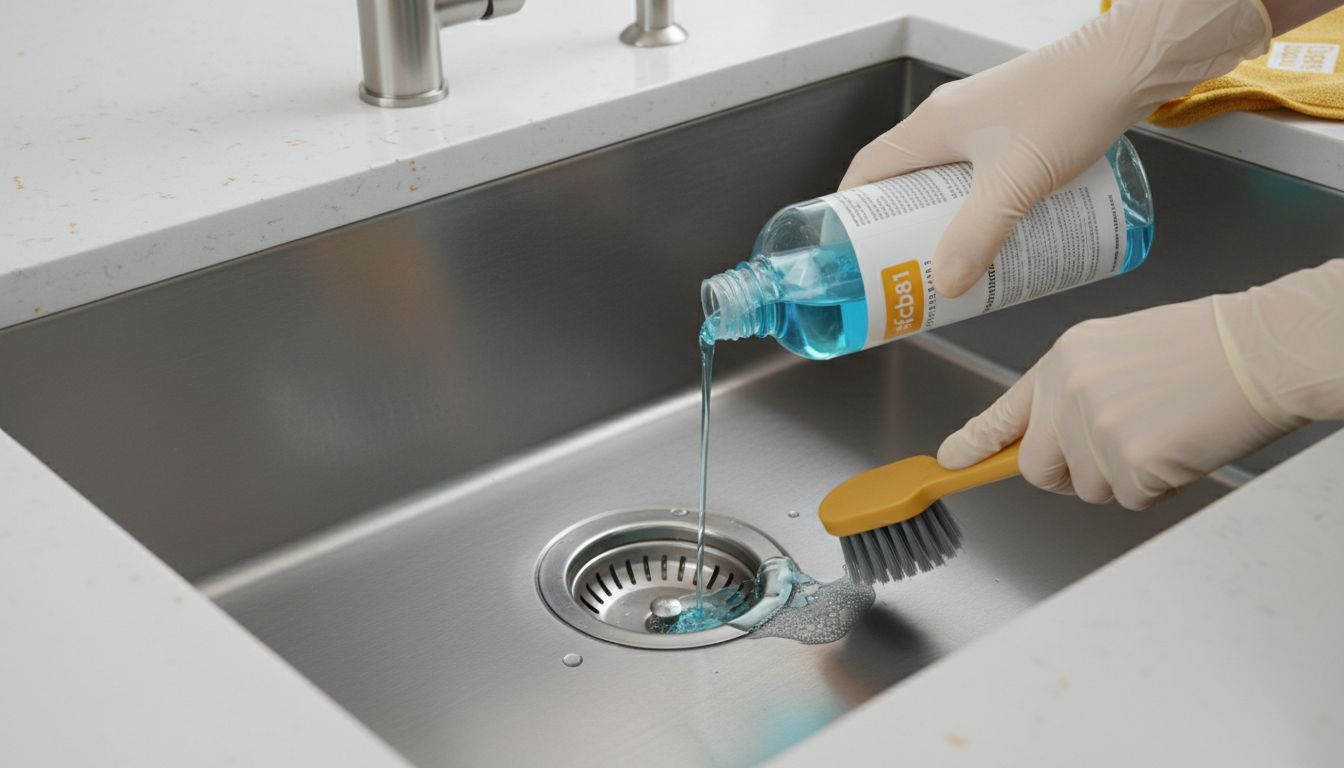
Step-by-step: sink drains (odor + biofilm removal) 🚰
Drains don’t just smell bad—they can spread microbes back into the sink area through splash and aerosols.
A. Daily (2 minutes)
- Remove food scraps from the strainer.
- Wash the sink bowl with dish soap.
- Rinse and wipe dry around the drain.
B. Weekly drain refresh (safe + effective)
- Scrub the drain ring and stopper with warm soapy water.
- Rinse.
- Apply disinfectant around the drain area and sink surface.
- Let sit for contact time.
- Rinse (if needed) and wipe dry.
C. If your drain smells (biofilm likely)
- Remove and wash the strainer/stopper.
- Use a small brush to scrub the inside rim.
- Flush with hot water.
- Disinfect the sink and surrounding area (faucet handles too).
Critical safety reminder: don’t pour random cleaners into the drain one after another. That’s how people create dangerous fumes at home.
High-touch spots people forget (but germs don’t) 👀
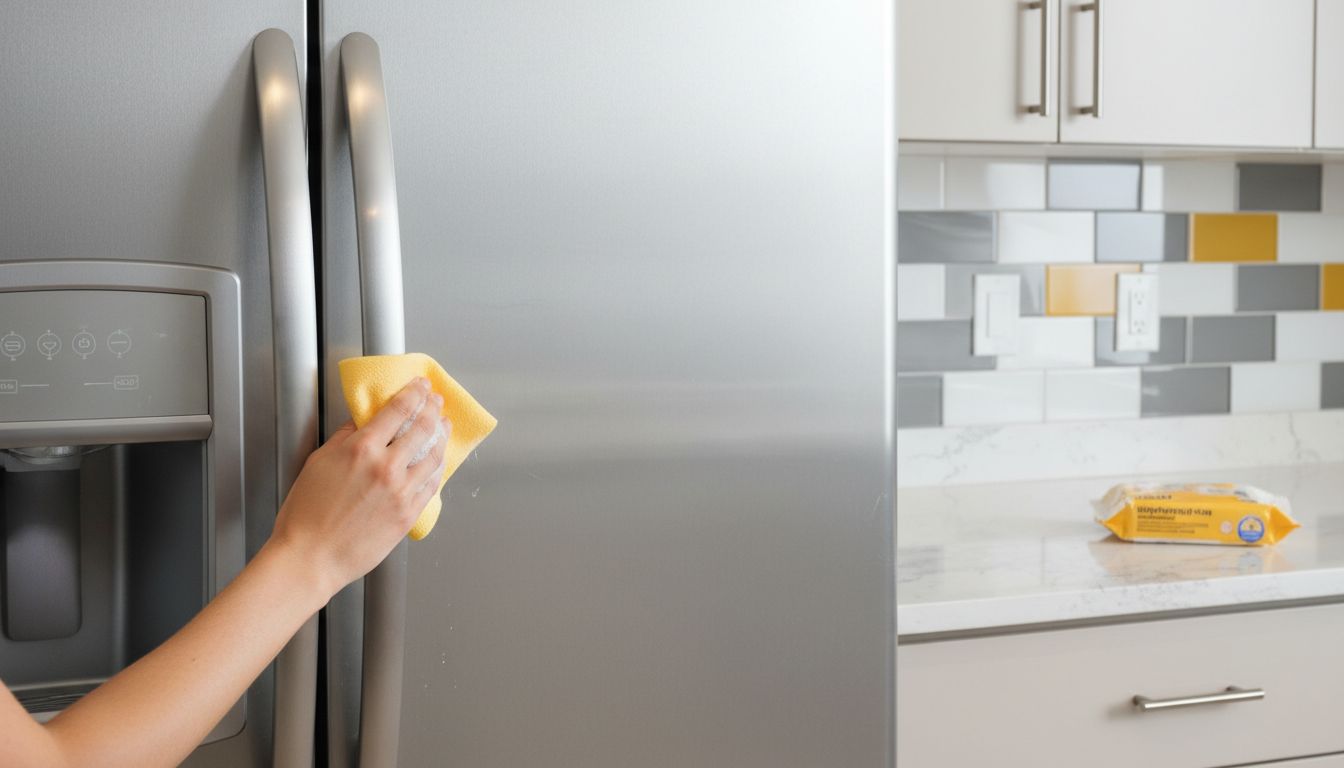
Disinfect these at least 2–3x per week (daily if someone is sick):
- Fridge handle
- Faucet handles + sprayer head
- Cabinet pulls near the stove
- Light switches
- Appliance buttons (microwave, rice cooker)
- Trash bin lid and rim
Quick method
- Clean visible grease/dirt with soapy water.
- Disinfect and let it stay wet for contact time.
- Air-dry.
A simple 20-minute “safe disinfect” kitchen routine 🕒
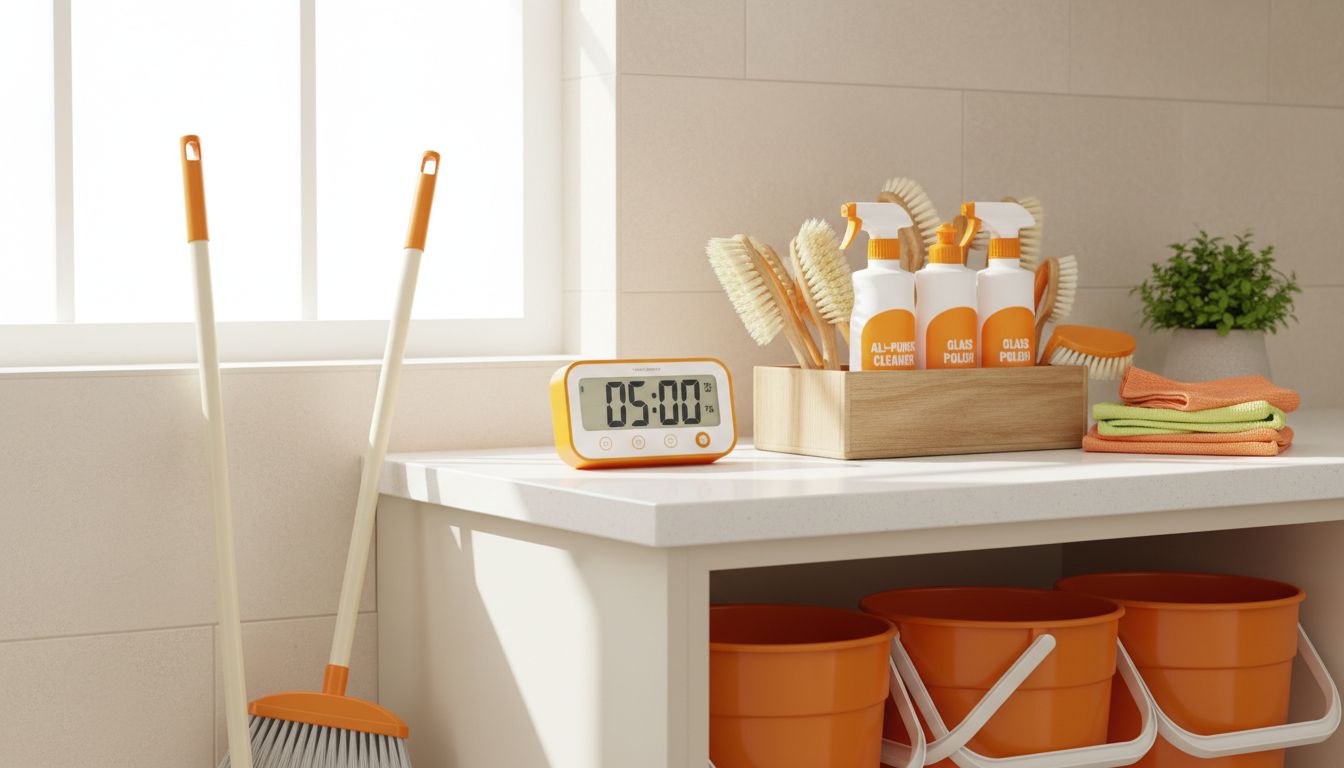
If you want something realistic you’ll actually do:
- 00:00–03:00 Clear counters, load dishwasher or set items aside
- 03:00–08:00 Wash counters + stove-side prep area (soap + water)
- 08:00–12:00 Wash cutting boards + utensils; air-dry upright
- 12:00–15:00 Scrub sink + drain ring; rinse
- 15:00–20:00 Disinfect counters + faucet handles + fridge handle (contact time)
Done. No drama. 👍
Common kitchen disinfecting mistakes (and what to do instead) ❌➡️✅
| Mistake | Why it’s a problem | Do this instead |
|---|---|---|
| Spraying disinfectant on grease | Germs stay protected under grime | Clean first with soap |
| Wiping disinfectant immediately | No contact time = weak kill | Keep surface wet for label time |
| Using one cloth everywhere | Spreads bacteria | Assign cloths by zone |
| Leaving sponge in the sink | Constant contamination | Dry upright + replace often |
| Mixing drain cleaners | Fume risk | Use one method, rinse, ventilate |
When to call pros (because life is busy) 🧹✨
If you’re dealing with:
- Persistent odors from sink/drain area
- Grease buildup that keeps returning
- Post-renovation dust mixing with kitchen grime
- Move-in / move-out cleaning timelines
…it’s often faster (and safer) to outsource the heavy work and keep a maintenance routine after.
You can check what’s included here: Browse PrimeShineCDO Cleaning Services options
And if you want a team that’s background-checked, insured, and checklist-driven, here’s a solid read before you hire anyone: How to choose a trustworthy cleaner in Cagayan de Oro
Quick FAQ: kitchen cleaning safety (PH household edition) 🇵🇭
How often should you disinfect kitchen counters?
- Daily if you prep raw meat/seafood
- 2–3x/week for light cooking households
- Immediately after spills from raw food packaging
Is vinegar enough to disinfect?
Vinegar can help with some odors and light cleaning, but for high-risk kitchen tasks (raw meat zones), use a proper disinfectant with clear instructions and contact time.
What’s the safest way to keep a sponge “clean”?
Replace it often and let it dry fully between uses. If it smells, toss it—no heroics.
Your kitchen, safely disinfected—without overdoing chemicals ✅
If you remember only one thing: clean first, then disinfect—measured, ventilated, and with contact time. That’s how you get a kitchen that’s not just shiny, but hygienic.
If you’d rather hand off the deep work and keep your time, you can Contact PrimeShineCDO Cleaning Services and book a schedule that fits your week.