How To Clean Gas Stove Burner & Igniter Without Harming Enamel/Sensors

If you’re searching for how to clean gas stove burners and igniters without damaging enamel or sensors, the key is simple: remove grease and carbon while keeping moisture and harsh abrasives away from parts that spark, sense heat, or have protective coatings. A careful process also prevents weak flames, clicking igniters, and that “gas smell but won’t light” situation 🔥.
Below is a step-by-step method we use in real homes in Cagayan de Oro—practical, safe on enamel, and gentle around igniters and sensor-type parts.
Know what you’re cleaning (so you don’t damage it)
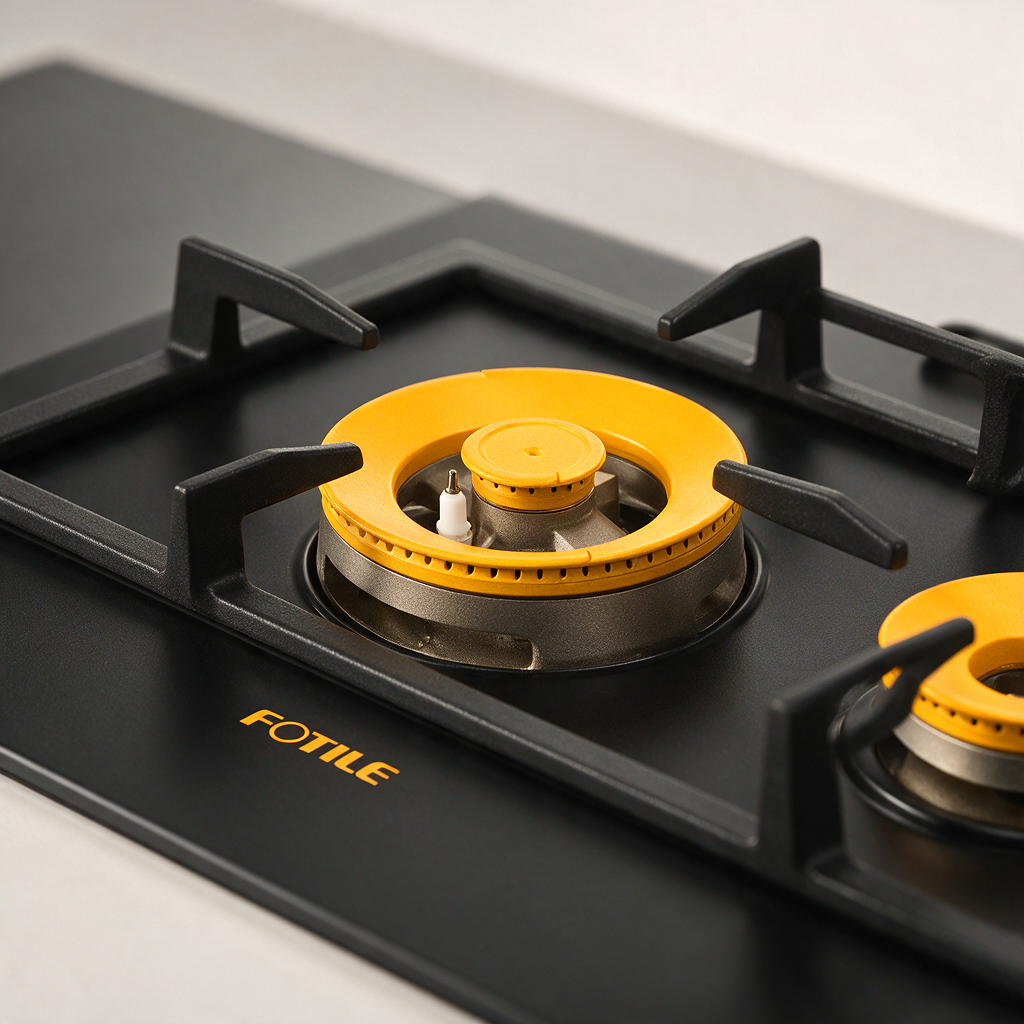
Most gas stoves have the same critical pieces:
- Grates: the heavy top racks your pots sit on.
- Burner cap: the removable “lid” that spreads the flame.
- Burner head: the ring with small ports/holes where flame comes out.
- Igniter/electrode: the small ceramic/metal pin that sparks (often white ceramic).
- Thermocouple/flame sensor (on some models): a metal probe that “confirms” flame (common on safety-valve designs).
- Enamel surface: the glossy coated surface around the burners (this scratches if you get aggressive).
Decision rule: Anything with ceramic, wiring, or a sensor probe should be cleaned damp—not soaked. Anything that’s plain metal and removable (caps/heads) can be soaked briefly.
Safe tools and cleaners (and what to avoid)
Use this as your quick “infographic” checklist ✅
| Item | Safe for burner caps/heads | Safe for igniters/sensors | Safe for enamel | What to watch out for |
|---|---|---|---|---|
| Warm water + dish soap | ✅ | ✅ (damp cloth only) | ✅ | Don’t flood the igniter area |
| Baking soda paste (baking soda + a little water) | ✅ | ⚠️ (tiny amount on cloth, not packed around parts) | ✅ | Rinse residue well so it doesn’t crust |
| White vinegar (light use) | ⚠️ | ❌ | ⚠️ | Can dull some finishes and irritate aluminum if left too long |
| Isopropyl alcohol (70% or higher) | ⚠️ | ✅ | ✅ (spot use) | Flammable—use on a cool stove only |
| Soft toothbrush / soft detailing brush | ✅ | ✅ | ✅ | Don’t use stiff wire bristles |
| Microfiber cloth | ✅ | ✅ | ✅ | Use clean cloths to avoid grit scratching enamel |
| Steel wool / abrasive pads | ❌ | ❌ | ❌ | Scratches enamel and can damage coatings |
| Bleach / strong oven cleaner | ⚠️ | ❌ | ⚠️ | Can discolor/dull enamel and attack metals/sensors |
If you’re tempted to use a melamine sponge, read this first so you don’t haze your finish: Melamine sponge safety guide (what it scratches and when to skip it).
Step-by-step: Clean burner grates, caps, and burner heads
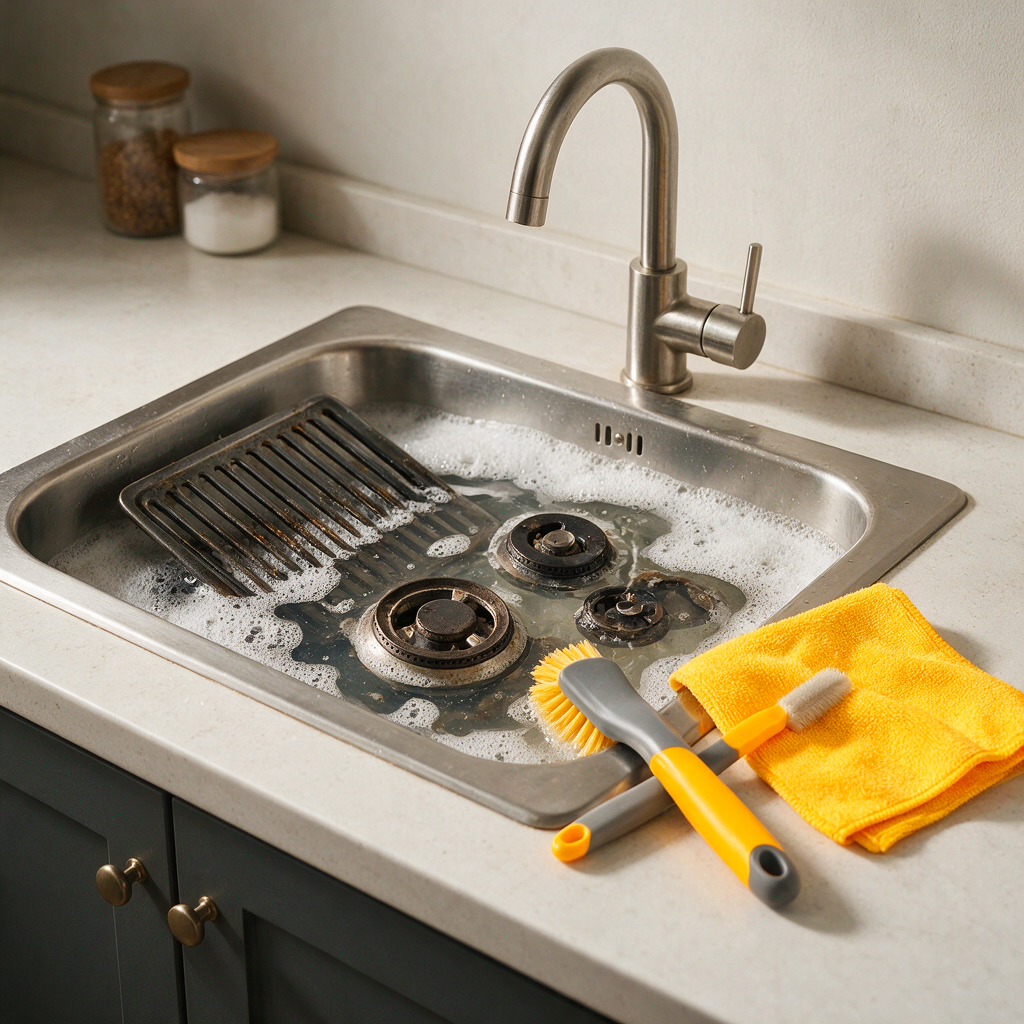
Step 1: Cool down and shut off
- Turn all knobs to OFF.
- Let the stove cool completely.
- If you have pets/kids around, keep them away while parts are removed.
Step 2: Remove loose parts
- Lift off grates.
- Remove burner caps and burner heads (if your model allows the head to lift).
- Take a quick photo before you move things around—reassembly is easier.
Step 3: Soak only the removable metal parts
- Fill a basin with warm water + a few drops of dish soap.
- Soak caps and heads for 10–20 minutes (enough to soften grease, not a long “all afternoon” soak).
Avoid soaking if your burner head has attached components/wiring. If it doesn’t lift cleanly, don’t force it.
Step 4: Brush gently and clear ports safely
- Use a soft toothbrush to scrub carbon and grease.
- For clogged burner holes/ports:Use a wooden toothpick first.If needed, use a thin paperclip very lightly—you’re clearing gunk, not enlarging the hole.
Step 5: Rinse and dry completely
- Rinse with clean water.
- Dry with a microfiber cloth.
- Leave parts air-drying for at least 20–30 minutes (longer if humidity is high in CDO).
Decision rule: if a burner part still feels cool-damp in crevices, wait. Moisture is a top cause of nonstop clicking and delayed ignition.
Step-by-step: Clean igniters and sensors without soaking them
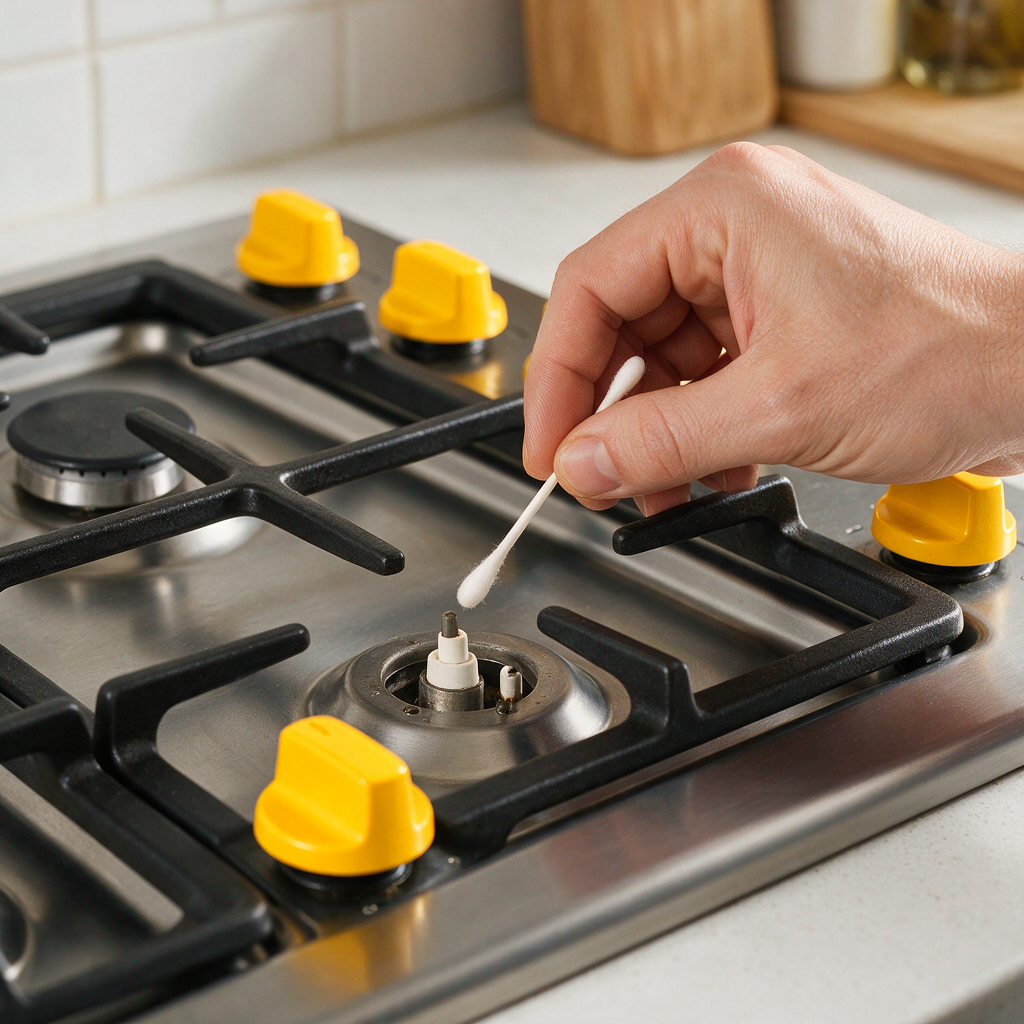
Igniters and flame-sensing parts fail more from corrosion, cracks, and residue than from “old age.” The goal is to remove grime while keeping the area as dry as possible.
Step 1: Dry-clean first
- Use a dry microfiber cloth to remove loose crumbs.
- Use a soft brush to sweep around the igniter base.
Step 2: Wipe carefully (not dripping)
- Lightly dampen a cloth or cotton bud with soapy water (or isopropyl alcohol for greasy residue).
- Wipe the ceramic and the metal tip gently.
- Don’t pour liquid into the burner well.
Step 3: Remove stubborn carbon ring (gentle method)
- Make a thin baking soda paste.
- Put a tiny amount on a cotton bud.
- Rub only the dirty spot, then wipe clean with a barely damp cloth.
Step 4: Dry the area well
- Pat dry with a clean cloth.
- Let it air-dry. If you have a fan, let it blow across the cooktop for a few minutes.
This video is a helpful visual if you prefer to watch the process before doing it yourself:
Decision rule: If the igniter ceramic is cracked, cleaning won’t fix misfires. That’s usually a replace-part issue.
Step-by-step: Clean enamel cooktop surfaces without dulling or scratching
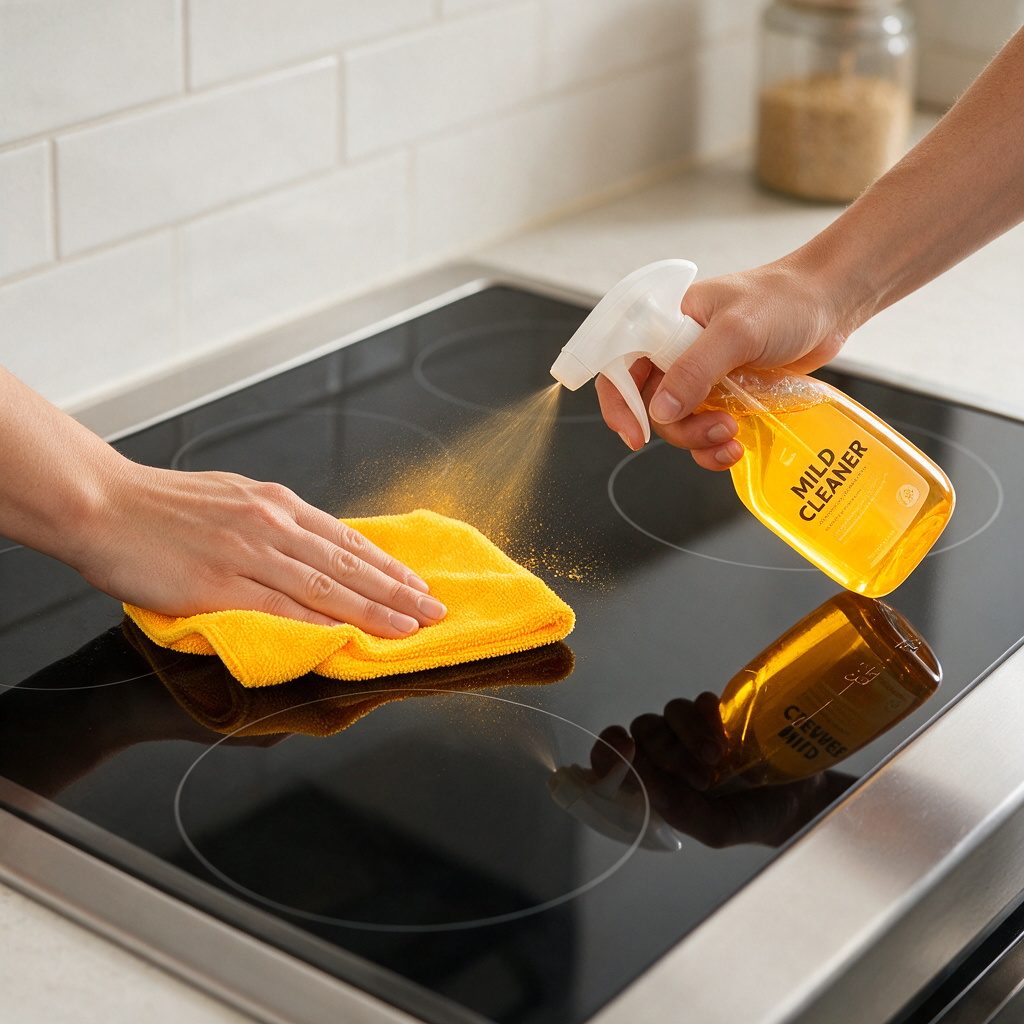
Enamel is tough, but it can scratch or go dull if you use grit, harsh powders, or the wrong pad.
Step 1: Remove debris before wiping
- Brush or wipe away crumbs first.
- This prevents tiny sand-like particles from scratching while you scrub.
Step 2: Use mild soap and a soft cloth
- Wipe with warm soapy water using a microfiber cloth.
- For greasy film, hold a warm damp cloth over the spot for 2–3 minutes, then wipe again.
Step 3: Deal with burned-on spots (without scraping enamel)
- Use baking soda paste on the stain.
- Let it sit 5–10 minutes.
- Gently rub with a soft sponge, then rinse-wipe and dry.
Avoid metal scrapers on enamel unless your manufacturer specifically approves it—and even then, it’s easy to leave permanent marks.
Reassemble correctly and test the flame pattern
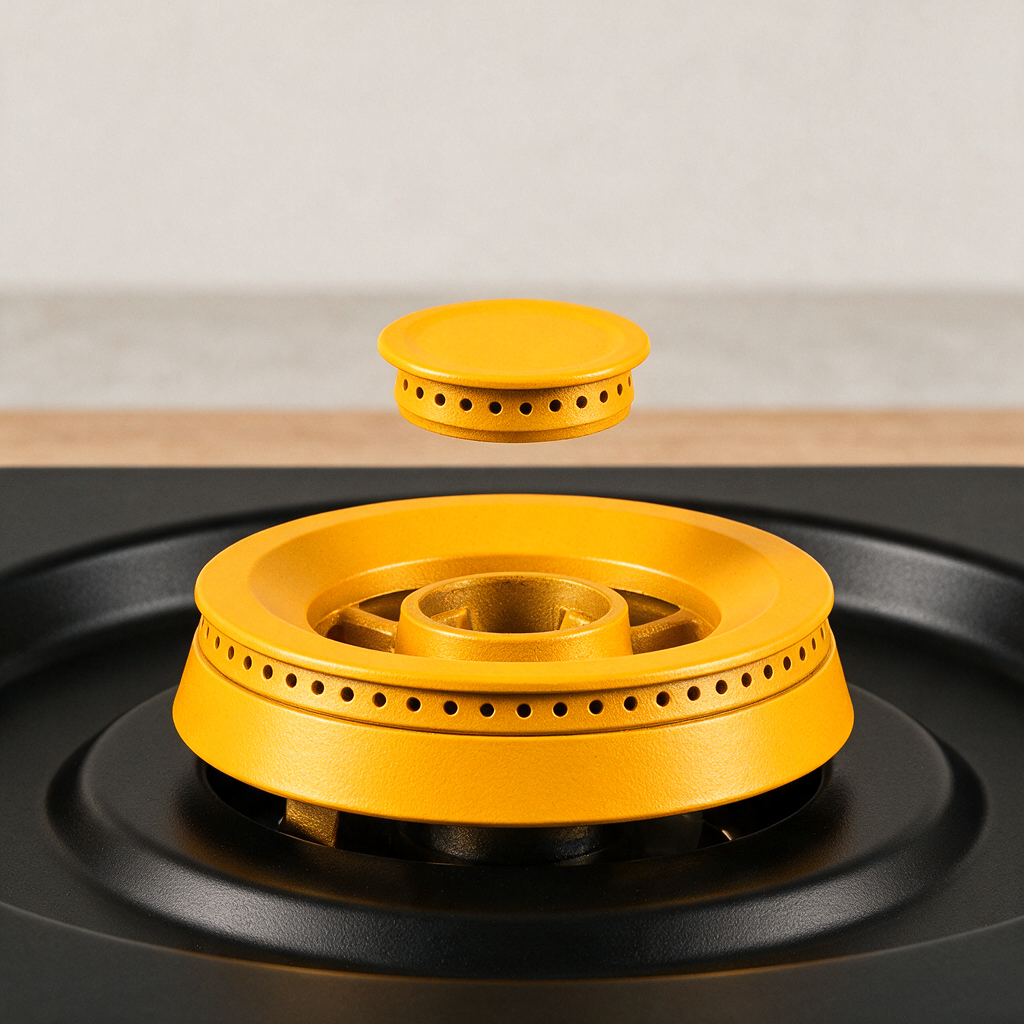
Step 1: Put parts back in the right orientation
- Burner head should sit flat and stable.
- Burner cap should be centered—no wobble.
Step 2: Turn on each burner and watch the flame
A healthy flame is usually:
- Mostly blue
- Even all around the ring
- Not lifting off the burner or sputtering
If you see orange tips now and then, it can be normal (especially during cooking spills), but persistent orange flames and soot need attention.
Step 3: If it clicks but won’t light
- Turn it off.
- Wait a minute.
- Re-check that everything is fully dry and seated correctly.
Decision rule: Uneven flame after cleaning often means a port is still clogged or the head/cap isn’t aligned.
A realistic cleaning schedule for busy kitchens (CDO-friendly)
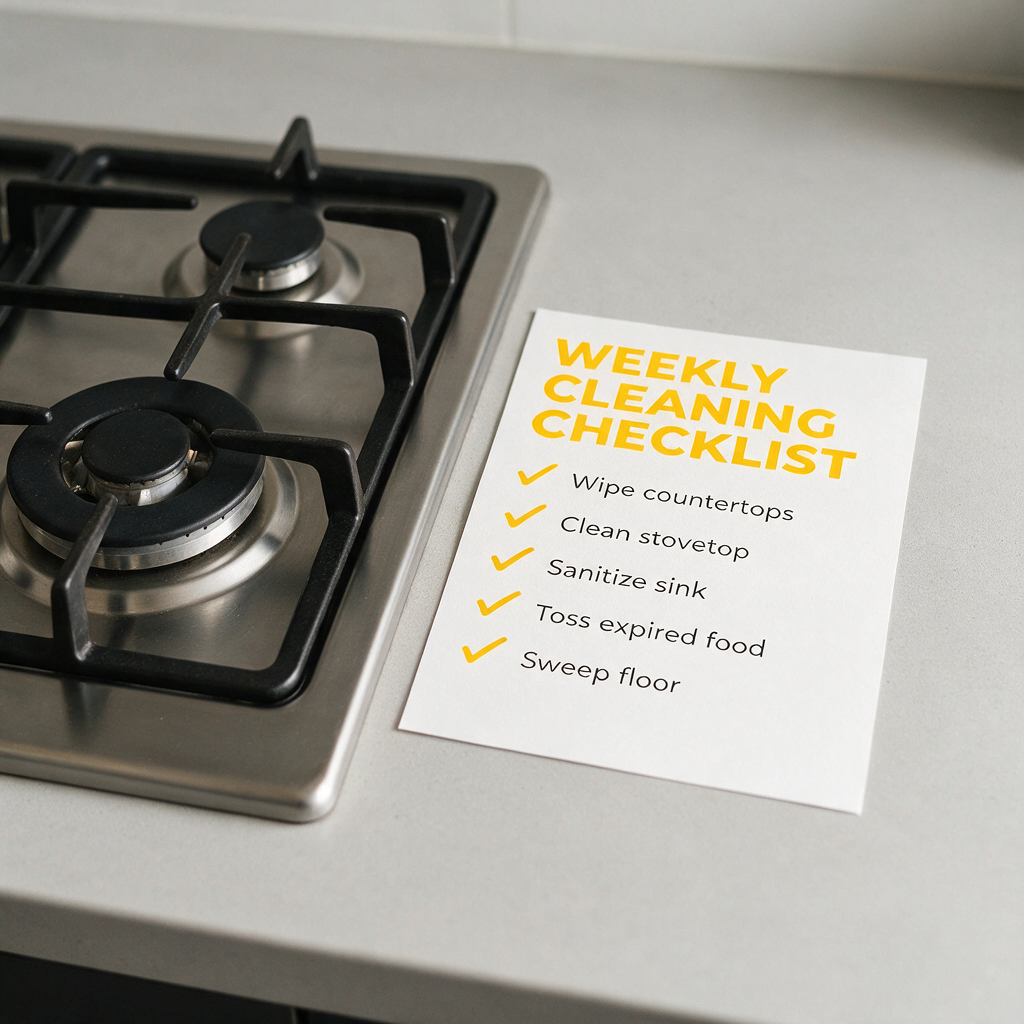
Humidity and frequent cooking can make grease tacky, so small, regular resets beat rare “deep scrubs.” 🧽
- After cooking (1–2 minutes): wipe spills once the surface is safe to touch.
- Weekly: remove grates and caps, wash with dish soap, wipe enamel, quick brush around igniters.
- Monthly (or as needed): check burner ports for clogs, do a baking soda paste treatment for discoloration.
Decision rule: If you cook oily foods often (prito, stir-fry), do the weekly wash—carbon builds faster.
When to stop DIY and call a pro

Stop and get help if you notice:
- A persistent gas smell (turn off the supply and ventilate)
- Flames that are very high/low even after cleaning
- Clicking that continues for long periods (and everything is dry)
- Signs of melted wiring, cracked ceramic igniters, or damaged knobs
If you’d rather have the kitchen cleaned thoroughly without risking enamel scratches or finicky igniter issues, you can check what’s included in PrimeShineCDO’s cleaning services. For questions or booking in Cagayan de Oro City, use our contact page to message PrimeShineCDO.