How to Remove Floor Wax Buildup and Restore Shine on Vinyl and Tile Floors

Vinyl and tile floors can look dull even after you mop—not because they’re “old,” but because layers of floor finish (wax) and trapped soil have built up over time. This guide shows you how to remove floor wax buildup and restore shine on vinyl and tile floors the safe way, with clear steps you can do at home in the Philippines.
If you’re dealing with sticky corners, gray traffic lanes, or a hazy film that won’t go away, you’re in the right place. 🧼
Step 1: Confirm your floor type (and whether it should be waxed at all)
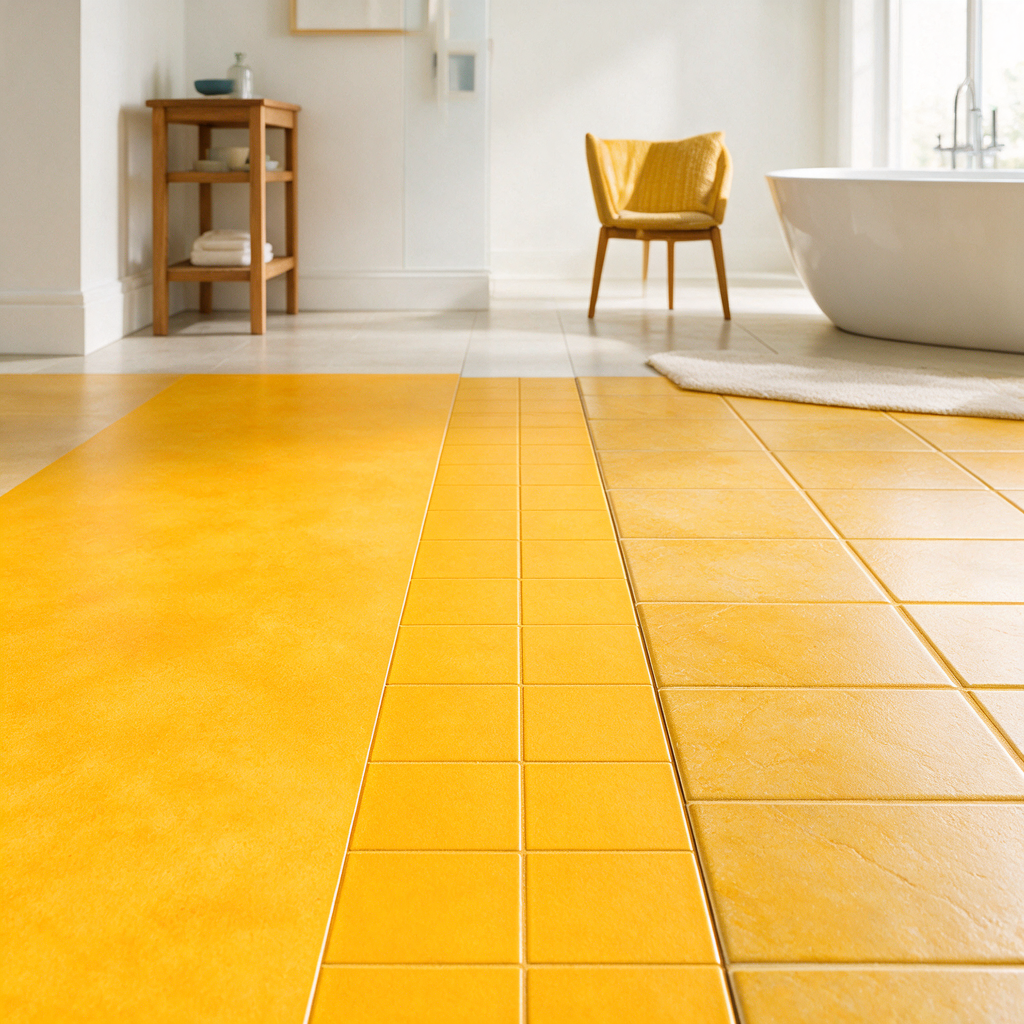
Before you strip anything, check what you’re working on. The right method depends on whether the “shine” comes from a finish layer (wax/acrylic) or from the floor material itself.
Use this quick guide:
| Floor type | Common in CDO homes/offices | Should you wax it? | What buildup usually is |
|---|---|---|---|
| Vinyl (sheet or luxury vinyl planks/tiles / LVP/LVT) | Yes | Sometimes (depends on product) | Cleaner residue, polish, or finish from previous maintenance |
| VCT (vinyl composition tile) | Often in commercial spaces | Yes (usually finished) | Multiple coats of acrylic floor finish + embedded dirt |
| Ceramic/porcelain tile | Very common | No (generally) | Hazy film from cleaners, greasy soil, or “wax” mistakenly applied |
| Natural stone (marble/terrazzo/granite) | Some homes/condos | Special care | Needs stone-safe products; don’t use typical stripper |
If you’re not sure, check an off-to-the-side area (behind a door, under a shelf). If you can scratch off a little cloudy layer with a plastic card, that’s usually finish/wax sitting on top.
⚠️ If you suspect natural stone, skip the stripper step and use a stone-safe approach. (Stone can etch or discolor with the wrong chemicals.)
Step 2: Get your tools and supplies ready (so you don’t “re-deposit” wax)
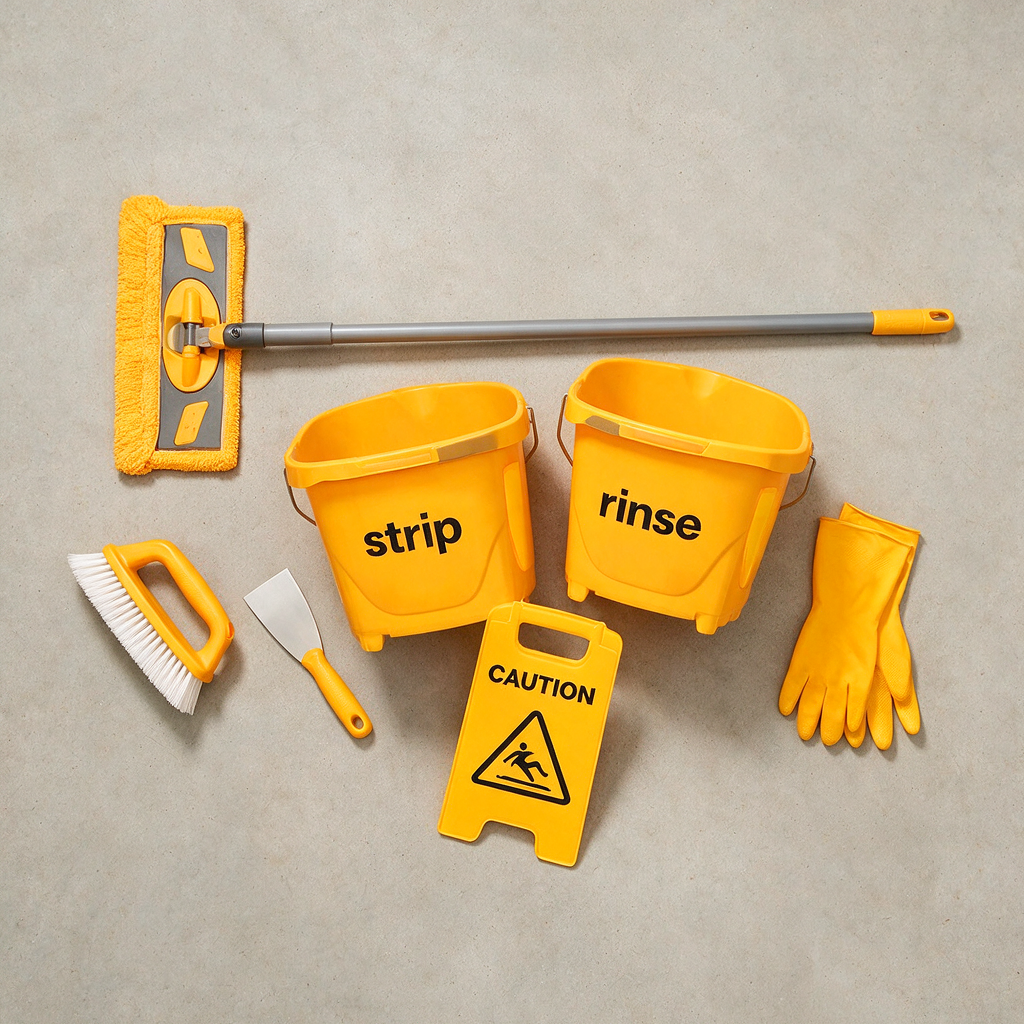
You’ll get better results if you set up like a pro: one set for stripping, one for rinsing.
What you’ll need
- Rubber gloves, and good ventilation (open windows/doors)
- Broom or vacuum (soft brush attachment)
- 2 buckets (one for stripping solution, one for clean rinse water)
- Microfiber mop or cotton mop (clean—no fabric softener residue)
- Nylon scrub brush or white non-scratch pad
- Plastic putty knife/old card for edges (avoid metal scrapers)
- Wet vacuum (optional but very helpful)
- Floor stripper (best for true wax/finish buildup)
- Neutral cleaner (or plenty of clean water for rinsing)
Choosing a stripper (simple decision rule)
- If the floor is VCT or you know it has floor finish: use a proper floor stripper.
- If the floor is ceramic/porcelain tile and someone applied wax/polish: stripper can work, but start gently and test first.
- If the floor is vinyl planks (LVP/LVT): be cautious—some products don’t like strong alkalines. Test a small area first.
✅ In many cases, the problem isn’t “lack of wax,” it’s old wax + dirt. Removing the dirty layers is what brings back clarity.
Step 3: Strip wax buildup in a controlled, step-by-step way
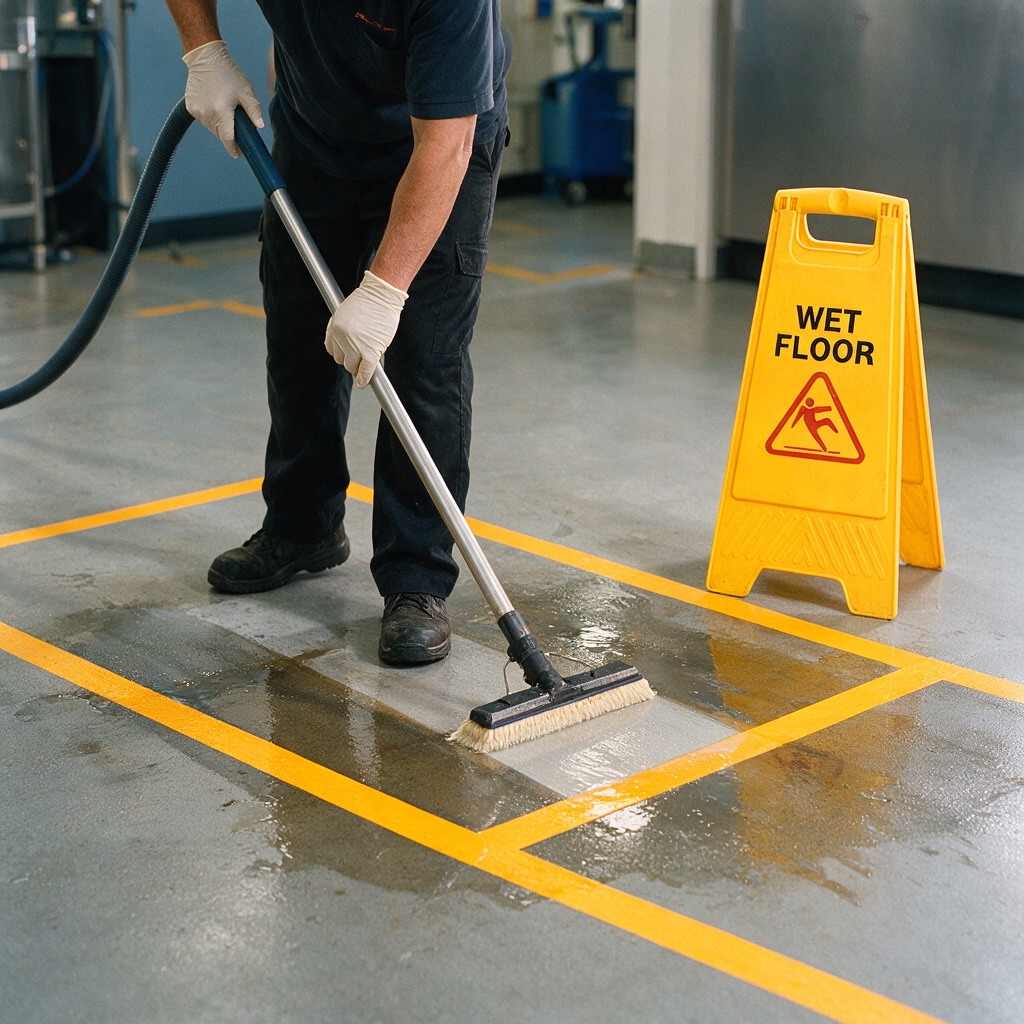
Don’t strip the whole room at once. Work in small sections so the solution has time to work—without drying on the floor.
3A) Do a quick test patch (don’t skip this) ✅
- Choose a hidden spot.
- Mix your stripper according to the label (don’t “free pour”).
- Apply to a 30 cm x 30 cm area.
- Wait the recommended dwell time (usually a few minutes).
- Agitate gently with a nylon brush.
- Wipe up and rinse.
If the pad/cloth turns yellow-brown and the spot looks clearer after rinsing, you’re removing finish buildup.
3B) Prep the room
- Remove furniture and floor mats.
- Sweep/vacuum thoroughly (grit scratches floors when you scrub).
- Block off the area—wet floors are slippery.
3C) Strip in sections (the core process)
Work in 1–2 sqm sections.
- Apply stripper solution evenly (don’t flood edges).
- Let it dwell as directed. Keep it wet; if it starts drying, add a little more solution.
- Scrub/agitates:Focus on traffic lanes, kitchen paths, and doorway areas.Use a nylon brush on grout lines and textured vinyl.
- Lift the slurry (this is the dissolved wax + dirt):Best: wet vacuum.Alternative: mop it up with an old mop you won’t use afterward.
- Rinse thoroughly with clean water.
- Rinse again if the floor feels slippery/tacky.
If the floor still looks cloudy after drying, that usually means there’s still finish left, not that it needs more wax. Repeat one more controlled pass instead of scrubbing aggressively.
3D) Detail the edges and corners
- Apply a small amount of stripper to edges.
- Use a nylon hand brush or plastic card to lift softened buildup.
- Wipe and rinse.
⚠️ Avoid using razor blades or metal scrapers on vinyl—they can leave permanent gouges that catch dirt forever.
Watch what the stripping process looks like
Seeing the pace helps—slow, small sections, rinse well.
After the final rinse, let the floor dry completely before judging the results. Wet vinyl/tile can look “even” temporarily, then turn hazy as leftover residue dries.
Step 4: Restore shine the right way (vinyl vs tile)
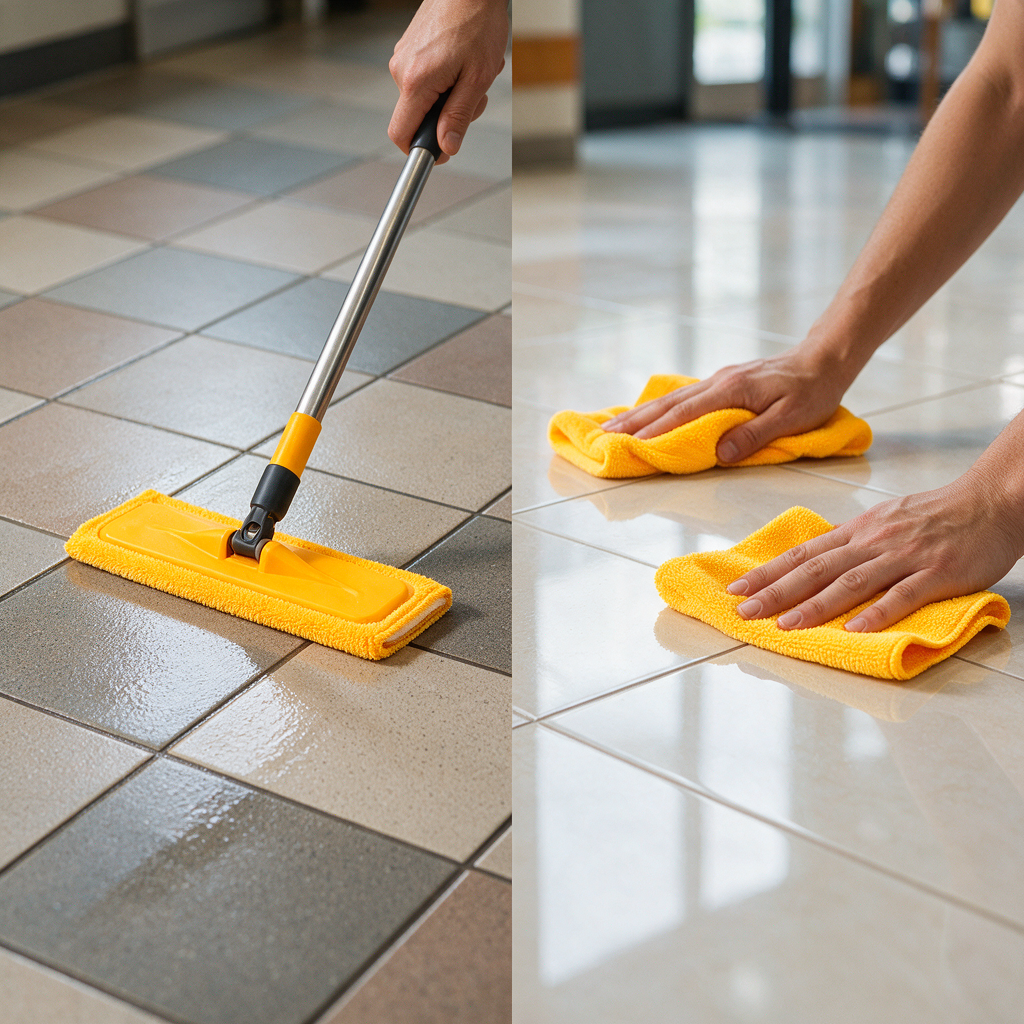
“Restoring shine” depends on what kind of floor you have.
If you have VCT or older wax-finished vinyl
Once stripped and fully dry, you can rebuild a clean shine with thin coats of floor finish.
- Make sure the floor is dust-free (a single hair under finish becomes a bump).
- Apply a thin, even coat with a clean microfiber flat mop.
- Let it dry fully before the next coat.
- Apply 2–4 thin coats depending on traffic (thin beats thick).
- Keep foot traffic off until it’s cured enough not to mark.
Decision rule: If your goal is easy maintenance in a busy area (hallway, small office, shop entrance), a proper finish system helps—but only if stripping and rinsing were done well.
If you have ceramic/porcelain tile
Most ceramic/porcelain tile doesn’t need wax. The shine comes from:
- removing residue (old wax, soap film, oily soil)
- drying properly (no dirty rinse water)
After stripping/rinsing:
- Wash once with a neutral cleaner (light solution).
- Rinse with clean water.
- Dry with microfiber (or allow to air dry with good airflow).
If the grout looks dark even after cleaning, that’s usually embedded soil in porous grout—not something wax will fix.
Step 5: Prevent wax buildup from coming back (simple weekly routine)
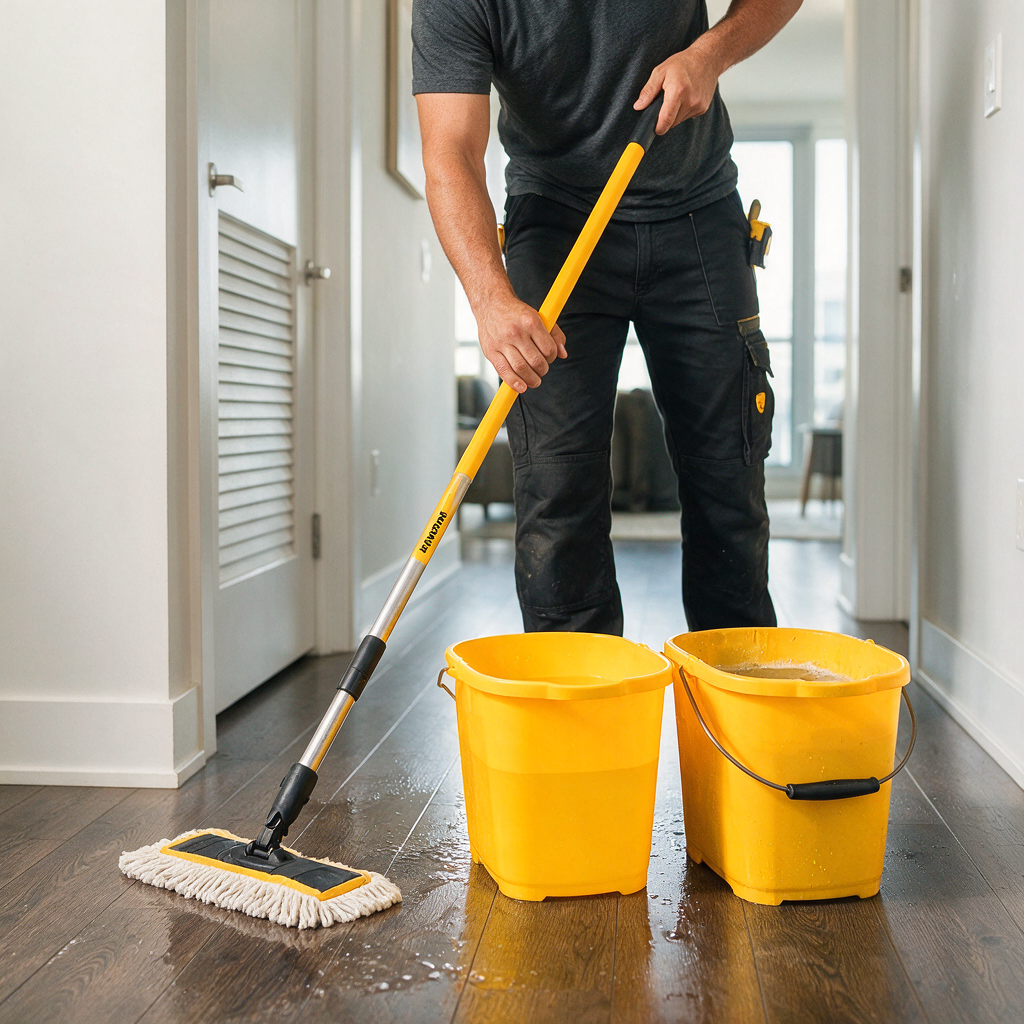
Buildup usually returns because of two habits: too-strong cleaner and dirty rinse water.
A practical maintenance routine
- Daily/as needed: sweep or vacuum to remove grit
- Weekly: damp mop using a neutral cleaner
- Always: use the two-bucket method (one for cleaner, one for rinsing the mop)
- Immediately: wipe spills—sticky spots attract dirt fast in CDO’s humidity
What to avoid
- Over-dosing cleaner (more soap = more film)
- “All-purpose” degreasers for routine mopping (great for kitchens, not as an everyday floor wash)
- Mixing chemicals (especially bleach + other cleaners) ⚠️
If your floor is finished (waxed), consider periodic top-scrub and recoat rather than waiting until it’s blackened and needs a full strip.
Step 6: Troubleshooting common results (cloudy, sticky, or patchy floors)
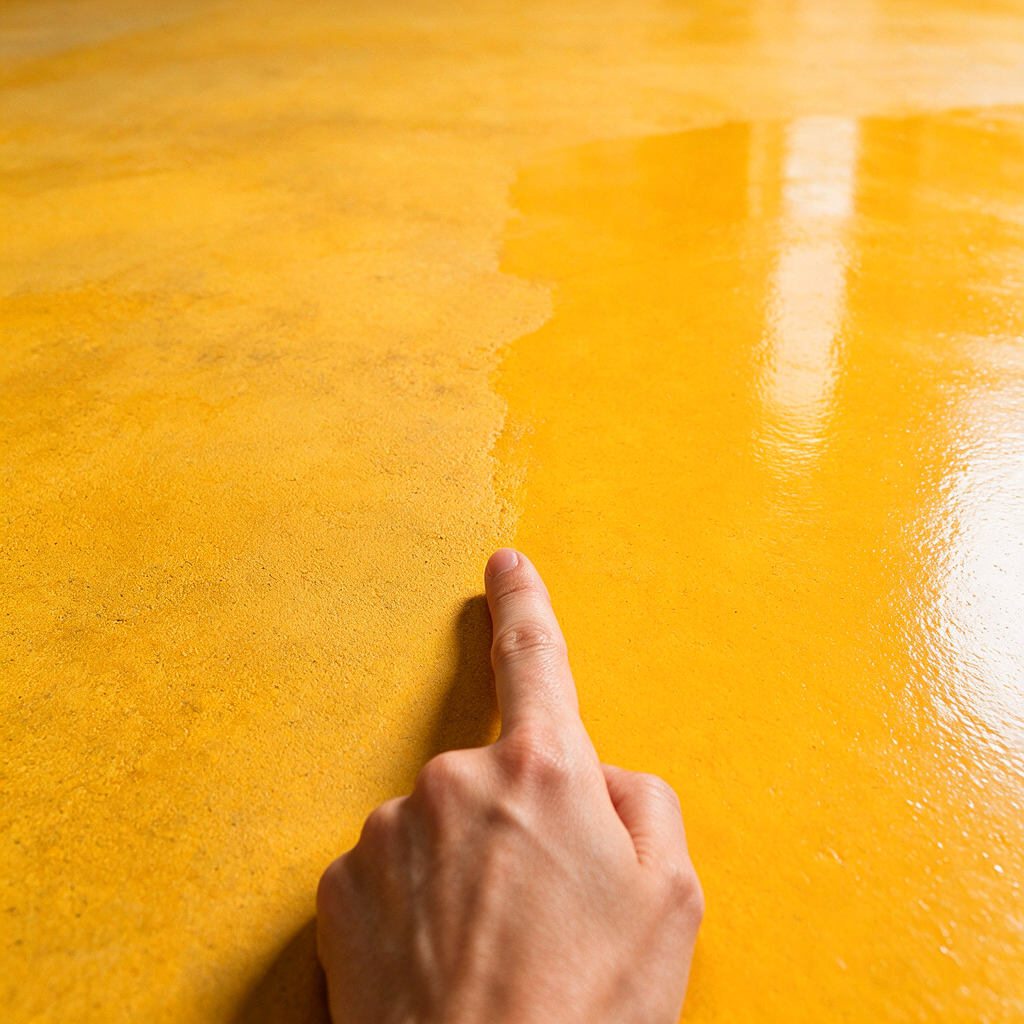
“It’s still cloudy after stripping”
Usually means one of these:
- Not enough dwell time
- Solution dried while working
- Not fully rinsed (stripper residue dries hazy)
What to do: re-strip a small section, lift slurry completely, then double-rinse.
“It feels sticky/tacky”
That’s almost always leftover stripper or partially dissolved finish.
What to do: rinse with clean water repeatedly until the floor feels squeaky-clean when dry.
“It’s shiny in spots and dull in others”
This happens when some old finish remains.
What to do: spot-strip the dull/gray lanes, rinse well, then (if it’s a finishable floor) apply thin, even coats.
When it’s better to call a professional (and what we do differently)
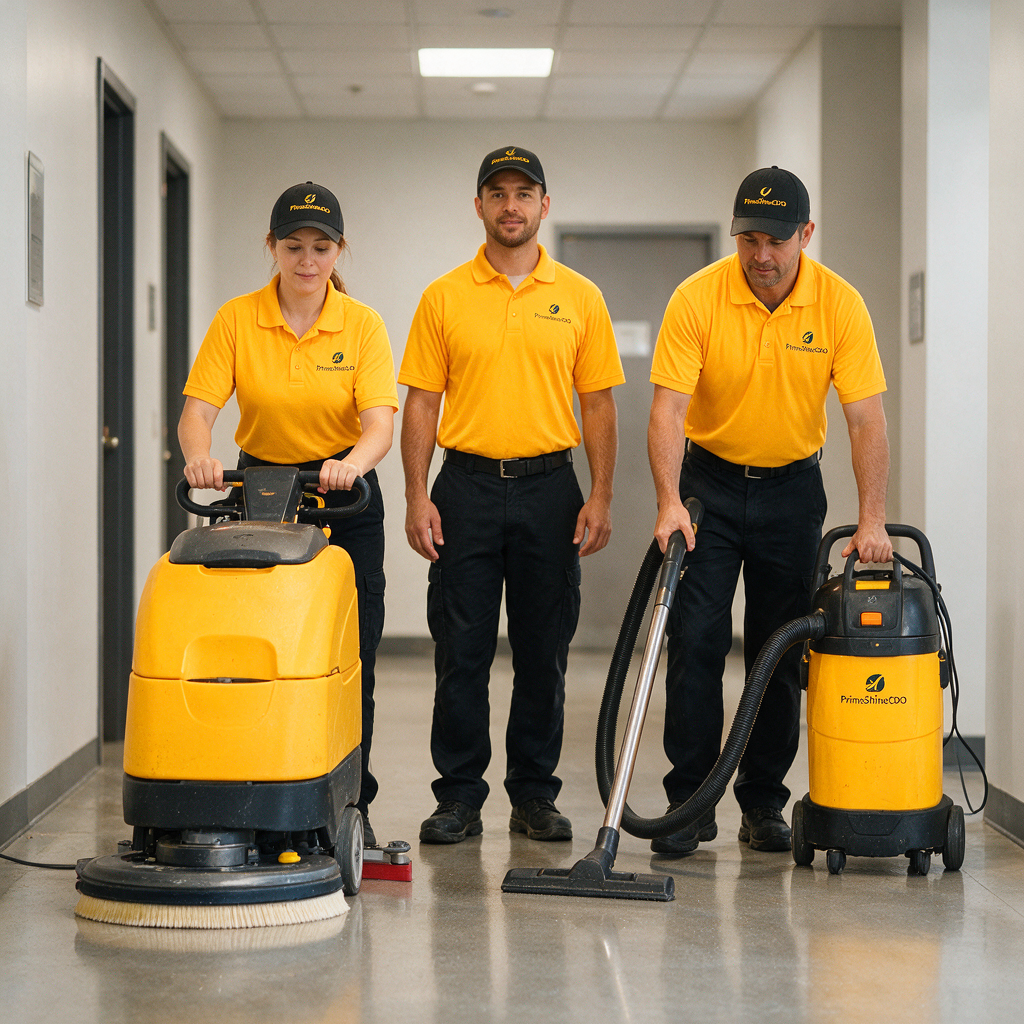
If you’re dealing with heavy black traffic lanes, large commercial areas, or repeated buildup that keeps returning, professional stripping is often safer and faster—especially because the real challenge is control: dwell time, agitation, slurry removal, and rinse quality.
You’ll usually want help if:
- the floor is a busy office/clinic/shop and can’t be out of service long
- the finish is thick and uneven (multiple old coats)
- there are corners/edges loaded with hardened wax
- you need consistent shine across a large area
If you’re in Cagayan de Oro and want a done-right reset, you can check our cleaning options on the full service menu or reach us through the PrimeShineCDO contact page. For more practical cleaning guides like this, you can also visit our cleaning blog. ✨
Quick recap checklist ✅
- Identify the floor type (vinyl/VCT vs ceramic/porcelain)
- Test a small spot first
- Work in small sections; keep stripper wet during dwell time
- Scrub gently but thoroughly; lift slurry completely
- Rinse well (then rinse again)
- Restore shine the right way: finish for VCT/waxable vinyl, residue removal for tile
- Maintain with neutral cleaner + two-bucket method to prevent buildup