Post-Construction Cleaning in Cagayan de Oro: Phases, Safety Considerations, and Common Debris Types

Post-construction cleaning in Cagayan de Oro sounds simple until you step inside a “finished” space and realize the job isn’t done—fine dust is everywhere, paint specks are stuck to tiles, and the air smells like adhesives. Let’s be honest: this is the messy handoff between “construction complete” and “ready to live/work.” 🧹
This step-by-step guide walks you through post-construction cleaning in Cagayan de Oro: phases, safety considerations, and common debris types—so you can open your home, office, or rental without stress (or lingering hazards).

What post-construction cleaning really means (and why it’s different)
Post-construction cleaning is not a regular clean. It’s a targeted process designed to remove:
- Construction dust that settles inside cabinets, vents, and corners
- Residues like grout haze, paint mist, and adhesive film
- Debris and sharp waste such as screws, nails, and broken tile
- Odors and fine particles that affect indoor air quality
If you want a professional baseline (and you don’t want to duct-tape your own process), check what a service should include in PrimeShineCDO’s full service menu.
Before you start: the non-negotiables (prep + go/no-go checklist) ✅
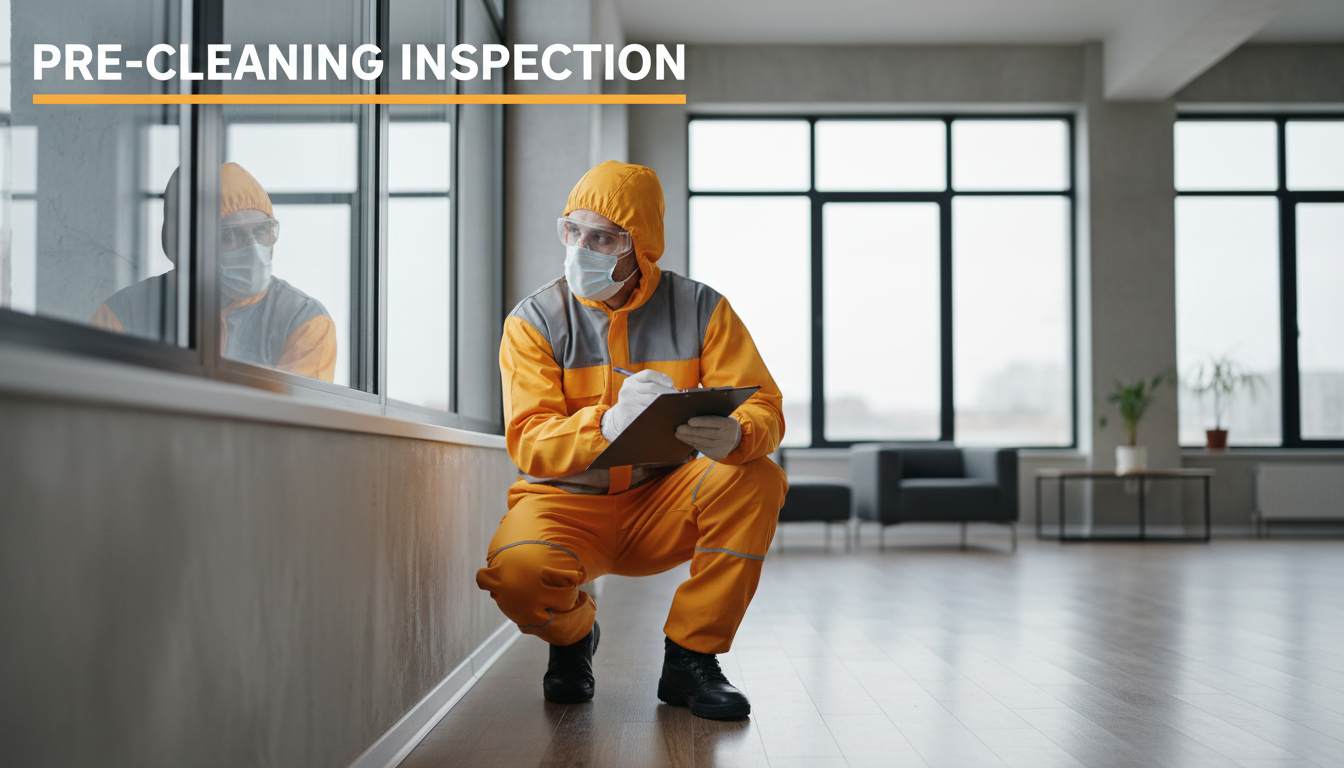
Step 1: Confirm the site is actually ready for cleaning
Don’t start while contractors are still sanding, cutting, or painting. You’ll just be cleaning the same dust twice.
Go/no-go checks:
- No active drilling/sawing/sanding
- Paint is dry to the touch (and preferably cured enough not to smear)
- Sealants are set (especially silicone in bathrooms/kitchens)
- Electrical fixtures are installed or safely capped
- Running water is available (or you’ve planned around it)
Step 2: Do a walkthrough and list “problem zones”
You’re looking for high-impact areas that can ruin your finish if cleaned wrong:
- Newly installed tiles and grout
- Glass and aluminum frames with adhesive residue
- Woodwork (baseboards, doors) with fine dust in grain
- Cabinet interiors filled with powdery debris
- Aircon vents and ceiling corners
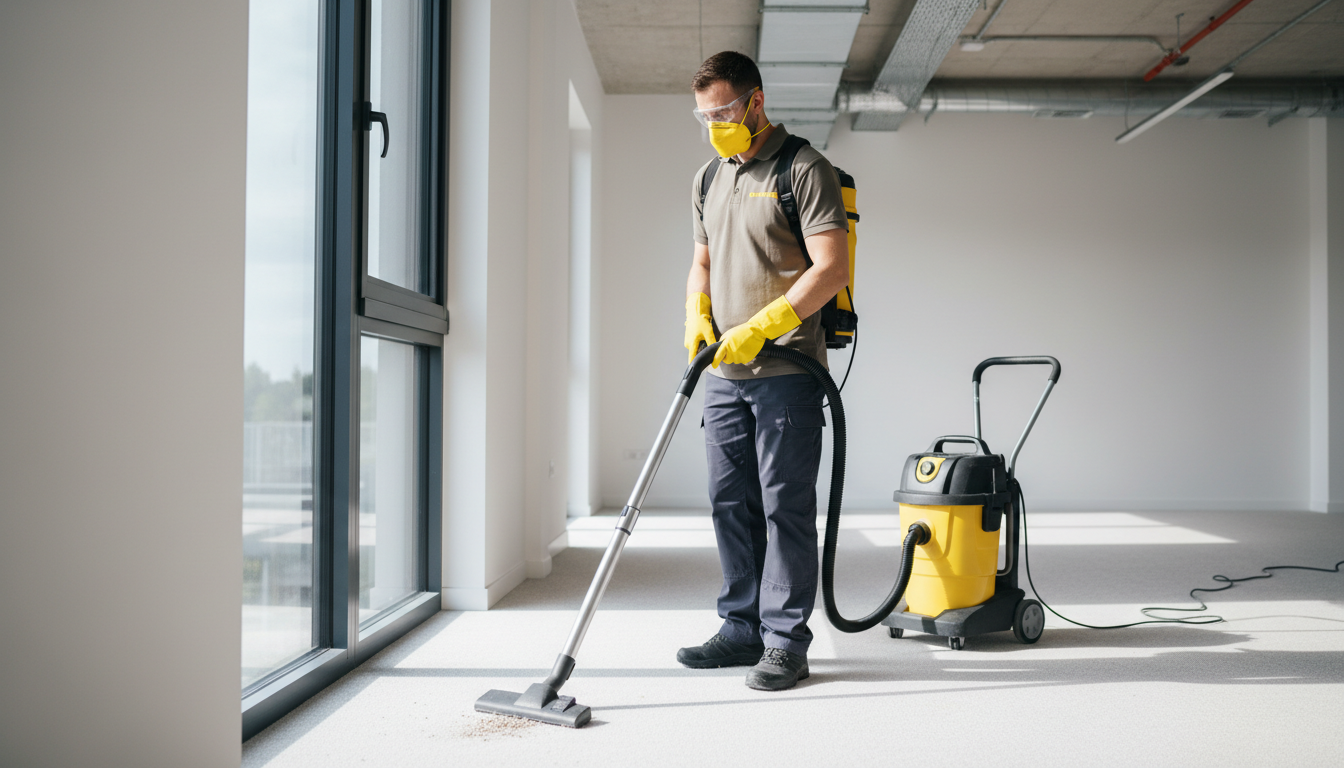
Step 3: Gather the right tools (not just “whatever’s at home”)
Post-construction dust is ultra-fine. If you use the wrong tools, you’ll just push it around.
Basic kit:
- Industrial vacuum (preferably HEPA-capable if available)
- Microfiber cloths (lots of them)
- Soft-bristle brushes (for corners, tracks, and grout edges)
- Neutral pH cleaner (safe for most finished surfaces)
- Plastic scraper (for paint specks—used gently)
- Heavy-duty trash bags + labeled sacks for sorting waste
The takeaway is clear: dust control and surface protection matter more than speed.
The 3 phases of post-construction cleaning (CDO-ready workflow) 🧼
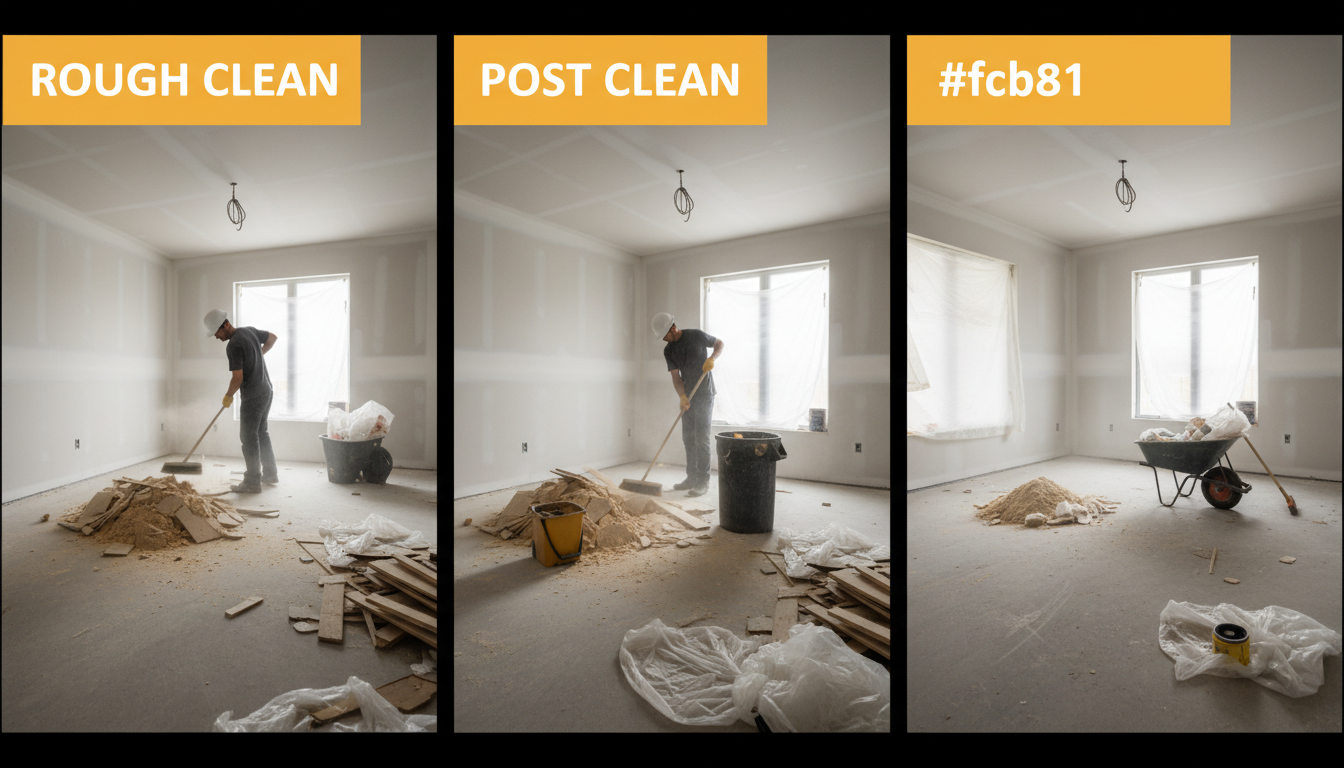
Most successful cleanups follow three phases. Skipping a phase is where streaks, scratches, and “why is it still dusty?” frustration happens.
Phase 1: Rough cleaning (big debris + safe clearing)
This is where you remove the obvious mess—fast, controlled, and safety-first.
Step-by-step:
- Open windows/doors if safe to ventilate (especially after painting or sealing).
- Pick up and bag large debris first: wood offcuts, cardboard, plastic wraps.
- Sort waste (more on this below) so you don’t mix sharp items with general trash.
- Dry sweep only if needed—but minimize it. Sweeping kicks dust into the air.
- Vacuum edges and corners before touching finished surfaces.
What you’re preventing: scratched floors, punctured trash bags, and hidden sharps left behind.
Phase 2: Detailed cleaning (dust removal + residue treatment)
This is the “real” post-con cleaning—the part that makes the place feel move-in ready.
Step-by-step:
- Work top to bottom: ceilings → walls → fixtures → cabinets → floors.
- Vacuum before wiping: remove loose dust first, then wipe with microfiber.
- Clean inside cabinets and drawers—don’t forget shelf pin holes and hinges.
- Address residues carefully:Grout haze: use a grout-safe cleaner; don’t over-acidify fresh grout.Paint splatter: soften with appropriate remover or warm water (if latex), then gently scrape.Adhesive/tape residue: use a small amount of solvent suitable for the surface; spot test first.
- Detail high-touch and high-visibility areas: switches, door handles, glass, mirrors, countertops.
What you’re preventing: permanent haze on tiles, etched glass, and smeared paint.
Phase 3: Final cleaning (finishing touches + quality check)
This is where you make it feel “new,” not “recently cleaned.”
Step-by-step:
- Re-vacuum floors (dust will settle again after Phase 2).
- Mop using the correct method:Two-bucket system (one rinse, one clean solution)Wring well—too much water can damage wood/laminates
- Polish glass and stainless for streak-free results.
- Deodorize and ventilate (especially in sealed condos/offices).
- Do a final walkthrough with bright lighting—look from multiple angles.
Your done criteria: no visible dust on dark surfaces, no gritty feel underfoot, no streaks on glass, no residue along edges.
Common debris types you’ll see after construction (and how to handle each) 🧱
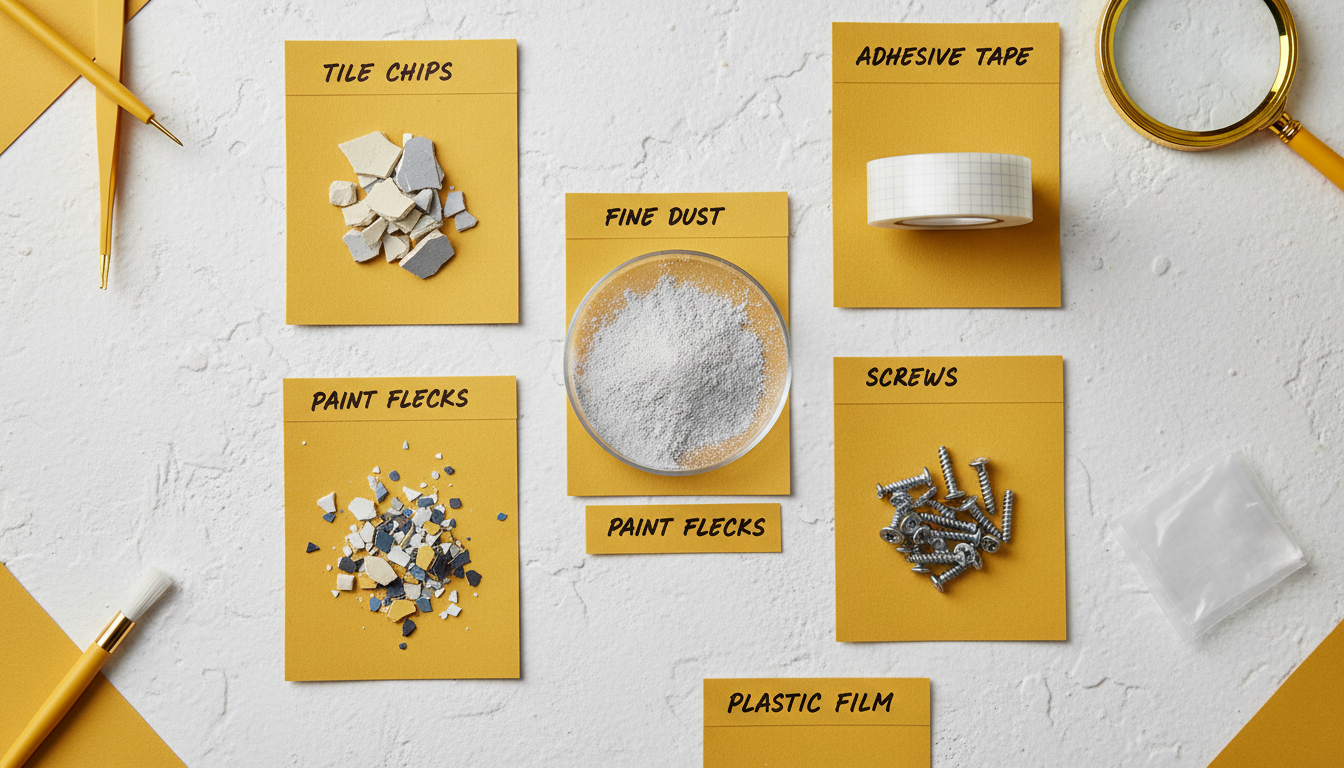
Construction mess isn’t one thing—it’s a mix. Knowing what you’re dealing with tells you what tool and chemical to use (and what to avoid).
| Debris type | Where it shows up | Why it’s risky | Best handling approach |
|---|---|---|---|
| Fine construction dust (cement/gypsum) | shelves, vents, window tracks, floors | triggers allergies; keeps resettling | vacuum first, then microfiber wipe; repeat as needed |
| Tile chips & grout crumbs | floor edges, bathrooms, balcony areas | scratches tiles; sharp hazards | pick up by hand with gloves; vacuum edges |
| Paint splatter/mist | glass, tiles, frames, fixtures | stains and hardens; can etch if scraped wrong | soften + gentle scrape; spot test solvents |
| Adhesive residue (tape, stickers, protective film) | windows, aluminum frames, cabinets, appliances | leaves smear film; attracts dust | peel slowly; use surface-safe adhesive remover |
| Silicone/sealant smears | kitchens, bathrooms, window edges | looks messy; hard to remove once cured | remove carefully with plastic scraper; avoid damaging finish |
| Sawdust/wood shavings | built-ins, closets, corners | can clog drains; spreads quickly | vacuum thoroughly; avoid washing into sink |
| Nails/screws/blades | near work zones, under boards | injury risk; punctures bags | collect in a dedicated container; label “sharps” |
| Packaging waste (cardboard/plastic) | throughout rooms | blocks workflow; hides dust | remove early during rough clean |
Safety considerations you shouldn’t ignore (especially in CDO conditions) 🦺
Post-construction cleaning has real safety risks—dust inhalation, chemical exposure, and sharp debris. In Cagayan de Oro, humidity and heat can also make ventilation tricky (and can affect drying times).
PPE: What you should wear
- Mask (at least KN95) for fine dust
- Safety glasses if you’re scraping or working overhead
- Cut-resistant or thick gloves for debris handling
- Closed shoes (non-negotiable—no slippers)
Chemical safety: Avoid “halo-halo” mixing 😅
Never mix cleaners casually. Some combinations release harmful fumes.
Rules you follow every time:
- Don’t mix bleach with acids or ammonia-based cleaners
- Use the minimum effective product
- Spot test on a hidden area (especially on tiles, stone, and painted surfaces)
- Keep labels visible and containers closed
Electrical and fixture safety
- Don’t wet-clean around exposed wiring or unfinished sockets
- Avoid soaking newly installed fixtures—water can seep into gaps
- Use damp microfiber instead of dripping cloths
Dust control: protect lungs and finishes
- Vacuum with proper filtration if possible
- Replace dirty microfiber often (a loaded cloth just spreads dust)
- Clean air vents and filters after major dust work (or schedule it)
Step-by-step room checklist (so you don’t miss the sneaky spots) 📋

Living areas / bedrooms
- Vacuum ceilings/corners (cobweb + dust)
- Wipe walls if needed (especially near sanding zones)
- Clean windows, tracks, and frames
- Wipe doors, handles, switches
- Vacuum floors, then mop properly
Kitchen
- Clean inside/outside cabinets and drawers
- Remove adhesive residue on surfaces
- Degrease lightly if there’s appliance installation residue
- Sanitize countertop and sink area
- Check under-sink cabinet for dust and debris
Bathroom
- Remove grout haze (surface-safe method)
- Clean shower glass, tiles, and fixtures
- Detail silicone lines (remove smears carefully)
- Sanitize toilet, sink, and touchpoints
- Ensure floor corners are debris-free (tile chips love hiding there)
When DIY isn’t worth it (and when to call pros) 🤝
DIY works for small touch-ups. But post-construction cleaning gets brutal when:
- Dust is in every cabinet and vent
- You have a lot of glass/aluminum (condos, storefronts)
- There’s heavy grout haze, paint mist, or adhesive film
- You’re on a move-in deadline and can’t afford rework
If you want the job handled with a checklist-based process and proper materials, start here: Explore PrimeShineCDO cleaning services. For questions about scheduling, scope, or pricing, use the PrimeShineCDO contact page.
You can also build your expectations around quality benchmarks by reading what professional cleaning service quality should look like in Cagayan de Oro.
Quick “phase-to-output” summary (what good looks like) ✅
| Phase | Primary goal | What “done” looks like |
|---|---|---|
| Rough cleaning | remove debris + clear hazards | walkways clear; sharps removed; trash sorted; no loose chunks |
| Detailed cleaning | remove dust + treat residues | cabinets dust-free; tracks clean; no grout haze/paint specks; fixtures wiped |
| Final cleaning | finish + verify | streak-free glass; floors not gritty; fresh smell; consistent appearance under bright light |
Your next step: make the space truly move-in ready 🏠
Post-construction cleaning is a process, not a single pass. If you follow the phases, respect safety basics, and treat each debris type correctly, you’ll avoid the biggest headaches—scratches, streaks, lingering dust, and last-minute panic.
If you’d rather skip the trial-and-error and go straight to “ready for turnover,” check PrimeShineCDO’s service options and book when your site hits the go/no-go checklist.