How To Remove Sofa Odors And Stains Without Damaging Upholstery (Fabric Care And Safe Spot Tests)

Sofa smells and mystery stains aren’t just “annoying”—they’re usually trapped oils, moisture, and residue sitting deep in the fabric and cushion foam. The tricky part is fixing the problem without causing a bigger one: water rings, color bleeding, crunchy texture, or fabric distortion.
This step-by-step guide shows you exactly how to remove sofa odors and stains without damaging upholstery (fabric care and safe spot tests)—using safe methods that work for most fabric sofas in PH homes, especially in humid areas like Cagayan de Oro. 🛋️✨
Step 1: Identify what you’re dealing with (fabric + stain type)
Before you spray anything, you need two quick reads:
1) Find the upholstery cleaning code (if available)
Check the tag under the seat cushions or beneath the sofa.
| Code | What it means | Safe approach |
|---|---|---|
| W | Water-based cleaning is allowed | Mild soap + water, controlled moisture |
| S | Solvent-only (no water) | Dry solvent spot cleaner only |
| WS / SW | Water or solvent | Most flexible—still spot test |
| X | Vacuum only | No DIY liquids; call a pro |
If there’s no tag, assume “WS” but proceed cautiously and always spot test.
2) Classify the stain and odor
This affects your cleaning chemistry.
| Problem | Common cause | What usually works |
|---|---|---|
| Sour/musty smell 😖 | Humidity, trapped moisture, mildew on surface | Drying + baking soda + ventilation |
| “Dog” smell 🐶 | Oils, dander, saliva | Enzyme cleaner (fabric-safe) + extraction |
| Yellow/brown marks | Old spills, body oils, oxidation | Gentle surfactant + blotting + rinse |
| Grease stain | Food, hair products | Small amount of degreasing soap + minimal water |
| Coffee/juice | Tannins/dyes | Mild acid rinse (very controlled) + blotting |
| Urine/vomit | Protein-based | Enzyme cleaner + thorough drying |
Step 2: Do a safe spot test (non-negotiable)
Spot testing prevents the big upholstery disasters: dye transfer, light spots, or “crunchy” fabric.
Where to test
Pick a hidden area:
- Back lower corner
- Under a cushion flap
- Inner side panel near the floor
What to test (in order)
- Plain water (on white cloth)
- Your cleaning solution (diluted)
- Any odor remover (enzyme or vinegar mix)
How to test (5–10 minutes)
- Dab (don’t rub) with a white microfiber cloth.
- Wait 5 minutes.
- Blot dry.
- Check for:Color transfer onto the clothDarkening that doesn’t fade backTexture change (stiffness/roughness)Rings forming at the edges
If dye transfers or fabric changes texture, stop. You’re one scrub away from making it permanent.

Step 3: Prep the sofa so you don’t “set” the stain
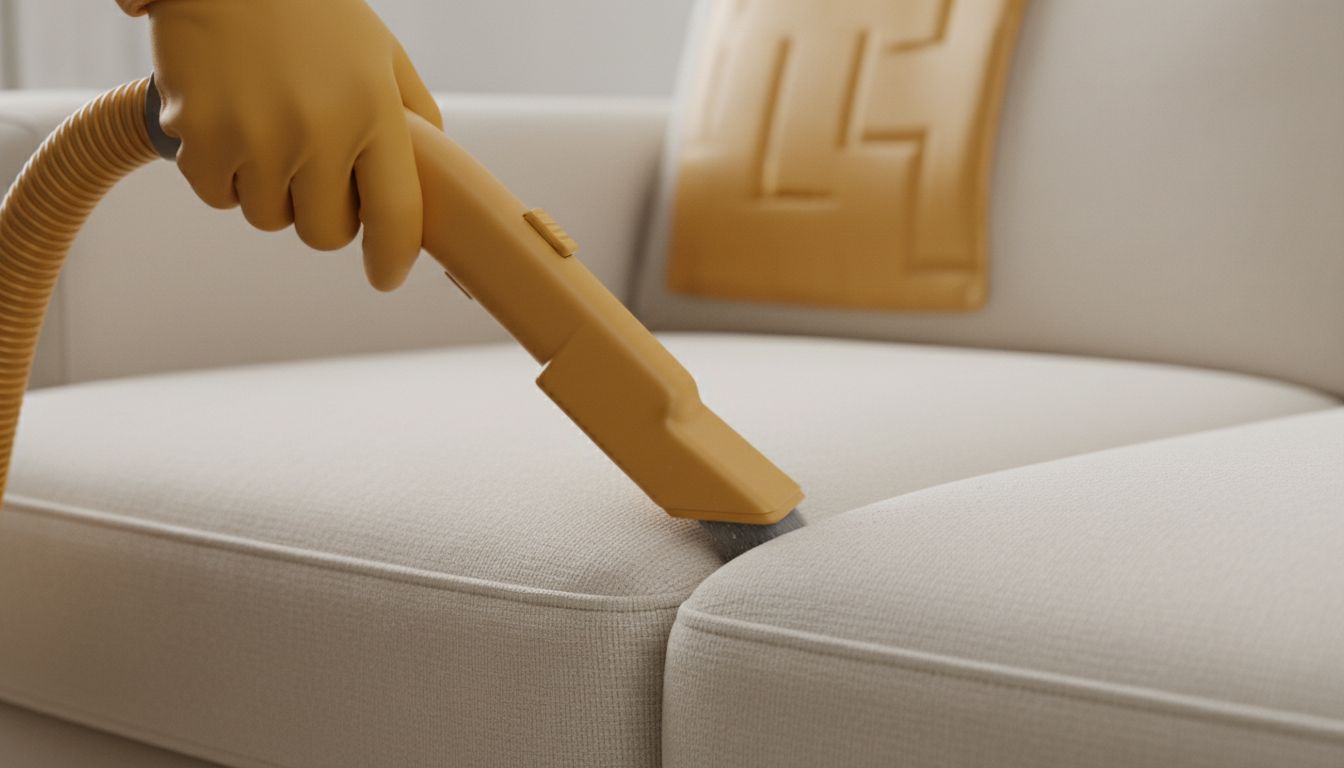
3A) Vacuum first (yes, even for stains)
Vacuuming removes dry grit that turns into mud when wet.
- Use upholstery attachment
- Hit seams, piping, and under cushions
- If you have pets, use a rubber brush first 🐾
3B) Blot fresh spills immediately
If it’s wet:
- Press with a clean towel (no rubbing)
- Keep swapping to dry sections
- Stop once no moisture transfers
Step 4: Remove odors safely (without over-wetting)
Odor removal is mostly about removing the source, not masking it with fragrance.
Option A: Baking soda deodorizing (best first step for general smells)
- Make sure the sofa is dry.
- Sprinkle baking soda lightly over cushions and arms.
- Let it sit 8–12 hours (overnight is ideal).
- Vacuum thoroughly.
Works well for:
- Light musty smell
- Food smells
- General “lived-in” odor
Avoid if:
- The sofa is already damp (you’ll trap moisture)
Option B: Enzyme cleaner (best for pets and body fluids)
Choose a fabric-safe enzyme cleaner and follow label directions. In general:
- Apply enough to reach the odor source (not just the surface).
- Let it dwell (often 10–15 minutes, sometimes longer).
- Blot and lightly rinse (if allowed by tag).
- Dry completely.
Works well for:
- Urine, vomit, sweat odors
Option C: Vinegar mist (only if spot test passes)
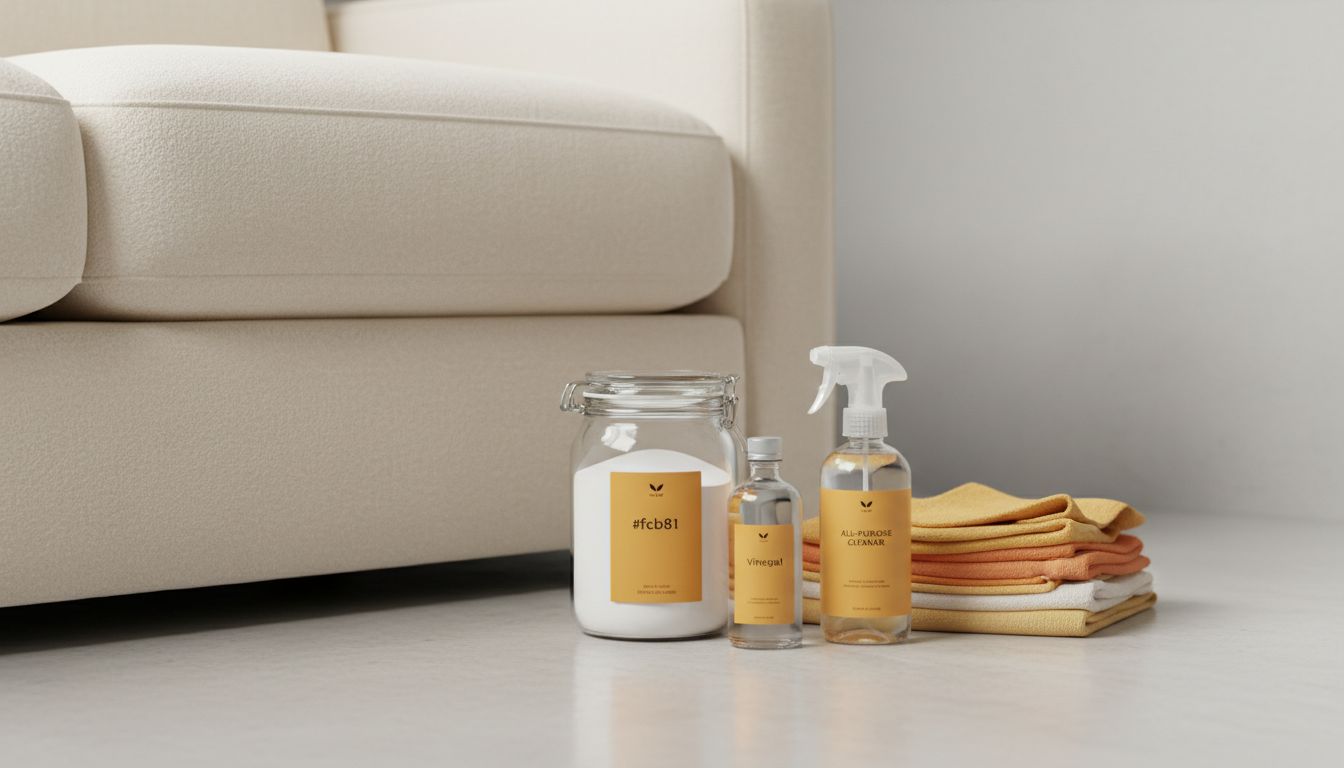
Mix:
- 1 part white vinegar
- 3 parts water
- Lightly mist (don’t soak).
- Blot.
- Dry fast with a fan.
Vinegar smell fades as it dries, and it can help neutralize stubborn odors. But it’s not ideal for S-coded fabrics.
Step 5: Remove stains without damaging upholstery (by stain type)
The safest universal rule: start mild, use minimal moisture, and rinse out residue.
Your go-to gentle upholstery solution (for W / WS fabrics)
Mix in a bowl:
- 2 cups lukewarm water
- 1/2 tsp mild dish soap (clear, non-bleach, non-degreaser if possible)
Use suds only (foam), not a soaking wet cloth.
A) Water rings and “tide marks” (common after DIY cleaning)
This happens when the edges dry faster and leave minerals/residue behind.
Steps
- Lightly mist the entire panel where the ring is (not just the ring).
- Blot evenly from edge toward center.
- Repeat with plain water mist to rinse.
- Press dry with a towel.
- Dry with a fan until fully dry.
The big idea: even out moisture, then remove residue.
B) Grease and body oils (armrests, headrest areas)
Steps
- Sprinkle a tiny amount of baking soda or cornstarch.
- Wait 20–30 minutes.
- Vacuum.
- Use your mild soap solution (suds only) and dab gently.
- Rinse with a cloth lightly dampened with plain water.
- Blot dry.
Avoid:
- Strong degreasers (they can strip dye and leave harsh residue)
C) Coffee, tea, and colored drinks
Steps
- Blot as much as possible.
- Apply mild soap suds and blot.
- Rinse with plain water blotting.
- If stain remains and spot test passes: apply a very light vinegar-water mist (1:3), blot, rinse again.
- Dry fast.
D) Ink (ballpen marks)
Ink is risky. Overworking it can spread the stain.
Steps (for WS fabrics, after spot test)
- Place a towel behind the fabric area if accessible.
- Dab with a cloth lightly dampened with isopropyl alcohol (70%).
- Work from outer edge inward.
- Switch cloth sections often to avoid re-depositing ink.
- Lightly blot with plain water afterward (only if fabric allows).
- Dry.
If the tag says S or X, skip DIY alcohol. Better to get professional help before it spreads.
E) Pet urine and vomit (odor + stain combo)
If you only “clean the top,” the odor stays in the foam.
Steps
- Blot as much moisture as possible.
- Apply enzyme cleaner (enough to reach where the liquid went).
- Let dwell per label.
- Blot firmly.
- Optional for W/WS fabrics: light rinse blot with plain water.
- Dry aggressively: fan + ventilation.
Drying matters more than people think. If the foam stays damp in humid weather, the smell comes back. 😬
Step 6: Dry the right way (this is where most DIY fails)
Bad drying = lingering odor, water marks, and mildew risk.
Do this
- Aim a fan directly at the cleaned area for 4–8 hours
- Open windows if weather permits
- If you have AC or dehumidifier, use it
- Flip/stand cushions to expose more surface area
Don’t do this
- Don’t cover with throws while damp
- Don’t use high heat (hair dryer close-up can shrink or stiffen fabric)
- Don’t “keep adding cleaner” if it still looks dark—often it’s just wet
Step 7: Quick upholstery safety checklist (avoid damage)
Here’s what keeps your fabric looking “new,” not “DIY cleaned.”
| Risk | What causes it | What you do instead |
|---|---|---|
| Color bleeding | Too much water, harsh chemicals | Spot test + minimal moisture |
| Water rings | Cleaning only a small spot | Feather outward + even drying |
| Crunchy/stiff texture | Soap residue left behind | Always rinse-blot after cleaning |
| Fabric fuzzing/pilling | Scrubbing, rough brushes | Dab/blot with microfiber only |
| Moldy odor returns | Foam stayed damp | Fan + dehumidify + time |
Step 8: When you should stop DIY and call a pro 🚨
Call professional upholstery cleaning if:
- The tag is X (vacuum only)
- The sofa is velvet, suede, linen blends, or delicate weaves
- Odor returns after drying (likely in the foam)
- Stains cover a large area (DIY can cause patchy shading)
- You suspect mold (especially in rainy season / high humidity)
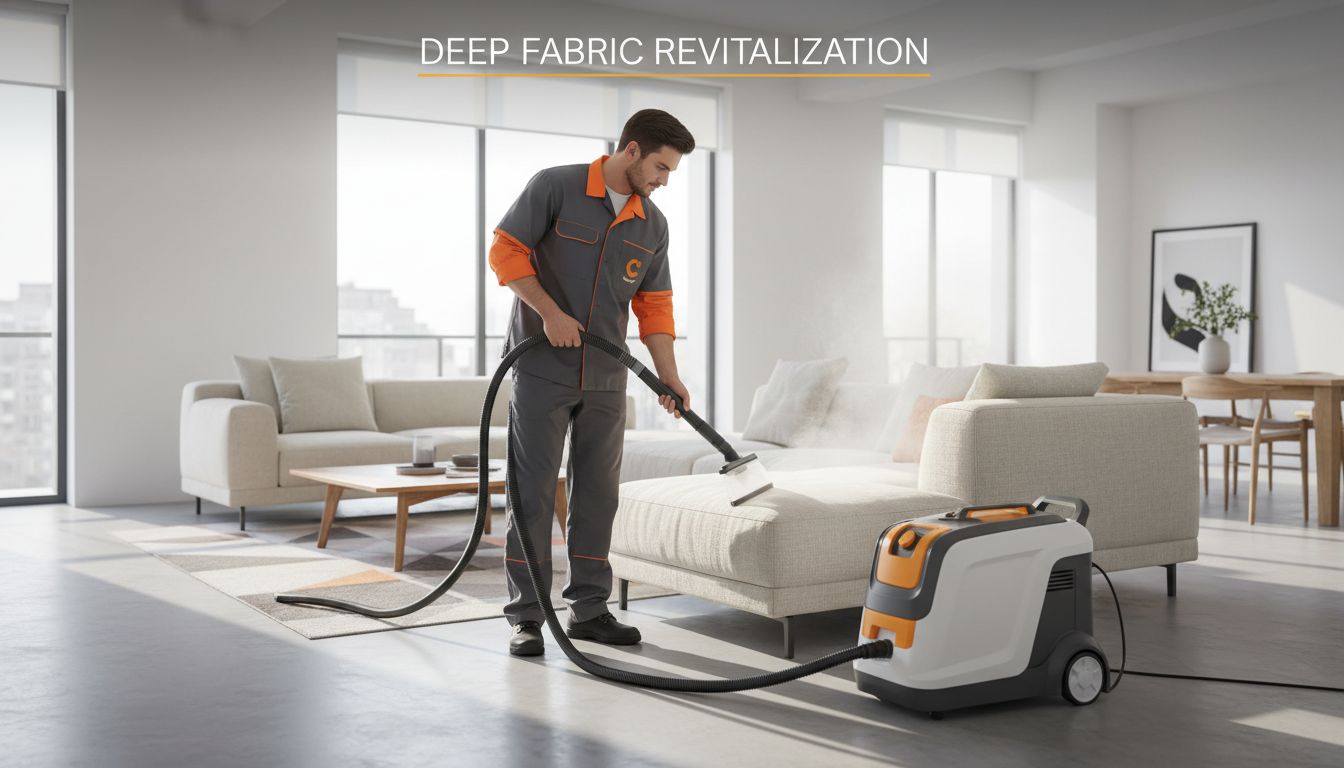
If you want a deep clean that removes stains + dust + trapped odors without risking fabric damage, check PrimeShineCDO’s cleaning services and choose the sofa care option that fits your home.
A simple “safe sofa cleaning” routine you can follow monthly
Consistency keeps odors from building up (and saves you from panic-cleaning before guests arrive 😅).
- Vacuum weekly (especially arms and seat areas)
- Baking soda deodorize monthly
- Spot-clean immediately (blot first, then gentle solution)
- Ventilate cushions (stand them up occasionally)
- Book a deep upholstery clean periodically if you have pets/kids or frequent guests
For a bigger home reset, you can pair sofa care with a scheduled deep clean—see deep cleaning vs regular cleaning (what’s included and when you need each).
FAQ: Upholstery fabric care and safe spot tests
Can I use bleach or hydrogen peroxide on sofa stains?
Avoid bleach entirely on upholstery. Hydrogen peroxide can lighten fabric and create permanent spots. If you’re dealing with tough stains, follow safer stain logic (blot, mild surfactant, rinse, dry) or compare options in this safe stain removal guide for common household stains.
Why does my sofa smell clean at first, then stink again later?
Because the foam stayed damp or residue remained. Odors rebound when humidity rises—common in PH conditions. Focus on drying and rinse-blotting.
How long should I wait after spot testing?
Give it at least 30–60 minutes if you’re unsure, and check again after it dries fully. Some discoloration only appears once dry.
The takeaway (so you don’t ruin your upholstery)
To remove odors and stains without damage, you need three habits:
- Spot test first ✅
- Use minimal moisture + blot, don’t scrub ✅
- Rinse out residue and dry fast ✅
If you’d rather skip the trial-and-error and get a fast, checklist-driven result, reach out to PrimeShineCDO here: Contact PrimeShineCDO Cleaning Services.