Water Dispenser Cleaning Guide: Sanitize Hot/Cold, Seats, Trays

If your water dispenser is used every day (especially in a humid place like Cagayan de Oro), it doesn’t take long for slime/biofilm, mineral scale, and odors to build up in the drip tray, bottle seat, and even inside the hot/cold water paths. This water dispenser cleaning guide walks you through sanitizing hot/cold units, bottle seats, and drip trays safely—step by step—so your water tastes clean and the unit stays reliable. 🧼
What you should clean (and how often)
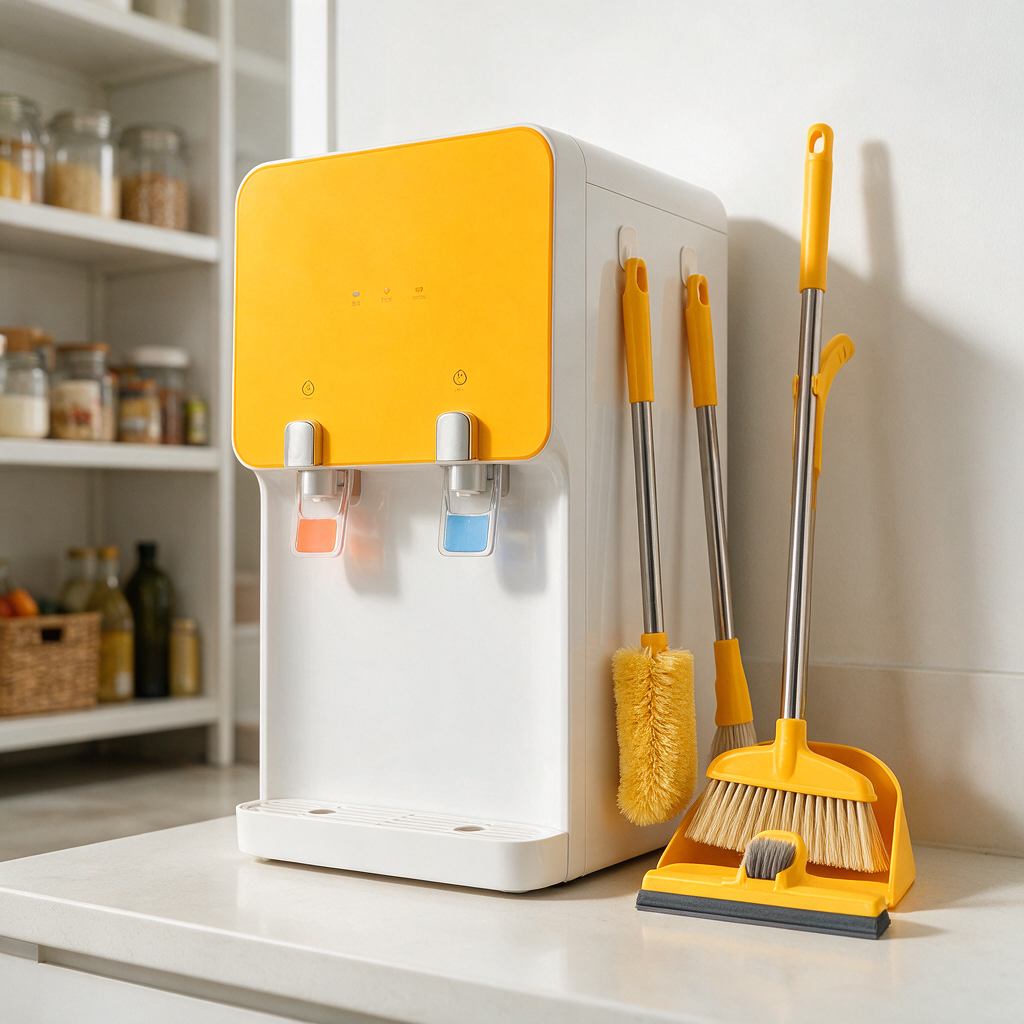
Most people wipe the outside and forget the parts that actually touch water. For a dispenser that gets daily use at home or in an office pantry, keep this simple routine:
| Part | Quick clean | Sanitize/deep clean | Why it matters |
|---|---|---|---|
| Nozzles/taps (outside) | 2–3x/week | Monthly | Hands touch here; splashback happens |
| Drip tray + grill | Weekly | Monthly | Standing water grows odor and mold |
| Bottle seat/collar (top-load) | Weekly | Monthly | Biofilm forms where bottle meets unit |
| Cold tank/water path | — | Every 1–3 months | Taste/odor issues start here |
| Hot tank/water path | — | Every 1–3 months | Mineral buildup + old water smell |
Decision rule: if you notice plastic smell, sour smell, slippery film, or visible spots, don’t wait—sanitize that day.
Supplies you’ll need (and what to avoid)
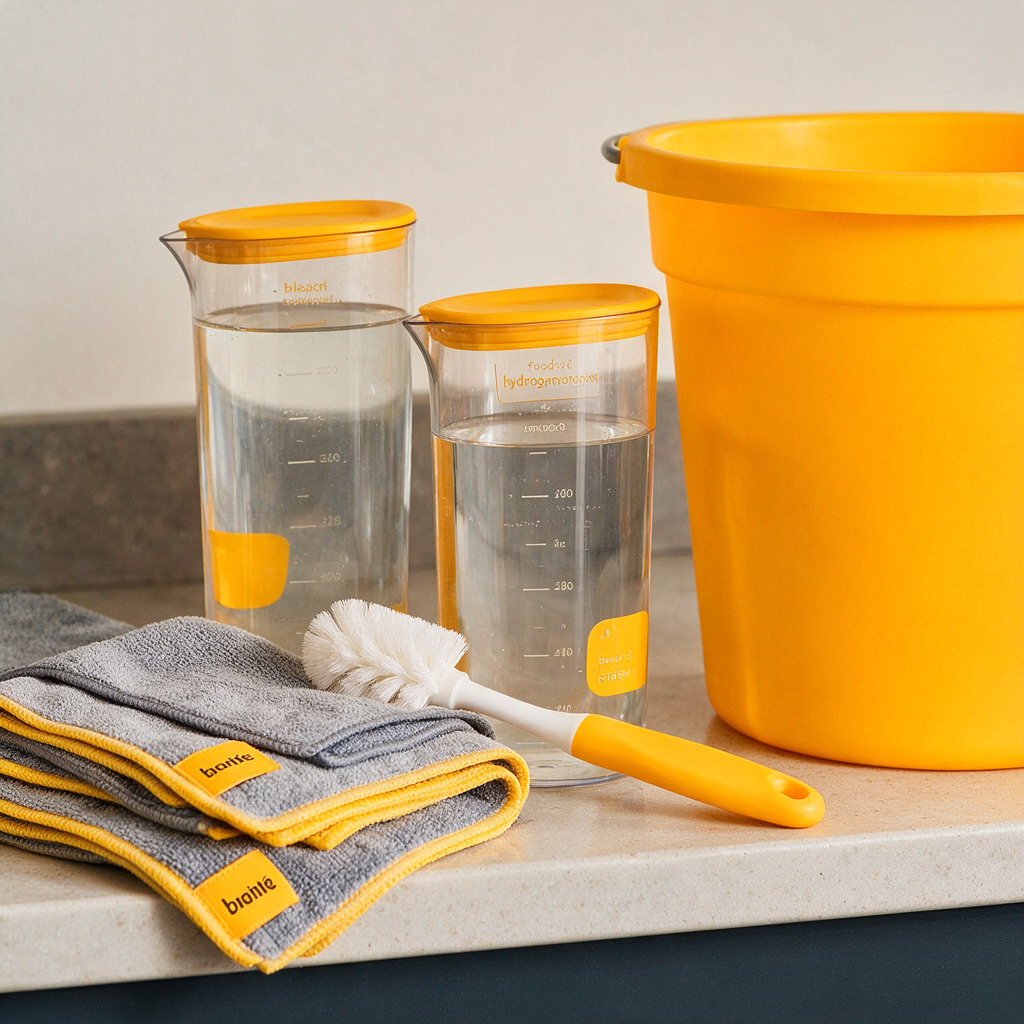
You don’t need many products, but you do need the right ones.
✅ What to prepare:
- Dish soap
- Clean microfiber cloths or paper towels
- Soft sponge (non-abrasive)
- Small brush/toothbrush + bottle brush (for crevices)
- 2 clean buckets or a large basin
- Measuring spoon/cup
- Sanitizer option (choose one):Unscented household bleach (common in PH groceries)3% hydrogen peroxide (food-safe option)
⚠️ Avoid these:
- Scented bleach (can leave odor/taste)
- Mixing chemicals (especially bleach + vinegar or bleach + ammonia)
- Abrasive pads that scratch plastic and make it easier for biofilm to stick
Sanitizing solution options (pick one)
| Option | Mix | Pros | Cons |
|---|---|---|---|
| Unscented bleach solution | 1 tablespoon (15 mL) bleach in 4 liters water | Effective, widely available | Needs thorough rinsing; smell if not flushed well |
| Hydrogen peroxide (3%) | Use undiluted or 1:1 with water for lighter jobs | Less chlorine odor | May take longer contact time; not always available |
If your dispenser manual gives a specific mix, follow that. If you’re unsure, stick to the bleach ratio above and rinse thoroughly.
Step-by-step: sanitize hot/cold units (inside) without damaging the dispenser
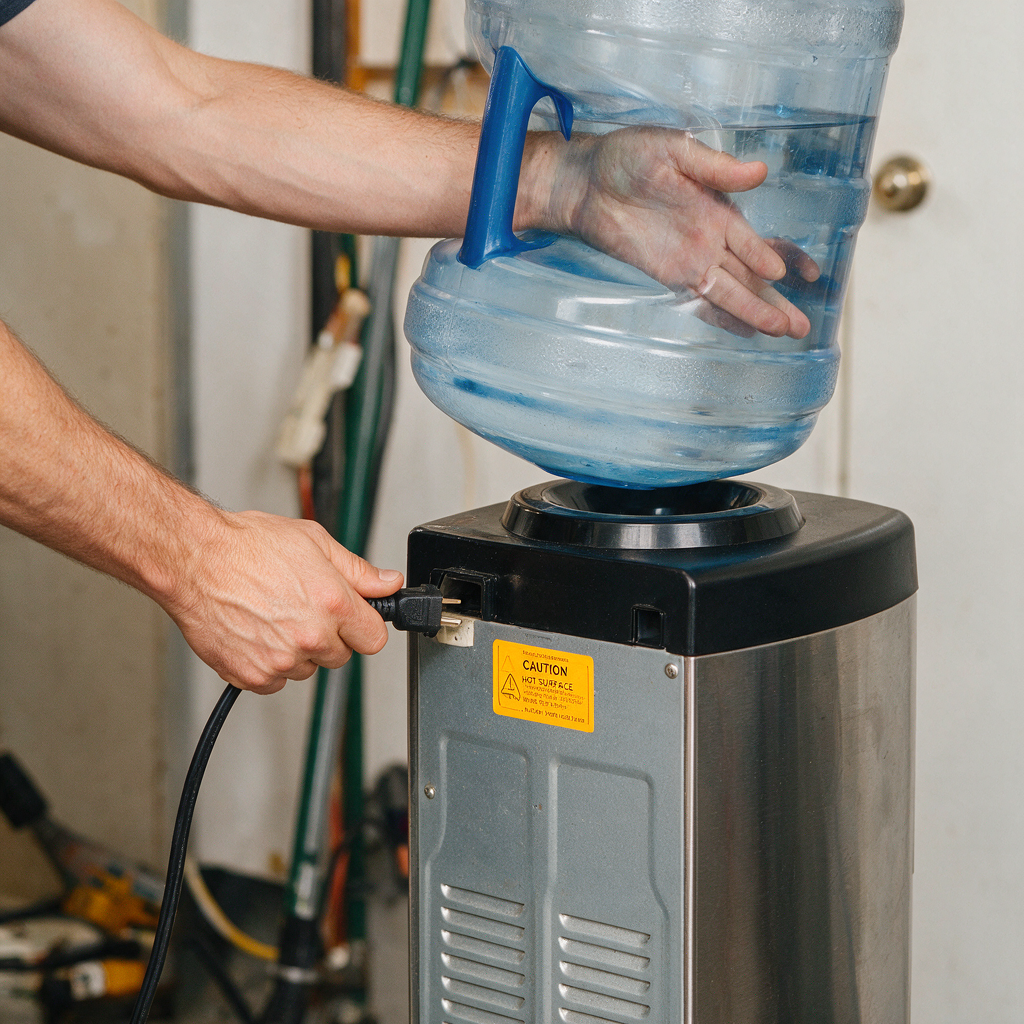
Before you start: make sure you have time to do this without rushing. The biggest mistake is sanitizing, then not flushing enough.
Step 1: Power down safely
- Unplug the dispenser.
- If you recently used hot water, wait 20–30 minutes so you don’t get burned.
- Remove the bottle (top-load) or turn off/remove the bottle connection (bottom-load), depending on your model.
Step 2: Drain the unit
How you drain depends on your dispenser:
- If it has a drain plug at the back/bottom: place a basin, open the plug, and drain fully.
- If no drain plug: dispense water from both cold and hot taps into a container until it stops.
Don’t skip the hot side—stagnant hot-tank water is a common source of “old” smell.
Step 3: Wash the parts you can remove
- Remove the drip tray, grill, and any removable nozzle/tap covers.
- Wash with warm water + dish soap.
- Use a small brush on corners and grooves.
- Rinse and set aside to air-dry.
Step 4: Sanitize the reservoir and internal water path
Top-load units (most common):
- Mix your sanitizing solution.
- Pour it into the water reservoir (where the bottle normally sits).
- Let it sit 5–10 minutes.
- Dispense some solution from the cold tap, then from the hot tap (so the sanitizer reaches both paths).
- Wait another 5 minutes.
Bottom-load units:
- Many models pull water through a straw/probe system. Follow your manual if it has a “clean” mode. If not, you can still sanitize by running sanitizer through the taps, but be careful not to overflow the internal area.
Step 5: Flush until there’s no smell/taste
- Drain the dispenser again (drain plug or dispense method).
- Refill with clean drinking water.
- Dispense and drain.
- Repeat until you can’t smell the sanitizer anymore.
A good rule: if you used bleach, do at least 2 full flush cycles. If you still smell chlorine, keep flushing—don’t mask it with flavoring.
Step 6: Reassemble and restart
- Put the dry parts back (tray, grill, nozzle covers).
- Install the bottle.
- Plug the unit back in.
- Let it heat/cool fully before judging taste (newly cycled water can taste different while the system stabilizes).
If you’re also dealing with mineral scale in kitchen appliances, the same “don’t overdo harsh acids” rule applies—this guide on safe descaling can help: Descale a kettle or coffee maker safely (citric vs vinegar steps).
Step-by-step: clean and sanitize the bottle seat/collar (top-load)
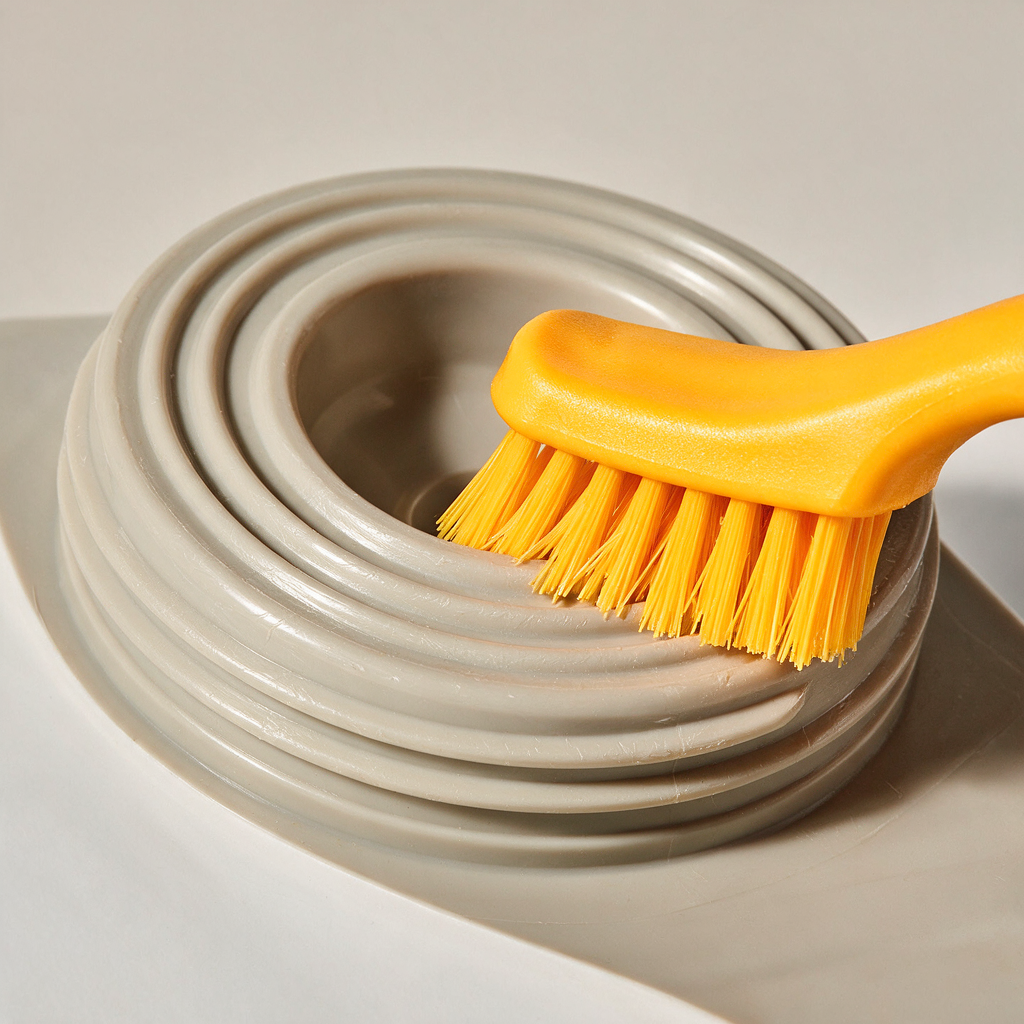
The bottle seat is where that slippery film usually starts. If your dispenser smells fine at first pour but gets weird after a day or two, this area is often the culprit.
- Unplug and remove the bottle.
- If the bottle collar/seat is removable, take it out carefully.
- Wash with dish soap and warm water.
- Scrub:the inner ringgrooves/threadsthe area where water spills back during bottle changes
- Sanitize:Wipe or soak (if removable) in sanitizing solution for 5–10 minutes.
- Rinse well and air-dry completely before reinstalling.
If the collar isn’t removable, you can still scrub and sanitize it in place—just keep liquids controlled so you don’t flood the top housing.
Step-by-step: clean and sanitize the drip tray (the smell hotspot)
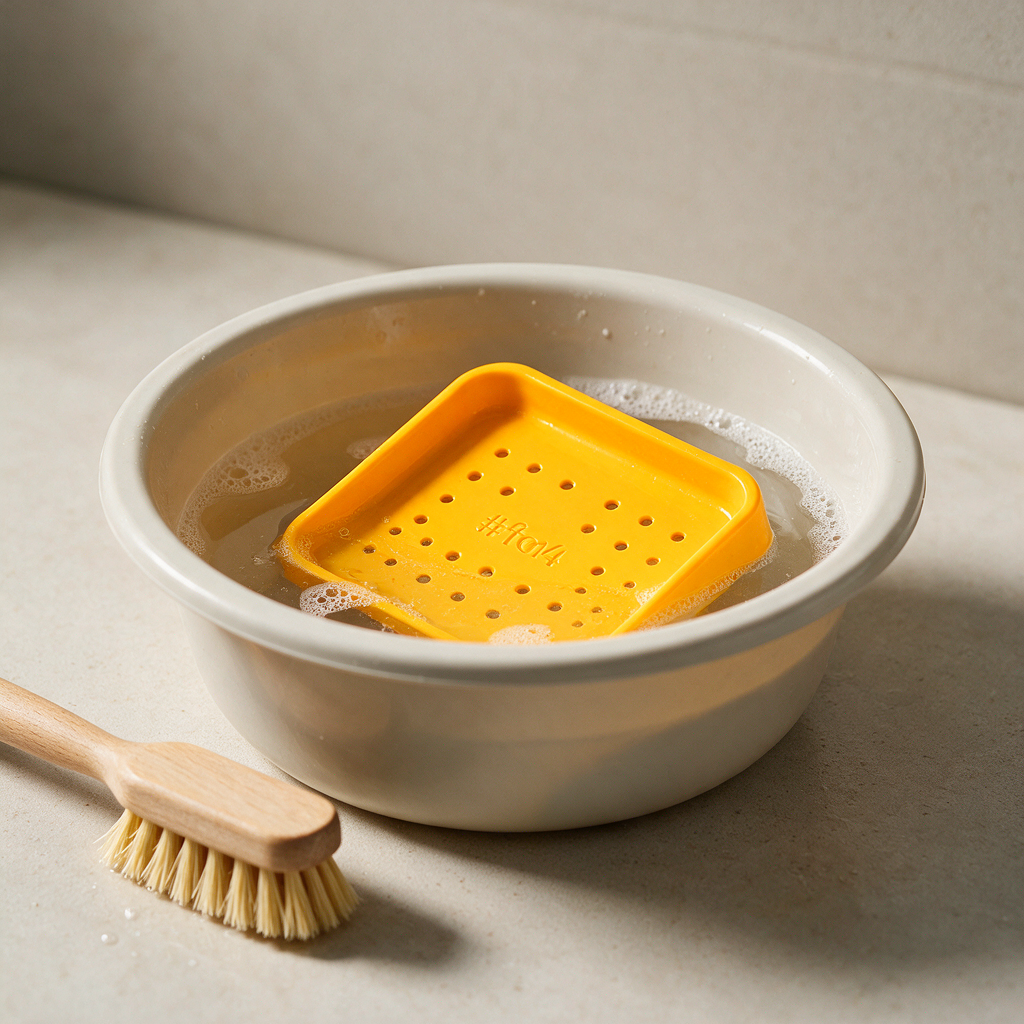
In humid conditions, a drip tray can start smelling fast because water sits there. Treat it like a mini sink drain.
- Remove the tray and grill.
- Dump any standing water.
- Wash with warm soapy water.
- Scrub the corners and the underside of the grill (mold loves the underside).
- Sanitize (5 minutes), then rinse.
- Dry fully before putting it back.
If your tray has a drain hose to a larger container, clean that container too—or you’ll keep reintroducing odor.
Quick wipe routine (2 minutes) to keep it sanitary day-to-day ✅
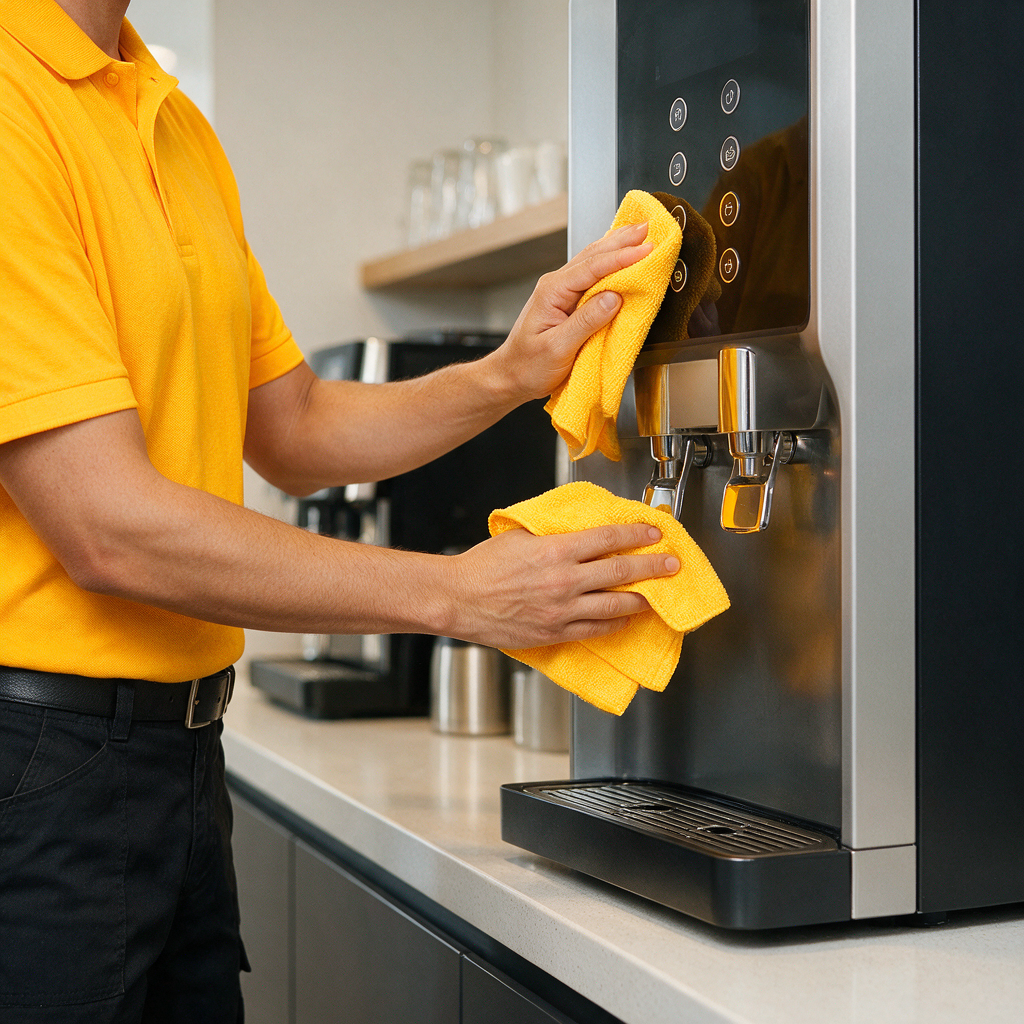
This keeps the dispenser from getting gross between monthly sanitizing sessions.
- Wipe taps/nozzles and buttons with a lightly soapy cloth
- Follow with a clean damp cloth to remove soap residue
- Dry with a microfiber cloth (drying matters in CDO humidity)
- Empty and rinse the drip tray
If it’s an office setup, assign this to the same person who checks pantry supplies so it actually happens.
Troubleshooting: bad taste, smell, slow flow, or visible buildup
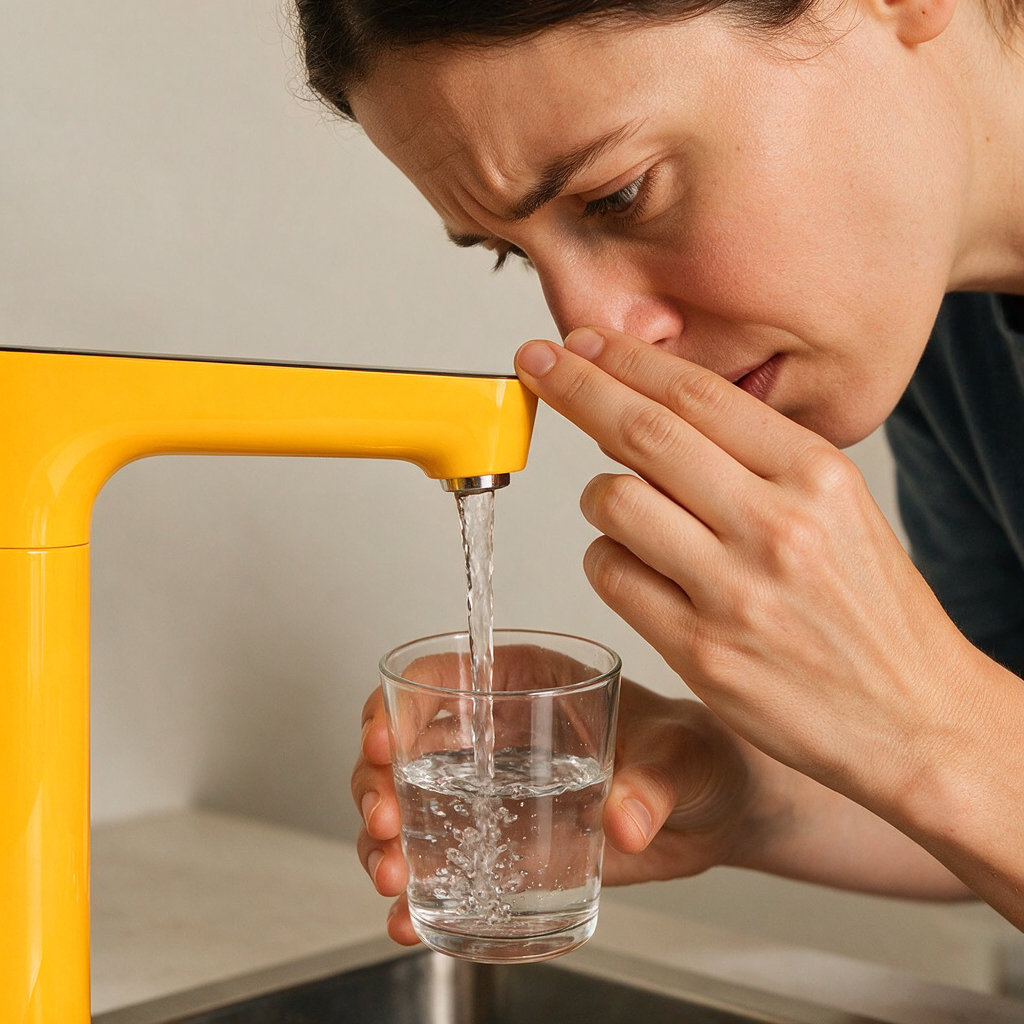
Use this checklist to pinpoint the cause:
- Chlorine smell after cleaning → Not enough flushing. Drain and flush again.
- Musty smell → Drip tray or bottle seat biofilm. Clean those first.
- Sour/old water taste → Stagnant water in tanks. Sanitize hot/cold paths and start fresh.
- Slow flow → Clogged nozzle screen or internal scale. Clean the nozzle; if it persists, check the manual or service support.
- Slimy feel anywhere → Biofilm. Don’t just wipe—sanitize and rinse thoroughly.
If your dispenser uses filters, follow the replacement schedule. A dirty filter can make water taste worse even after sanitizing.
If you want it handled fast (home or office in CDO)

If you’re managing a condo, rental unit, or office pantry, appliance-adjacent cleaning tasks can pile up quickly. PrimeShineCDO Cleaning Services can help keep your space consistent with a checklist-based approach—especially for high-touch pantry areas.
For ongoing cleaning support in Cagayan de Oro, you can check our service options here: View PrimeShineCDO cleaning services. If you want to ask about including pantry/dispenser-area cleaning in your next visit, reach out through our contact page. 😊
If you do this yourself, stick to one sanitizer, give it enough contact time, and flush until there’s zero smell—clean water should taste like nothing at all.