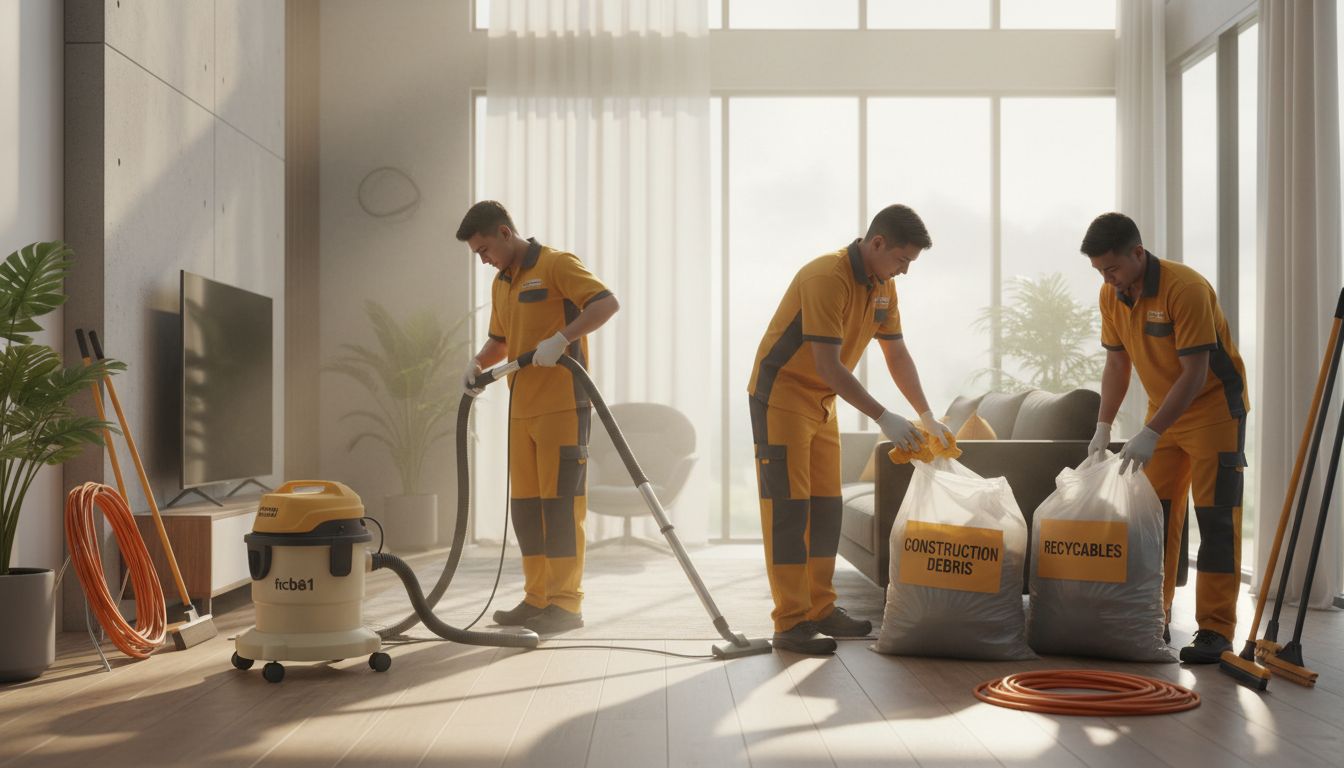
Post-Renovation Dust Cleanup Steps for Cagayan de Oro Homes

Renovation “done” doesn’t mean your home is livable yet. In Cagayan de Oro, the real hassle often starts after the workers leave—fine construction dust that keeps reappearing, paint splatter on tiles and trim, and debris that can scratch floors or cause injuries. 😷🧤
This guide walks you through post-renovation dust cleanup steps for Cagayan de Oro homes (fine dust, paint splatter, and debris safety)—the right order, the right tools, and the safety moves that protect your family and your finishes.
Why post-renovation dust in CDO homes is extra stubborn 🌬️
CDO’s heat and humidity can make dust cling—especially to:
- Painted walls and ceilings (static + fresh paint tackiness)
- Textured surfaces (concrete, unfinished wood, grout lines)
- Aircon filters and vents (dust recirculates and settles again)
And the most annoying part? Fine dust is lightweight. If you sweep dry or vacuum without the right filter, you can launch it back into the air and “re-dust” the whole room.
If you want the deeper indoor air context, read Dust, molds, humidity, and indoor air quality basics for CDO homes.
Safety first: protect lungs, skin, and surfaces before you start 🦺
Before you touch anything, set up basic safety. This is where DIY cleanups go wrong.
Your minimum PPE checklist
| Item | What it protects you from | What to look for |
|---|---|---|
| Mask/respirator | Fine dust + paint particles | At least a well-fitted respirator-style mask |
| Safety glasses | Dust and splashes | Snug fit, anti-fog if possible |
| Gloves | Paint/solvent irritation + splinters | Nitrile for chemicals, work gloves for debris |
| Closed shoes | Nails, sharp scraps | Thick sole, no slippers |
Quick home prep (10 minutes that saves hours)
- Open windows and create cross-ventilation (but avoid strong wind that blows dust around).
- Turn off HVAC/aircon during heavy dusting, or you’ll spread particles through vents.
- Remove kids/pets from the area. Fine dust is rough on lungs—especially for little ones and seniors. 🐶👶
- Seal off “clean zones” with plastic sheeting or closed doors.
The golden rule: clean in the correct order (top → down, dry → wet) ✅
If you only remember one thing: don’t start with mopping. You’ll turn dust into paste, smear it into grout, and hate your life.
Here’s the best-practice sequence:
| Phase | Goal | What you do |
|---|---|---|
| 1. Debris removal | Prevent scratches/injuries | Bag and clear rubble, nails, offcuts |
| 2. High dusting (dry) | Remove airborne/settled fines | Ceilings, lights, vents, shelves |
| 3. HEPA vacuum (dry) | Capture fine dust properly | Walls (if applicable), floors, edges |
| 4. Wet detailing | Lift remaining residue | Microfiber wipe-down + rinse cycles |
| 5. Paint splatter removal | Correct spot-treatment | Use the gentlest method that works |
| 6. Final floors | Finish without streaks | Proper mop method + dry buff |
| 7. Air reset | Stop re-dusting | Filters, ventilation, final check |
Step 1: Debris and sharp hazards—clear this first 🧱
Renovation debris isn’t just messy—it’s risky.
What to do
- Pick up screws, nails, staples, broken tile, and wood splinters by hand (gloves on).
- Use a heavy-duty bag for sharp waste. Don’t overfill.
- Separate wet paint cans/chemical containers from general trash.
Safety non-negotiables
- Don’t drag debris across tiles or vinyl—you’ll scratch the finish.
- Don’t let dust-covered debris sit indoors overnight—foot traffic grinds particles into floors.
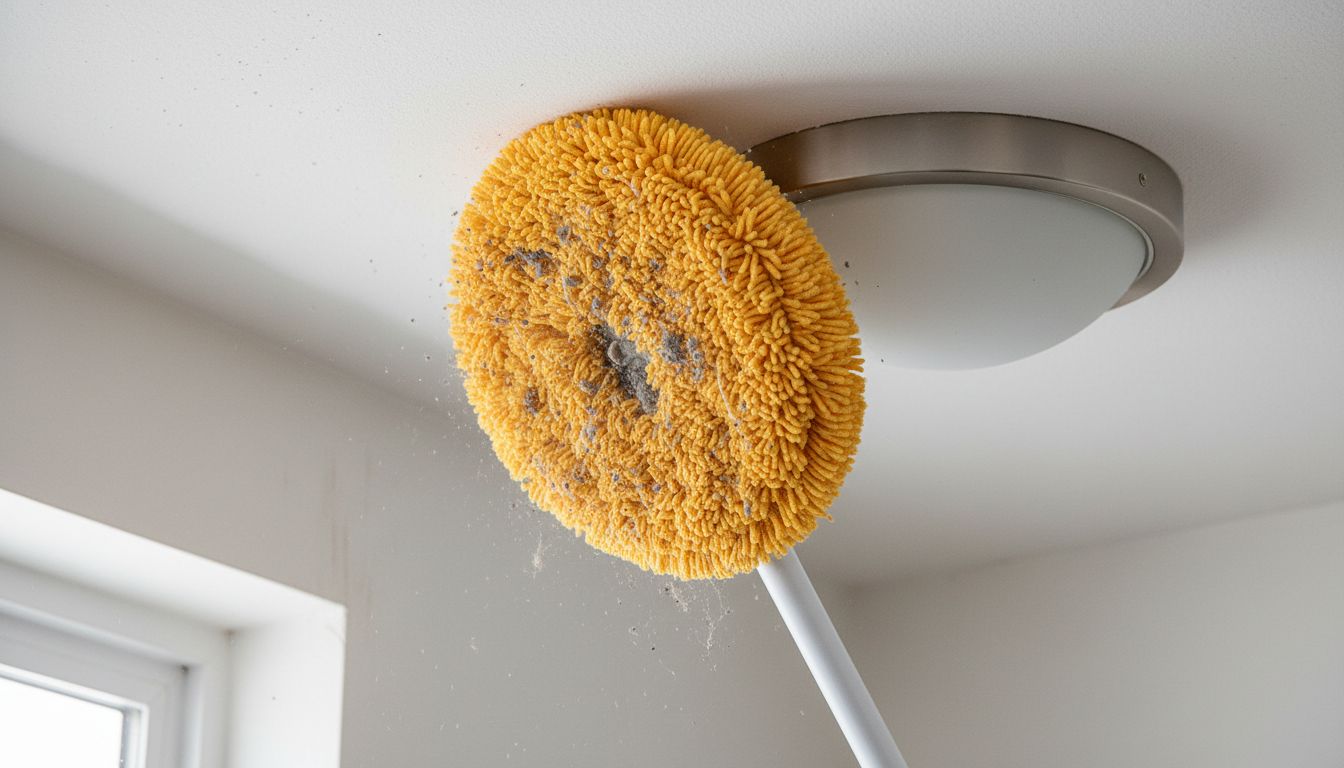
Step 2: High dusting (dry) — where fine dust actually hides 🕸️
Fine dust settles high first, then rains down again every time you wipe a lower surface.
Hit these areas in order
- Ceilings and ceiling corners (cobweb brush or microfiber pole)
- Light fixtures and ceiling fans
- Curtain rods, tops of cabinets, shelves
- Window frames and jalousie tracks
- Door frames and trim
- Vents (if accessible)
What to use (and what to avoid)
- Use microfiber (it grabs particles instead of pushing them).
- Avoid feather dusters—they’re basically dust launchers.
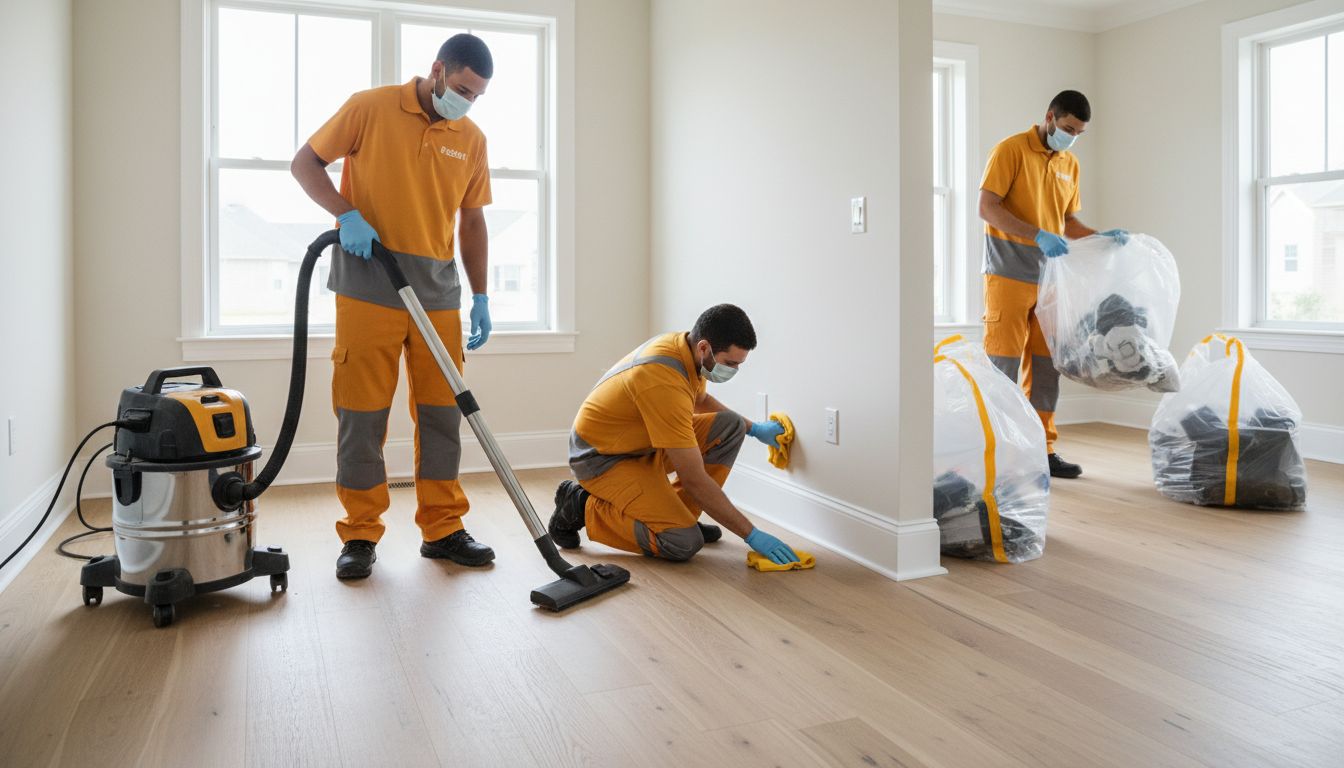
Step 3: Vacuum like you mean it—fine dust requires filtration 🎯
If your vacuum doesn’t trap fine particles, it’s not cleaning—it’s redistributing.
Vacuum checklist for post-renovation dust
- Use a vacuum with high-efficiency filtration (HEPA-style is ideal).
- Use soft brush attachments on delicate surfaces.
- Move slowly. Fast passes don’t capture fine dust well.
Where to vacuum (yes, more than the floor)
- Baseboards and edges
- Window sills and tracks
- Upholstered headboards and sofa edges (dust hides in seams)
- Closet floors and corners
- Under appliances (if safe to access)
If your soft furnishings took a hit, it may be worth scheduling professional fabric care via PrimeShineCDO’s cleaning services so dust and odors don’t linger in foam and fibers.
Step 4: Wet wipe-down—do it in controlled passes (no muddy smears) 🧽
Once loose dust is removed, you can safely go wet.
The 2-bucket method (simple, but it works)
| Bucket | What it’s for | Why it matters |
|---|---|---|
| Wash bucket | Mild detergent + water | Lifts residue |
| Rinse bucket | Clean water only | Prevents re-depositing grime |
Surfaces to wet-clean (gentle first)
- Painted walls (test a small spot—fresh paint can mark easily)
- Tiles and grout lines
- Cabinet exteriors
- Switch plates (power off if needed)
- Countertops and sink areas
Use slightly damp microfiber, not soaking wet cloths—especially around MDF/laminated boards that can swell.
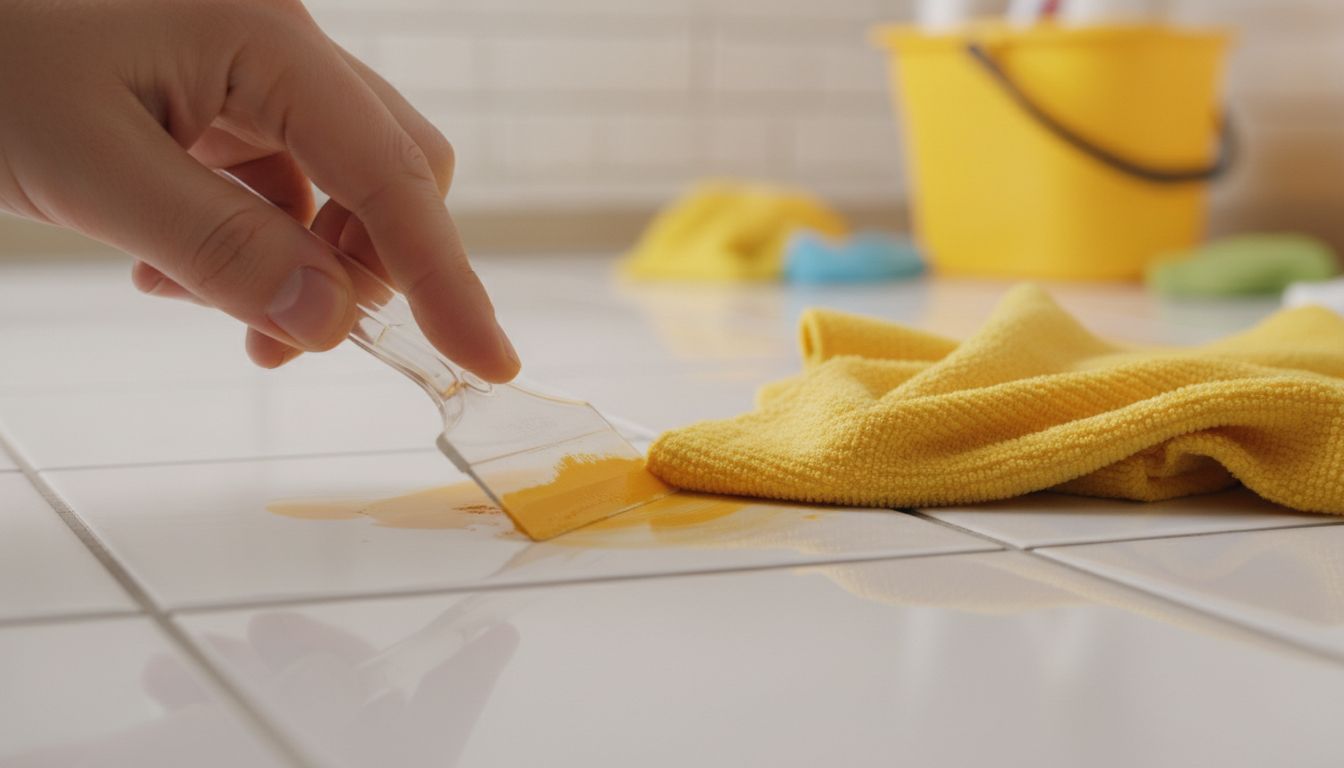
Step 5: Paint splatter removal—match the method to the surface 🎨
Paint splatter looks small… until sunlight hits it. The trick is not damaging the substrate.
Paint splatter quick guide (by surface)
| Surface | Safer first attempt | Next step if needed | What to avoid |
|---|---|---|---|
| Tile (glazed) | Warm soapy water + plastic scraper | Specialized remover (spot test) | Metal blades that scratch |
| Grout | Soft brush + warm soapy water | Gentle grout cleaner | Aggressive acids on fresh grout |
| Glass | Warm soapy water + plastic scraper | Razor only if experienced | Scraping dry (causes scratches) |
| Wood/trim paint | Damp microfiber | Mild cleaner, light pressure | Strong solvents that strip finish |
| Vinyl flooring | Mild detergent | Manufacturer-safe spot cleaner | Harsh thinners (can melt/dull) |
If you’re also dealing with other marks (grease, ink, mildew spots), this guide helps you avoid surface damage: How to remove common household stains safely without damaging surfaces.
Step 6: Floor finishing—how to stop the “dusty footprints” cycle 👣
Floors usually need multiple passes after renovation. One mop session rarely solves it.
Best-practice floor steps
- Vacuum thoroughly first (edges included).
- Mop with a clean microfiber mop head.
- Rinse and change water frequently—cloudy water = you’re spreading dust.
- Let it dry, then do a final dry microfiber pass to pick up remaining powder.
Floor-type cautions
- Wood/laminate: minimal water only; moisture causes swelling.
- Tiles: safe for damp mopping, but grout holds dust—brush lines if needed.
- Polished surfaces: avoid abrasive pads; they dull shine quickly.
Step 7: Air reset—because dust isn’t “gone” if it’s floating around 🌫️
Even after cleaning, your air can keep re-depositing fine particles.
Do this after the main cleaning
- Clean/replace aircon filters (this is huge in CDO).
- Wipe vent covers and nearby walls.
- Ventilate for a few hours.
- Re-check horizontal surfaces the next day—if dust returns fast, you likely need another high-dust + vacuum cycle.
A realistic timeline: what a proper post-renovation cleanup looks like ⏱️
| Home size / scope | Typical DIY time (if done properly) | Common bottleneck |
|---|---|---|
| Small room repaint | 3–6 hours | Paint specks + fine dust on ledges |
| 1-bedroom partial reno | 1–2 days | Re-dusting + floor residue |
| Full-house renovation | 2–5 days | High dusting + detail work + filter cleaning |
The takeaway is clear: if your schedule is tight, DIY tends to drag—because the dust keeps coming back.
Watch: visual walkthrough for post-construction cleaning steps 🎥
Mistakes that make post-renovation dust worse (and how to avoid them) 🚫
- Dry sweeping fine dust → use microfiber + filtered vacuum instead.
- Mopping too early → turns dust into grout-staining sludge.
- Using harsh chemicals immediately → damages fresh paint, sealants, and finishes.
- Skipping vents/filters → dust recirculates and settles again.
- Cleaning low surfaces first → you redo work when high dust falls down.
When to hire pros for post-renovation cleanup in Cagayan de Oro 🧼
Let’s be honest: renovation dust is a different beast than regular home mess. Consider professional help if:
- You see dust reappearing hours after wiping
- You have kids, seniors, asthma, or allergies
- There’s heavy debris, sanding dust, or extensive paint work
- You need the home ready for move-in, turnover, or guests—fast
PrimeShineCDO offers a dedicated option for this exact scenario: Explore PrimeShineCDO post-construction cleaning services for detailed dust and residue removal after renovations.
If you want to coordinate smoothly (access, priorities, fragile items), follow How to prepare your home for a professional cleaner.
Post-renovation cleanup checklist (print-friendly) 📝
Debris + safety
- Wear mask, gloves, eye protection
- Remove sharp debris and bag properly
- Clear pathways to avoid scratches and slips
Dry removal (top → down)
- Ceiling corners, lights, fans
- Tops of cabinets/shelves
- Window frames/tracks
- Doors, trim, baseboards
Vacuum + wet detail
- Vacuum floors + edges slowly (filtered vacuum)
- Damp wipe walls (spot test)
- Wet wipe hard surfaces (2-bucket method)
Paint splatter
- Warm soapy water first
- Plastic scraper for tiles/glass (carefully)
- Spot test stronger removers if needed
Air reset
- Clean/replace aircon filters
- Wipe vents and nearby surfaces
- Re-check dust the next day
FAQ: post-renovation dust cleanup in CDO homes
How long does fine dust settle after renovation?
Fine dust can keep resettling for 24–72 hours, especially if you don’t clean vents/filters or if there’s ongoing sanding nearby. Expect at least two rounds: initial cleanup + a follow-up wipe/vac.
Is it safe to sleep in the house right after renovation?
If there’s visible dust haze or strong paint/chemical smell, it’s better to delay. At minimum, do high dusting + vacuum + wet wipe in bedrooms and clean your aircon filters first.
What removes paint splatter best without damage?
Start gentle: warm soapy water + microfiber. For tiles and glass, a plastic scraper is usually safer than metal. Always spot test stronger products.
Ready to make your renovated space truly livable? ✨
Renovations are expensive and stressful—you shouldn’t end the project by breathing dust and scrubbing paint specks for days. If you want a faster, safer reset, book a service with PrimeShineCDO Cleaning Services and get your home back to “Malinis. Maasahan. Pang‑CDO.”